Categories
Baking Dinner Recipes

Easy Boursin Pasta

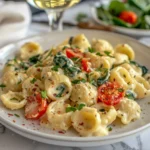
Boursin Pasta Recipe is one of the most well-known quick-eating cooking; originally from France, Boursin has creamy flavor. This recipe became well-known on TikTok and was popular among those who sought flavor and ease.

Overview of Ingredients For Creamy cheese pasta

Overview of Ingredients For Creamy cheese pasta


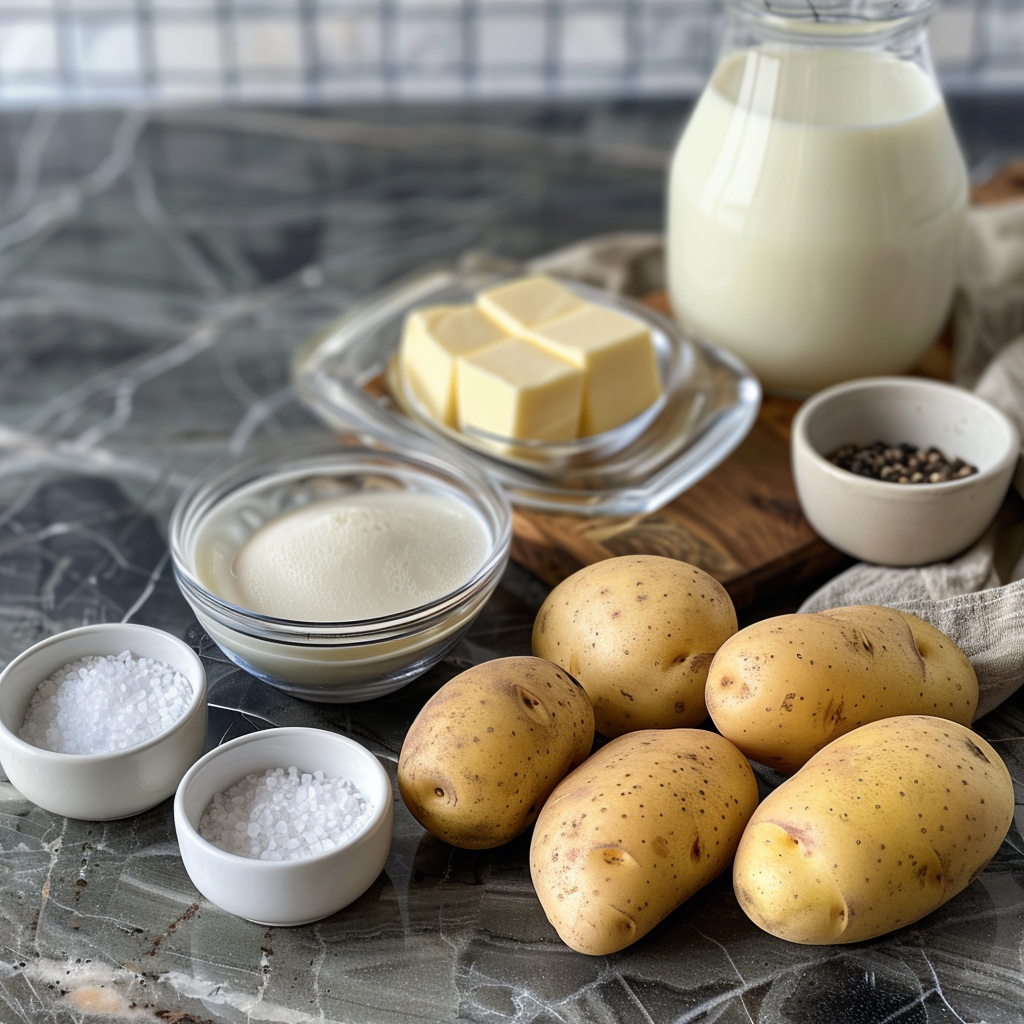
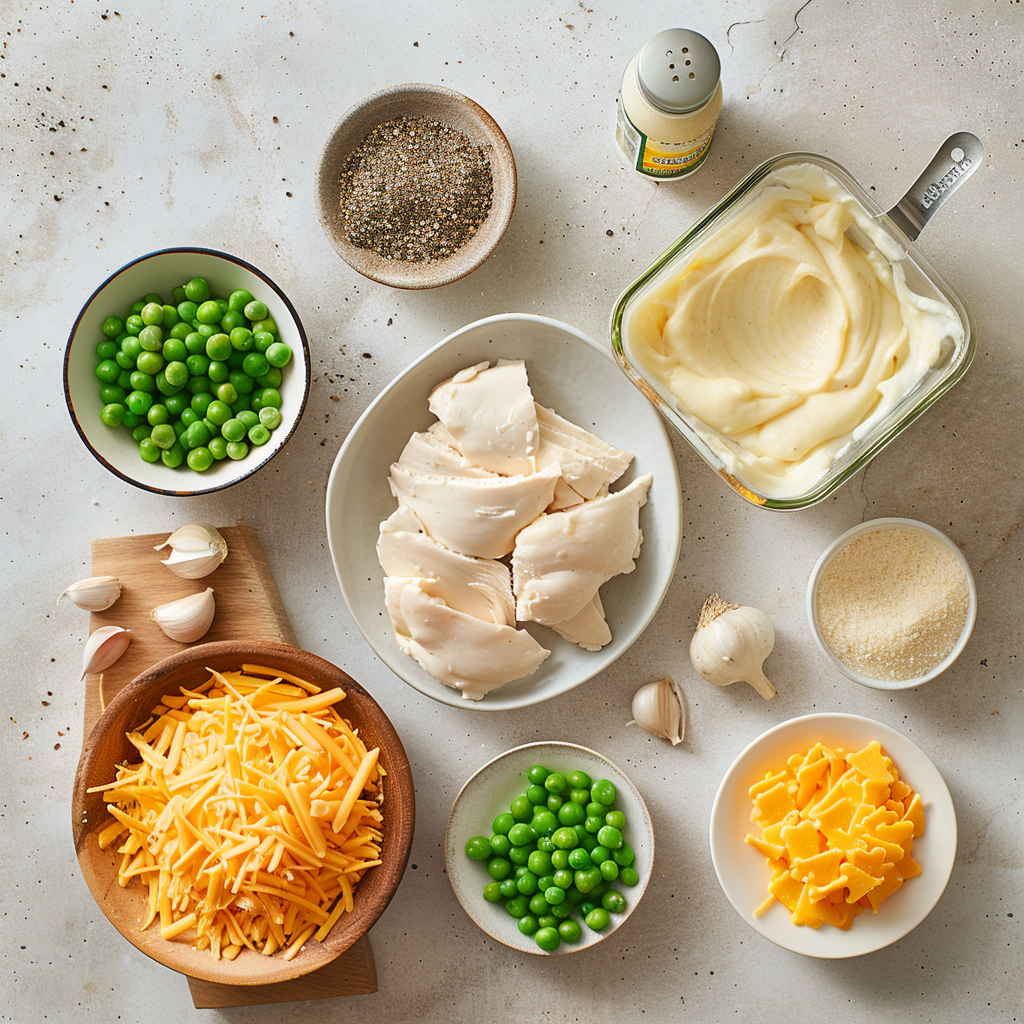
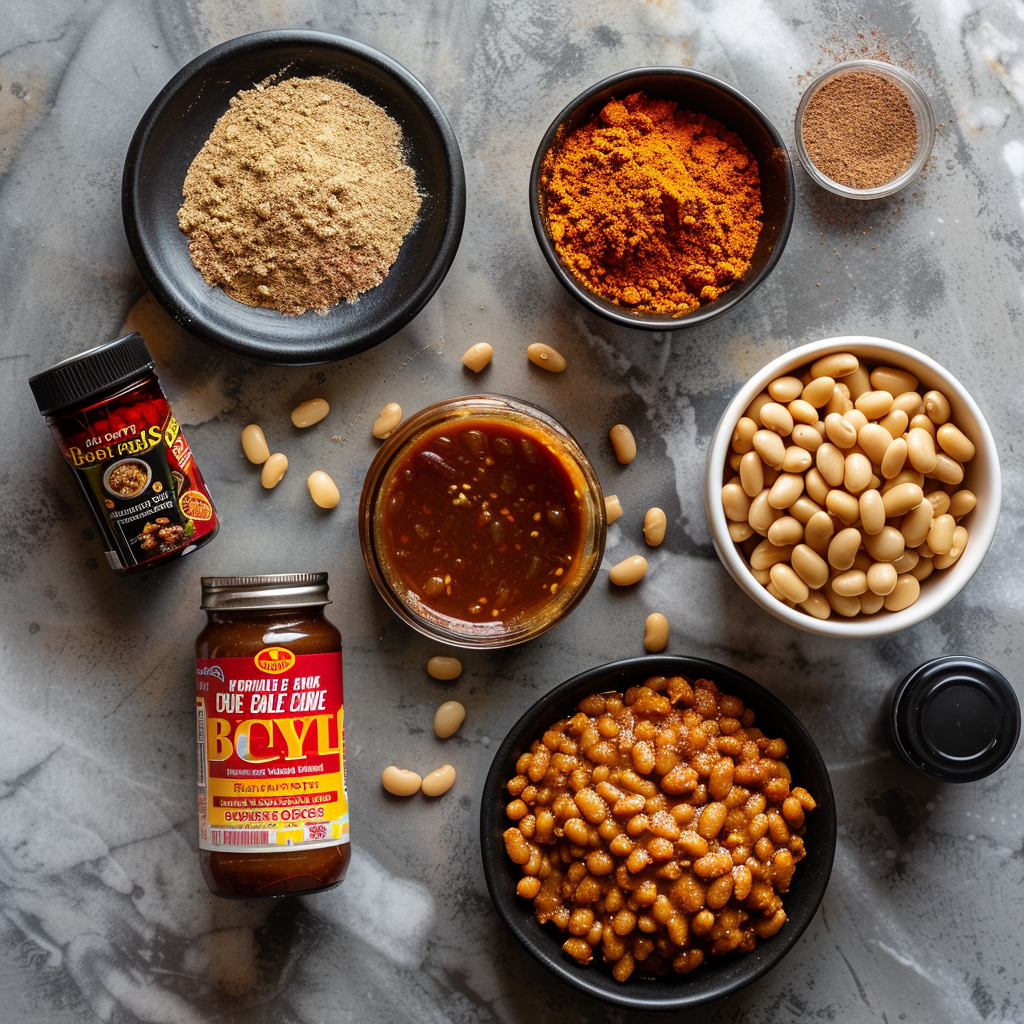
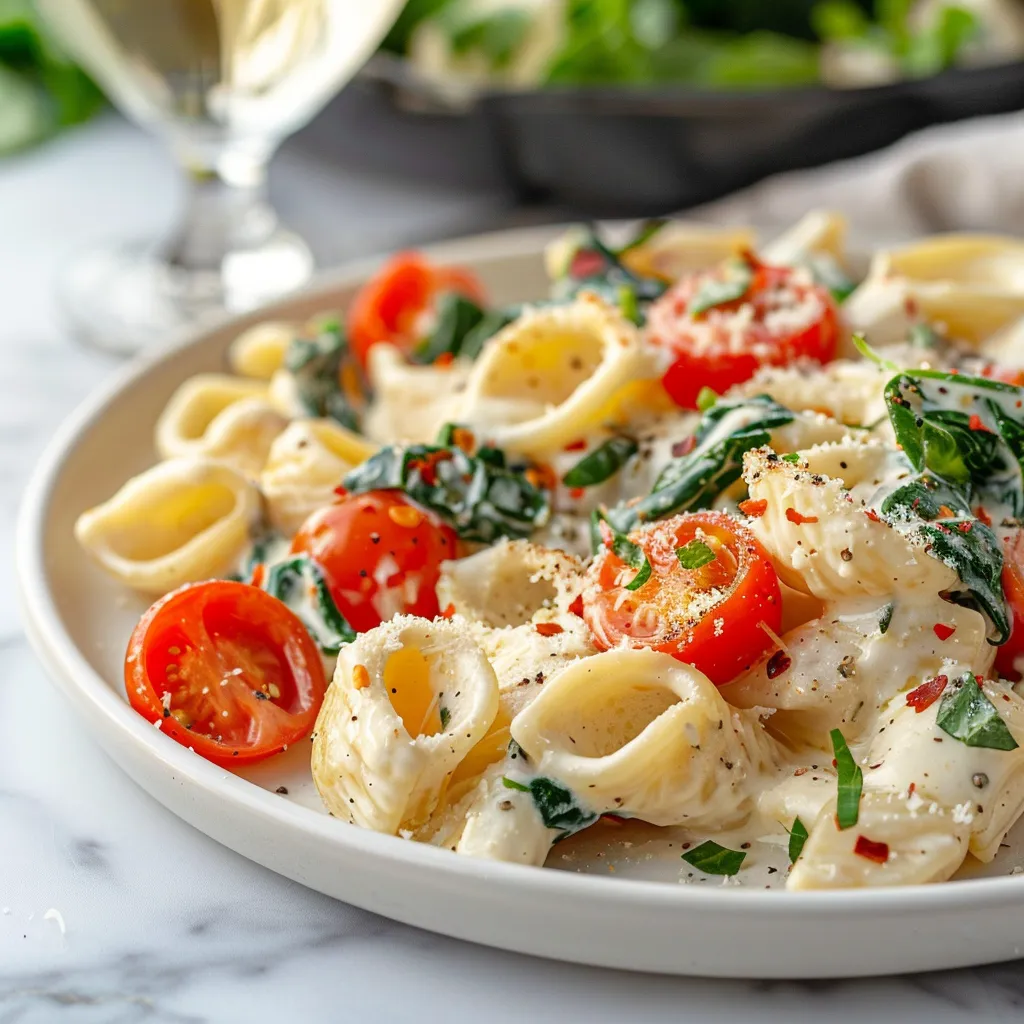
Essential ingredients for a stellar Boursin pasta include:

Boursin cheese (Garlic and Herb variety is popular)

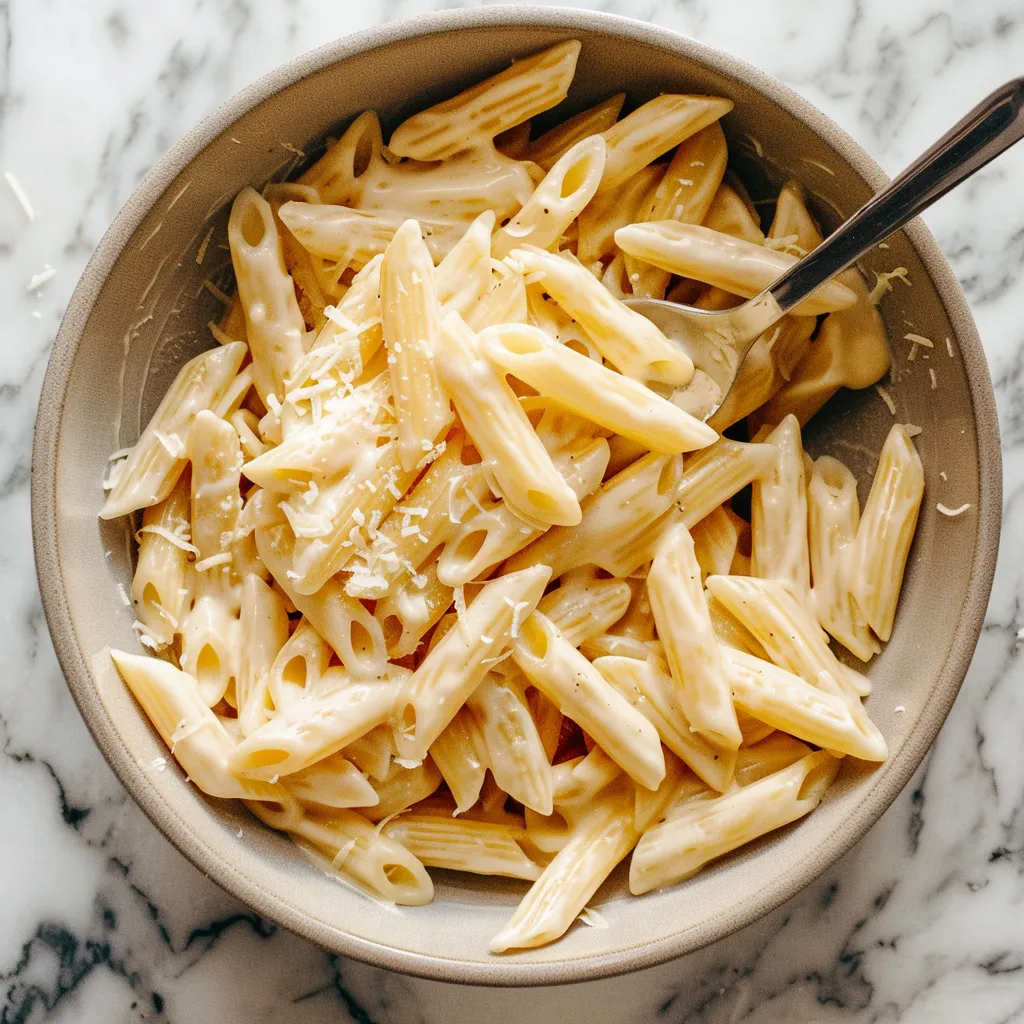
Your choice of pasta, from spaghetti to penne

Fresh tomatoes, like cherry or grape

Basic seasonings: salt, pepper, and maybe some red pepper flakes for a kick

Optional extras can add depth:

Proteins such as chicken or shrimp

Vegetables like spinach or mushrooms

For tips on choosing the right ingredients, check out our comprehensive guide to selecting the best pasta for different dishes.

Chef’s Tips for Perfect Boursin Pasta

I always follow these steps to make the best Boursin pasta. This technique will help you achieve the perfect results:

Pasta Cooking

Don’t overcook the pasta because it can become mushy when mixed with the sauce, losing its texture and appeal. This means it should be tender but still have a slight bite.

Pasta Water

Reserve a cup of pasta water before draining. You can add this starchy water to the sauce to help achieve the desired creamy consistency and to help the sauce cling to the pasta.

Fresh Ingredients

Use fresh garlic, if possible, to enhance the flavor. Fresh herbs like basil or parsley can also add a burst of freshness to the dish.

Tossing Technique

Toss the pasta and sauce together over low heat. This facilitates the blending of flavors and guarantees a thorough coating of each pasta piece.
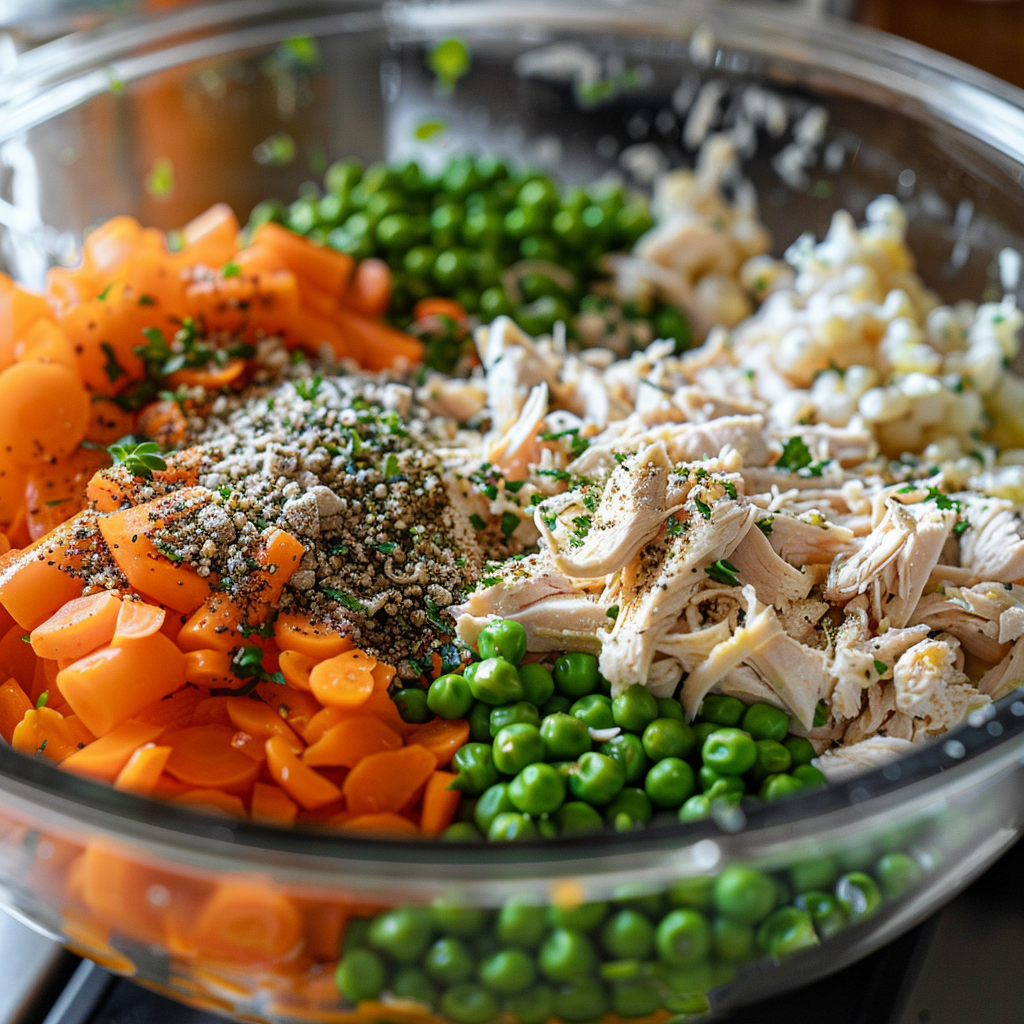
Vegetable Prep

You should fry vegetables like spinach or mushrooms separately in butter or olive oil if you want to add them. This guarantees their perfect cooking and amplifies their flavor.

Protein Preparation

If using chicken or shrimp, cook them thoroughly in a separate pan and season well before adding them to the pasta. This ensures that they cook perfectly and prevents overcooking.

Finishing Touch

A squeeze of fresh lemon juice or a sprinkle of Parmesan cheese can add a delightful finish to your dish, enhancing its flavors and adding a bit of brightness.

Seasoning Adjustments:

Taste your dish before serving, and revise the seasoning as needed. The saltiness of the pasta water and the cheese can vary, so additional salt and pepper might be necessary.

Serving

Serve the pasta immediately while it’s hot. This ensures the sauce remains creamy and the pasta maintains its texture.

For more tips on pasta preparation, explore our detailed pasta cooking guide.

Customizing Your Boursin Pasta Dish

Make the dish your own by trying different additions:

Choose from various Boursin cheese flavors to change the profile of your dish.

Include meats or extra veggies for a heartier meal.

Adapt the dish for dietary restrictions with gluten-free pasta or vegan cheese alternatives.

What to Serve with Boursin Pasta

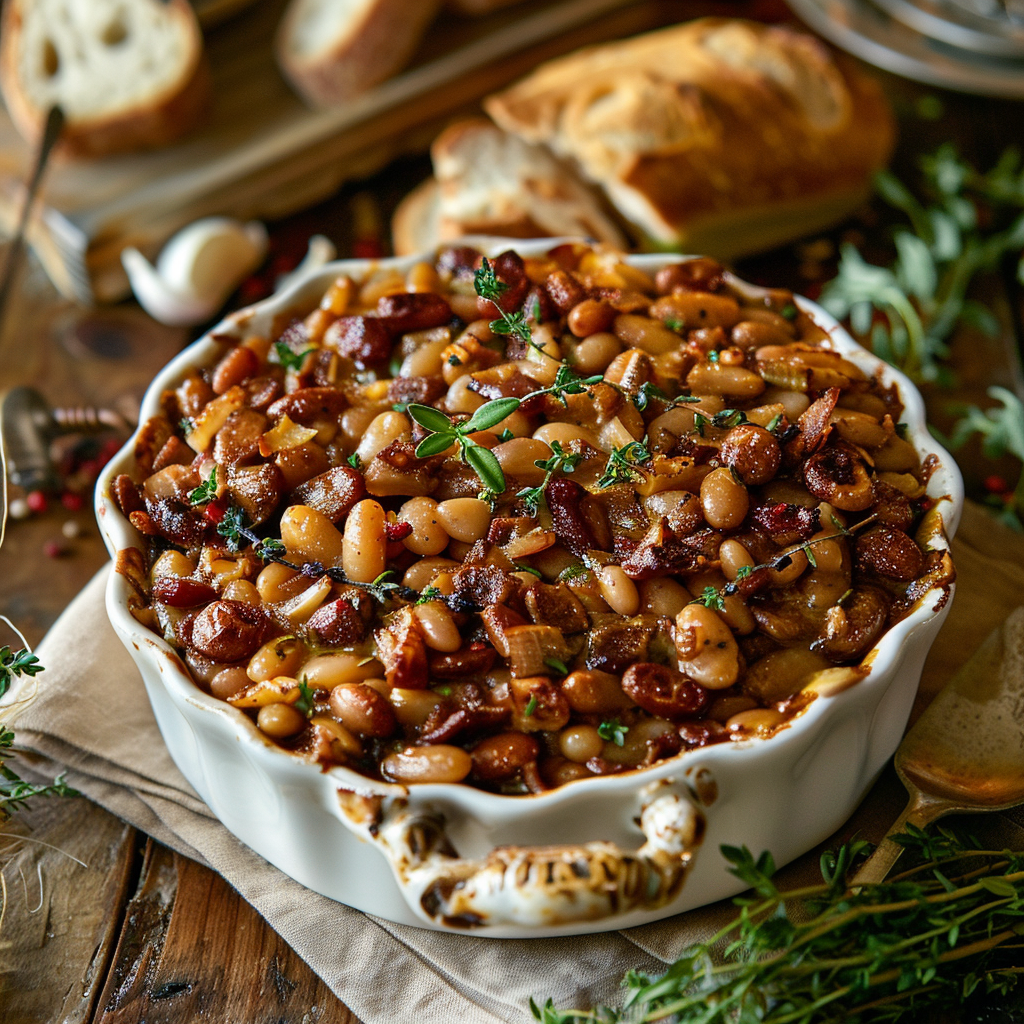
To complement your Boursin pasta, consider:

Light salads with vinaigrette

Crusty bread to soak up the sauce

For the perfect drink pairing, consult this Wine Pairing Guide for suggestions that enhance your pasta night.

Health Benefits of Boursin 

Enjoying Boursin pasta can also be good for you:

Boursin cheese is rich in calcium and protein.

Tomatoes and garlic provide vitamins and antioxidants.

Now that you’re equipped with all you need to know about making Boursin pasta, why not give it a try tonight? Share your experiences or any variations you create. Happy cooking and enjoy your delicious, creamy pasta!

Print

Easy Boursin Pasta Recipe – Creamy, Quick, & Delicious

  • Author: Gabriela cardenas
  • Prep Time: 10 minutes
  • Cook Time: 35 minutes
  • Total Time: 45 minutes
  • Yield: 4-6
  • Category: Main Course
  • Method: Baking
  • Cuisine: Italian-Inspired
  • Diet: Vegetarian

Ingredients

  • 2 packages (5.2 ounces each) Boursin Garlic & Herbs cheese- 2 pints cherry tomatoes
  •  3-4 tablespoons extra virgin olive oil
  •  4 cloves garlic, minced
  •  Salt and pepper to taste
  •  1/2 teaspoon red pepper flakes (optional)
  •  10-16 ounces of pasta of choice
  •  1/2 cup reserved pasta water
  •  1/4 cup fresh basil, chopped
  •  1 cup fresh baby spinach (optional)
  •  1/2 cup freshly grated Parmesan cheese

Instructions

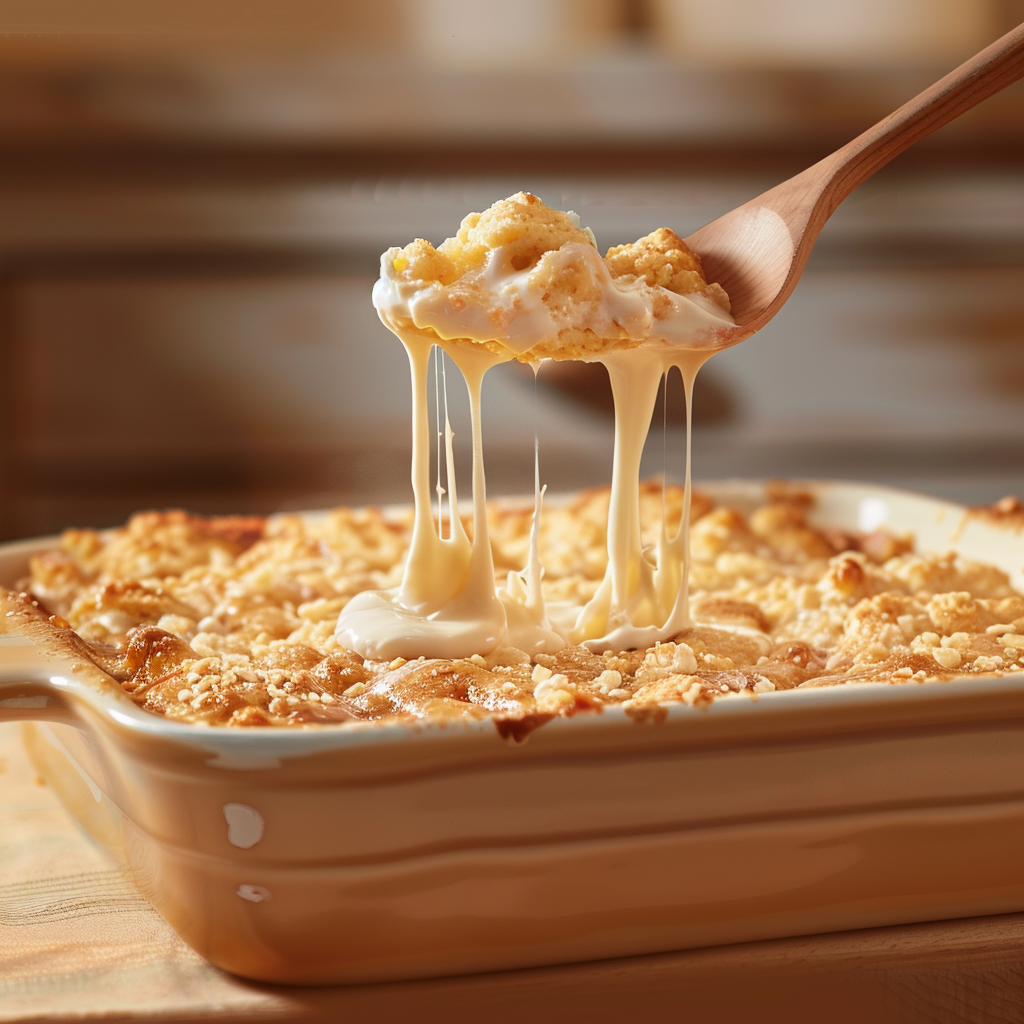
  • 1. Preheat your oven to 375°F (190°C).
  • 2. In a baking dish, place the Boursin cheese and scatter the cherry tomatoes around it.
  • 3. Drizzle with olive oil and sprinkle minced garlic, salt, pepper, and red pepper flakes over the top.
  • 4. Bake in the preheated oven for about 35 minutes until the tomatoes burst and the cheese is melty.
  • 5. While the dish bakes, cook your pasta according to package instructions until al dente; reserve 1/2 cup of pasta water.
  • 6. Once baked, remove the dish from the oven, add cooked pasta, reserved pasta water, fresh basil, and spinach if using, and toss everything together.
  • 7. Sprinkle with freshly grated Parmesan cheese before serving.

Notes

  • Use less pasta for a creamier texture. Increase the amount of tomatoes and spinach for a lighter version.
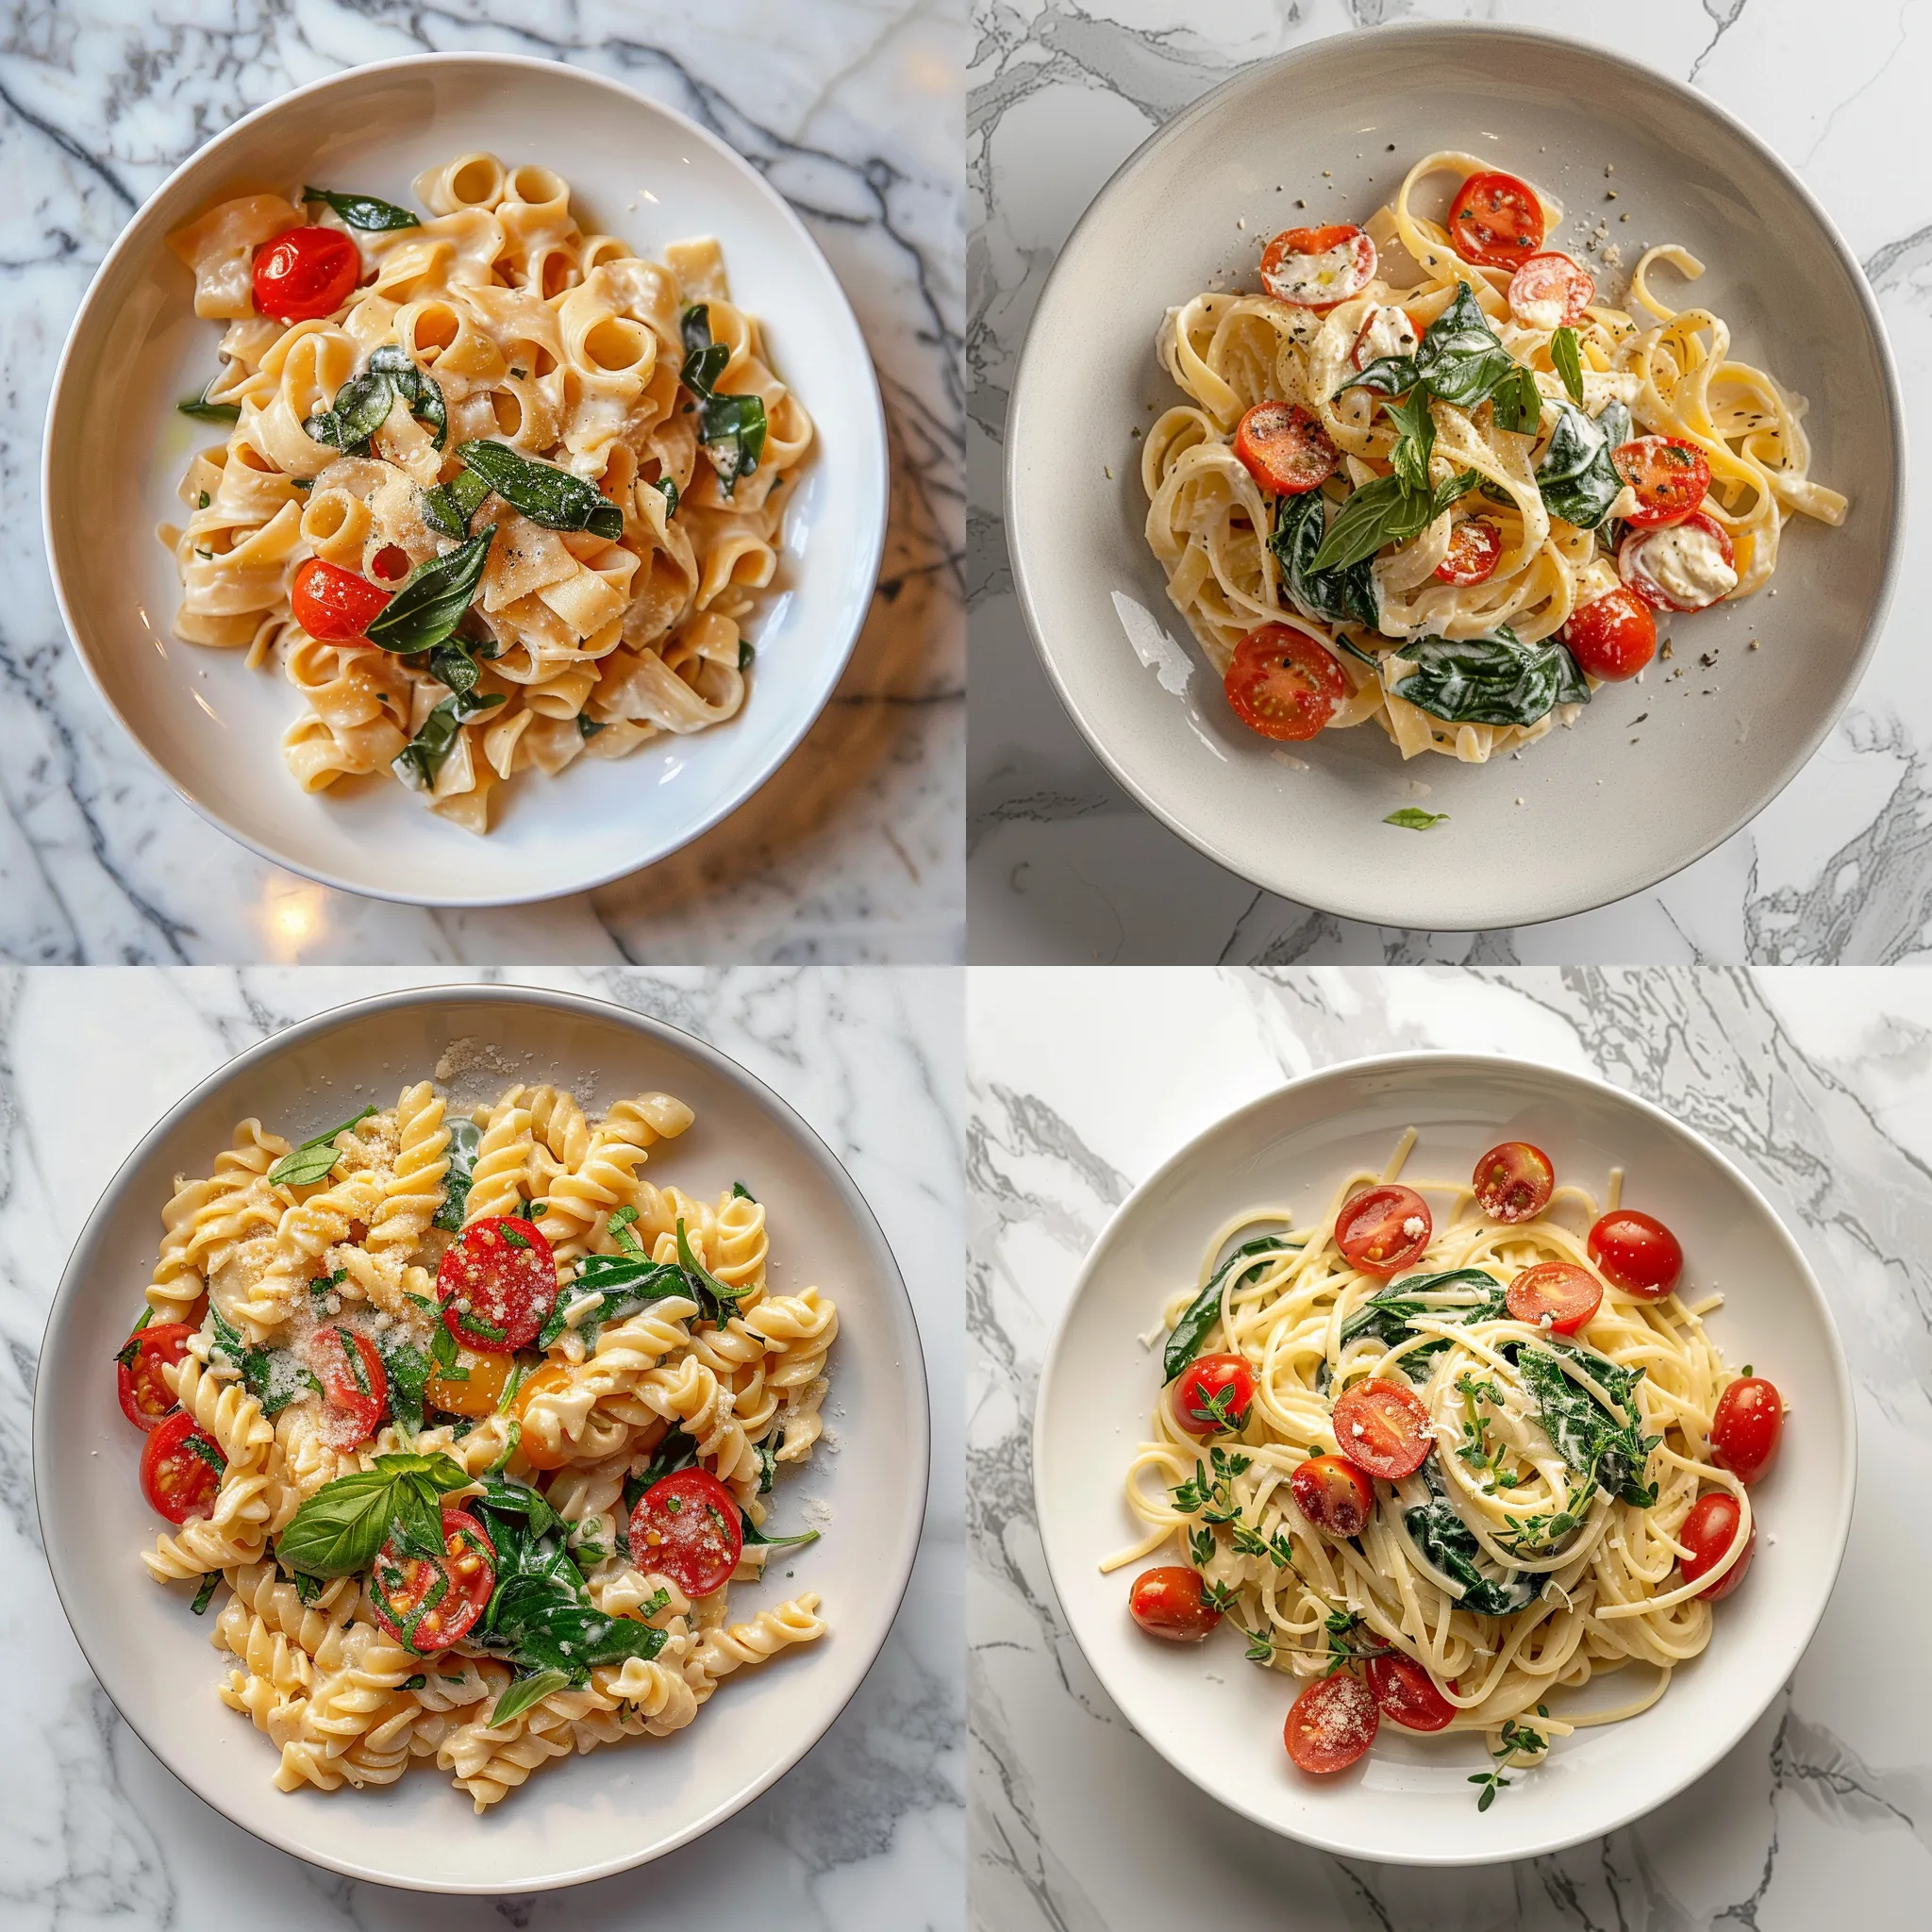
  • – This dish is versatile and can be used with different types of pasta; try it with penne, fusilli, or even spaghetti.
  • – The pasta can be substituted with gluten-free alternatives for gluten-free people.

Keywords: Boursin pasta recipe Creamy cheese pasta Creamy cheese pasta TikTok pasta recipe TikTok pasta recipe Garlic and herb pasta Garlic and herb pasta

Did you make this recipe?

Share a photo and tag us — we can't wait to see what you've made!

Categories
Baking Recipes

Simply Mashed Potatoes : Creamy and Comforting

Everyone loves mashed potatoes as a side dish. It’s simple to make; following these steps will make it easy.

Choose the right potatoes

Yukon Gold or Russet potatoes are the most perfect for mashing. The perfect balance of these varieties results in a smooth, fluffy finish.

Avoid flabby potatoes, such as the red or new varieties, because they can become gluey.

If you want to know more about the types of potatoes, read this article.

Essential Ingredients 

Essential Ingredients Simply Mashed Potatoes

Start with the basics: potatoes, butter, and milk.

Consider adding cream or replacing butter with sour cream for a more flavorful result.

To taste: salt and pepper.

Mashed potatoes can become a tasty side dish by adding cheese, garlic, or herbs. For additional information on these variations, see our post on creative potato dishes.

The Mashing Method

To soften the potatoes, boil them until they are easy to break with a fork.

Avoid filling the potatoes with water; otherwise, you will have watery potatoes.

Use a potato grinder or ricer for the most flavor. Avoid blenders or processors, as they can make the potatoes slimy.

Preserving and reheating

You can store mashed potatoes in the refrigerator for three days.

Reheat with low heat, To increase the creamy composition, add a bit of milk or cream.

Customizing Your Mashed Potatoes

There are too many ways to customize a mashed potato dish. Here are a few ideas:

Add roasted garlic or caramelized onions to enhance the taste and deepen the flavor.

Fresh herbs like Parsley, Rosemary or Chives may give a nice and delicious burst.

Try adding Parmesan, smoked Gouda, or shredded cheese for more cheesiness.

Dietary Alterations: For a healthier version, replace butter with olive oil; also try almond milk for dairy if you want a creamy taste without dairy products.

What to Serve with Mashed Potatoes

Mashed potatoes are a fabulous accompaniment to many meals, they complement the various types of food well. Here are several classic combinations:

Serve meats alongside roasted, grilled, or pureed poultry.

Vegetarian Opportunities: They are exceptional at making vegetarian dishes and roasted vegetables, or serving as a foundation for a flavorful mushroom stew.

Mashed potatoes have health benefits.

Even while mashed potatoes are often thought of as a comfort meal, they also provide a number of health benefits especially when cooked carefully:

Nutrients: Potatoes are rich in vitamins C, B6, and potassium, which are crucial to heart health and immune function.

Fiber: The potato’s skin is beneficial to increasing the amount of fiber in it. This smooth the regulation of digestion and also promotes cholesterol management.

Antioxidants: Potatoes contain flavanols, carotenes, and Phenolic compounds, which help to combat inflammation and prevent long-term diseases.

Explore more at Recipes Gabriela

Recipes the site of Gabriela has a variety of delicious food options for all preferences. If you valued our exploration of mashed potatoes, you may also enjoy these  delicious meals on the website:

Turkey Pesto Sandwich: This sandwich blends the freshness of pesto with the juicy flavor of turkey, this combination is ideal for a lunch. Have a look at this.

Sloppy Joe Recipes – Top Mixes and Homemade Delights: Those who enjoy a filling meal must try these variations on the traditional Sloppy Joe. Discover the recipes here.

Crockpot Scalloped Potatoes and Ham:This warming dish is ideal for a family celebration. It combines the smoothness of scalloped potatoes with the richness of ham. Discover the entire recipe here.

Print

Simply Mashed Potatoes

Discover how to create fluffy mashed potatoes with this simple method. Perfect for any meal as a side dish!

  • Author: Gabriela cardenas
  • Prep Time: 15 minutes
  • Cook Time: 20 minutes
  • Total Time: 35 minutes
  • Yield: 4
  • Category: Side Dish
  • Method: Boiling, Mashing
  • Cuisine: American
  • Diet: Vegetarian

Ingredients

  • 2 pounds of potatoes (Yukon Gold or Russet recommended)
  • 1 cup of whole milk
  • 4 tablespoons of unsalted butter
  • Salt to taste
  • Freshly ground black pepper to taste

Instructions

  1. Peel and Cut: Peel the potatoes and cut them into uniform chunks to ensure even cooking.
  2. Boil the Potatoes: Place the potatoes in a large pot and cover them with water. Add a pinch of salt. Bring to a boil over high heat, then reduce to a simmer and cook until the potatoes are tender, about 15-20 minutes.
  3. Drain and Mash: Drain the potatoes well and return them to the pot. Add the butter and half of the milk. Mash the potatoes, gradually adding more milk until you achieve the desired creaminess.
  4. Season: Add salt and pepper to taste. Mix well.
  5. Serve: Serve the mashed potatoes hot, optionally garnished with chopped fresh herbs like parsley or chives.

Notes

  • For Fluffier Potatoes: Use a potato ricer or masher instead of a blender to avoid gluey potatoes.
  • Add-ins: For extra flavor, consider adding roasted garlic or grated Parmesan cheese during the mashing process.
  • Reheating: If you need to reheat, add a splash of milk to keep the mashed potatoes creamy.

Keywords: simply mashed potatoes, easy mashed potatoes, basic mashed potatoes, homemade mashed potatoes

Did you make this recipe?

Share a photo and tag us — we can't wait to see what you've made!

Categories
Baking Dinner Main dish Recipes

Easy Chicken Cobbler Recipe with Cheesy Biscuit Topping

The chicken cobbler has quickly become a popular comfort dish with its savory chicken and vegetable fillings and light biscuit topping. This recipe is perfect for any time of year since it provides a satisfying, substantial supper.

overview of ingredients

overview of ingredients

Rotisserie Chicken: Utilizing a store-bought rotisserie chicken saves time and ensures your cobbler is packed with tender, flavorful meat. You’ll want to remove the meat and chop it into bite-sized pieces. For those looking for more meat in their dish, opting for a ‘family size’ chicken from places like Sam’s Club or Costco can provide that extra bulk.

Frozen Peas and Carrots: This classic vegetable combination adds color, texture, and nutrients to the dish. They’re convenient and easy to use, requiring no prep work. Feel free to substitute or add other vegetables according to your preference.

Cream of Chicken Soup with Herbs: This ingredient thickens the cobbler’s filling, adding depth with its herb-infused flavor. If you can’t find the herb version, regular cream of chicken soup works just as well. For a homemade touch, consider making your cream of chicken soup.

Chicken Broth thins out the cream of chicken soup to the perfect consistency and adds another layer of chicken flavor. If you’re watching your salt intake, opt for low—or no-sodium options.

Garlic Powder, Onion Powder, and Pepper: These seasonings are essential for adding depth and enhancing the overall flavor of the cobbler. Feel free to adjust the quantities to suit your taste or add other spices you enjoy.

Cheddar Bay Biscuit Mix: The biscuit topping sets this cobbler apart, creating an irresistible, cheesy, buttery crust. While this recipe mentions Cheddar Bay Biscuit Mix, you can experiment with other biscuit mixes. Just remember to adjust for flavor differences.

Shredded Cheddar Cheese: Mixed into the biscuit dough, it adds a wonderful cheesy flavor that complements the chicken and vegetables beautifully. Freshly shredded cheese is recommended for the best melt and flavor.

What Makes a Good Chicken Cobbler Recipe

A great chicken cobbler recipe is all about balance and flavor. Here are the key components:

Seasoning: The right blend of spices can elevate your cobbler from good to unforgettable. Consider exploring the Best Seasoning for Chicken for tips on how to season your chicken perfectly.

Chicken: Using rotisserie chicken saves time and adds depth to the dish’s flavor.

Biscuit Topping: A golden, buttery biscuit topping is crucial. For a twist, check out the Cheddar Bay Biscuit Chicken Pot Pie for inspiration on incorporating cheese into your biscuit dough.

Assemble

Chef’s Tips for the Perfect Chicken Cobbler

Prep Your Ingredients

Before you start, make sure all your ingredients are prepared and measured, including chopping the chicken, measuring the frozen peas and carrots, and pre-mixing dry ingredients. Having everything ready will make the process smoother and ensure you get all the don’t steps.

Layer Carefully

When assembling your Chicken Cobbler, consider the layers. Each layer serves a purpose, from the melted butter at the bottom to the chicken and vegetables, the creamy mixture, and the biscuit mix on top. Resist the urge to stir these layers together. The stratification is key to achieving every bite’s perfect texture and flavor profile.

Check for Doneness

Oven temperatures can vary, so it’s important to check your cobbler towards the end of the baking time. The top should be golden brown, and the filling should be bubbly around the edges. If the top is browning too quickly but the filling isn’t quite done, you can loosely cover the dish with aluminum foil to prevent over-browning.

Rest Before Serving

Allow your Chicken Cobbler to rest for at least 10 minutes after removing it from the oven. This resting period lets the filling thicken up, making it easier to serve and ensuring that each serving holds together nicely on the plate.


What to Serve with Chicken Cobbler

This dish is a meal in itself, but you can complement it with:

A crisp green salad

Steamed green beans or broccoli

light dessert, like fruit compote

Health Benefits

While chicken cobbler is a comfort dish, it can also be nutritious, offering:

Protein from the chicken

A variety of vitamins and minerals from added vegetables

The option to use whole wheat flour for the biscuit topping for added fiber

The Chicken Quinoa Soup offers a nutritious and comforting option for lighter or alternative chicken recipes.

Happy Cooking

Print

Chicken Cobbler

Tender chicken, a cheesy biscuit topping, and a simple Cobbler recipe—that’s all you need for a night of pure comfort. Great for any kind of family meal!

  • Author: Gabriela cardenas
  • Prep Time: 15 minutes
  • Cook Time: 30 minutes
  • Total Time: 45 minutes
  • Yield: 4-6
  • Category: Main Course
  • Method: Baking
  • Cuisine: American

Ingredients

  • 1 rotisserie chicken, meat removed and chopped
  • 1 cup frozen peas and carrots
  • 1 can (10.5 oz) cream of chicken soup with herbs
  • 1/2 cup chicken broth
  • 1/2 teaspoon garlic powder
  • 1/2 teaspoon onion powder
  • 1/4 teaspoon pepper
  • 2 cups Cheddar Bay biscuit mix
  • 1 cup shredded cheddar cheese

Instructions

  1. Preheat the Oven: Set to 375°F (190°C).
  2. Prepare the Filling: In a large bowl, mix chopped chicken, frozen peas and carrots, cream of chicken soup, and chicken broth. Season with garlic powder, onion powder, and pepper.
  3. Assemble: Transfer the filling to a greased baking dish.
  4. Make Biscuit Topping: In another bowl, prepare the biscuit mix according to the package instructions, then stir in the shredded cheddar cheese.
  5. Add Topping: Spoon the biscuit mixture over the filling evenly.
  6. Bake: Place in the oven and bake for 25-30 minutes until the topping is golden and the filling is bubbly.
  7. Rest: Allow to cool for 10 minutes before serving.

Notes

  • For a crisper biscuit topping, brush the biscuits with melted butter before baking.
  • If the biscuits are browning too quickly, cover the dish with aluminum foil halfway through baking to avoid over-browning.
  • Customize by adding other vegetables like corn or diced bell peppers to the filling for extra flavor and nutrition.

Explanation: Nutritional Content (Per Serving)

  • Calories: The majority comes from the chicken, biscuit mix, and cheese.
  • Sugar: Minimal sugar, mainly from the vegetables.
  • Sodium: Primarily from the canned soup, broth, and biscuit mix. Opting for low-sodium alternatives can reduce this amount.
  • Fat: Includes both saturated and unsaturated fats from the chicken, cheese, and biscuits. Unsaturated fats are healthier and come mainly from the chicken.
  • Trans Fat: Very low, typically from processed ingredients like the biscuit mix.
  • Carbohydrates: Primarily from the biscuit mix and vegetables.
  • Fiber: Provided by the vegetables; increasing the variety of vegetables can enhance fiber content.
  • Protein: Mainly from the chicken, providing a good source of lean protein.
  • Cholesterol: From chicken and cheese, significant for those monitoring their cholesterol intake.

Tips for a Healthier Version:

  • Reduce Sodium: Use homemade low-sodium cream of chicken soup and opt for low-sodium chicken broth.
  • Lower Fat: Choose low-fat cheese and consider a reduced-fat biscuit mix.
  • Increase Fiber: Add more vegetables like broccoli, beans, or use whole wheat in the biscuit mix.

Nutrition

  • Serving Size: 6
  • Calories: 490 kcal
  • Sugar: 5 g
  • Sodium: 950 mg
  • Fat: 26 g
  • Saturated Fat: 9 g
  • Unsaturated Fat: 12 g
  • Trans Fat: 0.3 g
  • Carbohydrates: 39 g
  • Fiber: 3 g
  • Protein: 25 g
  • Cholesterol: 85 mg

Keywords: Chicken Cobbler Recipe Chicken Biscuit Casserole, Chicken Cobbler Casserole

Did you make this recipe?

Share a photo and tag us — we can't wait to see what you've made!

Categories
Baking Dinner Lunch Recipes

Apple Pie Baked Beans

Apple Pie Baked Beans combine BBQ familiarity with apple pie sweetness. This unusual mix offers a delicious touch to BBQ dinners and starts family conversations. For chefs and amateur cooks alike, this dish offers simplicity and taste in every mouthful.

The Special Allure of Baked Beans with Apple Pie

Apple Pie Baked Beans succeeds by combining old and fresh flavors. Why this recipe stands out:

  • Simplicity: With just a few ingredients, this dish is both easy to prepare and delicious to enjoy.
  • Unique Flavor Combination: The integration of apple pie filling with the savory depth of baked beans yields a truly memorable dish.

FAQs

What is the baking soda trick for beans?

Adding a little bit of baking soda—roughly one teaspoon per cup of dried beans—to your soaking or boiling water will actually speed up the cooking process.

Does putting a potato in beans reduce gas?

Supposedly to “absorb” the gas from the beans, she also added an entire potato to the pot and cooked it. As a consequence, although eating the potato will make you very gassy, eating the beans should make you less so.

What can I add to beans to make them taste better?

While sea salt and water-cooked dried beans are great, adding an onion, garlic, or other aromatic to the pot can enhance their taste!

Overview of Ingredients

The key to this dish lies in its ingredients, which are both minimal and impactful.

  • There is no sugar-added apple pie filling (16 ounces).
  • Bush’s original baked beans, also known as Showboat (55 ounces), are available.
  • Your favorite BBQ sauce (½ cup)
  • Favorite BBQ rub/seasoning (2 tablespoons)

Tips for excellent apple pie-baked beans 

Achieving the perfect batch of apple pie baked beans is easier than you might think. Here are some expert tips:

Ingredient Enhancements

Adding additions to canned baked beans may turn them from a basic side dish into a gourmet experience. Apple pie filling gives a distinct sweetness, and a little of your favorite BBQ sauce enhances the taste. A dusting of BBQ rub may give even another dimension of flavor, balancing the savoury and the sweet just so.

The Role of Apples

Cooking beans with apples adds a delicious touch. The beans have a rich, delicious richness from the caramelization of the natural sugars in apples. When apples are sweet and the beans are salty, like in Apple Pie Baked Beans, this combination works very well.

Elevating Techniques

The addition of various flavors is one way to improve baked beans. Sautéing onions and garlic before adding the beans can create an aromatic base. The richness of the meal is increased with smoked bacon or spices like cumin and paprika.

Flavor Enhancements

The addition of more spices and condiments is essential to improving the taste of canned beans even more. Spices like bay leaves and thyme, as well as mustard and chili powder, add aroma to the beans. A spoonful of molasses or a splash of vinegar may provide sweetness and acidity to balance things out and provide a more interesting and filling meal.

Additional Tips for Better Apple pie baked beans

Look at both texture and taste improvements when adding more to your beans. Ingredients like chopped tomatoes, crispy bacon, or even dark chocolate may offer new flavor aspects. The simple beans may also become a spectacular side dish by adding tart ingredients like apple cider vinegar or BBQ sauce.

Readers who want to try different ways to cook beans might want to check out Air Fryer Baked Beans for a quick and easy option.

Customizing Your Dish

Tailor this dish to suit your taste or dietary preferences with these simple modifications:

  • Vegan Adaptation: Use vegan-friendly beans and a plant-based BBQ sauce.
  • Additional Flavors: Consider adding smoked paprika or a pinch of cinnamon for a deeper flavor profile.

Ideal Pairings for Apple Pie Baked Beans

This dish pairs beautifully with various main courses and sides. For a perfect BBQ menu, consider:

  • Grilled meats, like chicken or pork
  • A fresh coleslaw or green salad
  • Cornbread or crusty bread

Why not serve the Sloppy Joe recipe at your BBQ? For a particular touch, serve smoked potato salad.

Health Benefits

Apple Pie Baked Beans are not just tasty—they’re also nutritious.

  • Fiber-Rich: Both apples and beans are great sources of dietary fiber.
  • Vitamin-Packed: Apples provide vitamin C, while beans offer protein and iron.

Want to make sweet baked beans? Share your ingredients and experiences! Show us your projects and tell us about any changes. Share your images and comments here or on social media using #UniqueBBQTwist.

Print

Apple Pie Baked Beans

Make your BBQs unforgettable with our Apple Pie Baked Beans recipe. Quick prep, rich flavors, and health benefits in every bite.

  • Author: Gabriela cardenas
  • Prep Time: 15 minutes
  • Cook Time: 1 hour 30 minutes
  • Total Time: 1 hour 45 minutes
  • Yield: 6
  • Category: Side Dish
  • Method: Baking/Smoking/Grilling
  • Cuisine: American
  • Diet: Gluten Free

Ingredients

  • 1 (16 oz) can of no sugar added apple pie filling
  • 1 (55 oz) can of Bush’s Original Baked Beans or Showboat
  • ½ cup of your favorite BBQ sauce
  • 2 tablespoons of your favorite BBQ rub/seasoning
  • Optional for extra flavor: chopped bell pepper, chopped onion, jalapeno slices, bacon on top, minced garlic

Instructions

  1. Preheat your oven to 325°F (163°C).
  2. In a large baking dish, combine the apple pie filling with the BBQ sauce and BBQ rub/seasoning.
  3. Gently blend the mixture using an immersion blender or pulse a few times in a food processor to slightly break up the apples.
  4. Stir in the canned baked beans until well mixed.
  5. Bake in the preheated oven for 1.5 hours, stirring occasionally to ensure even cooking.
  6. Serve warm as a side dish at your next BBQ

Notes

  • Flavor Variations: Feel free to experiment with different pie fillings like cherry or peach for a unique twist.
  • Vegan Option: Omit bacon or use a vegan alternative for a plant-based version.
  • Storage: Store leftovers in an airtight container in the fridge for up to 3 days.

Keywords: apple pie baked beans

Did you make this recipe?

Share a photo and tag us — we can't wait to see what you've made!


Exit mobile version