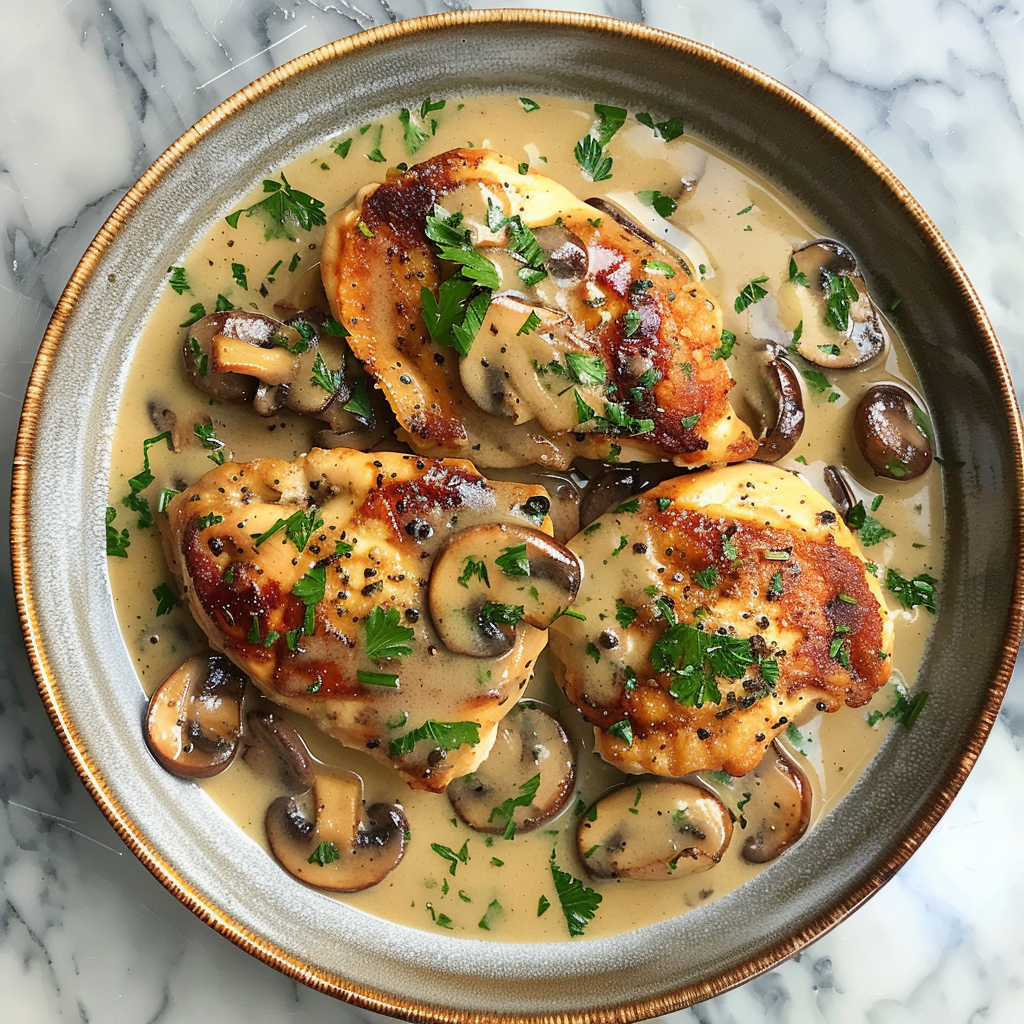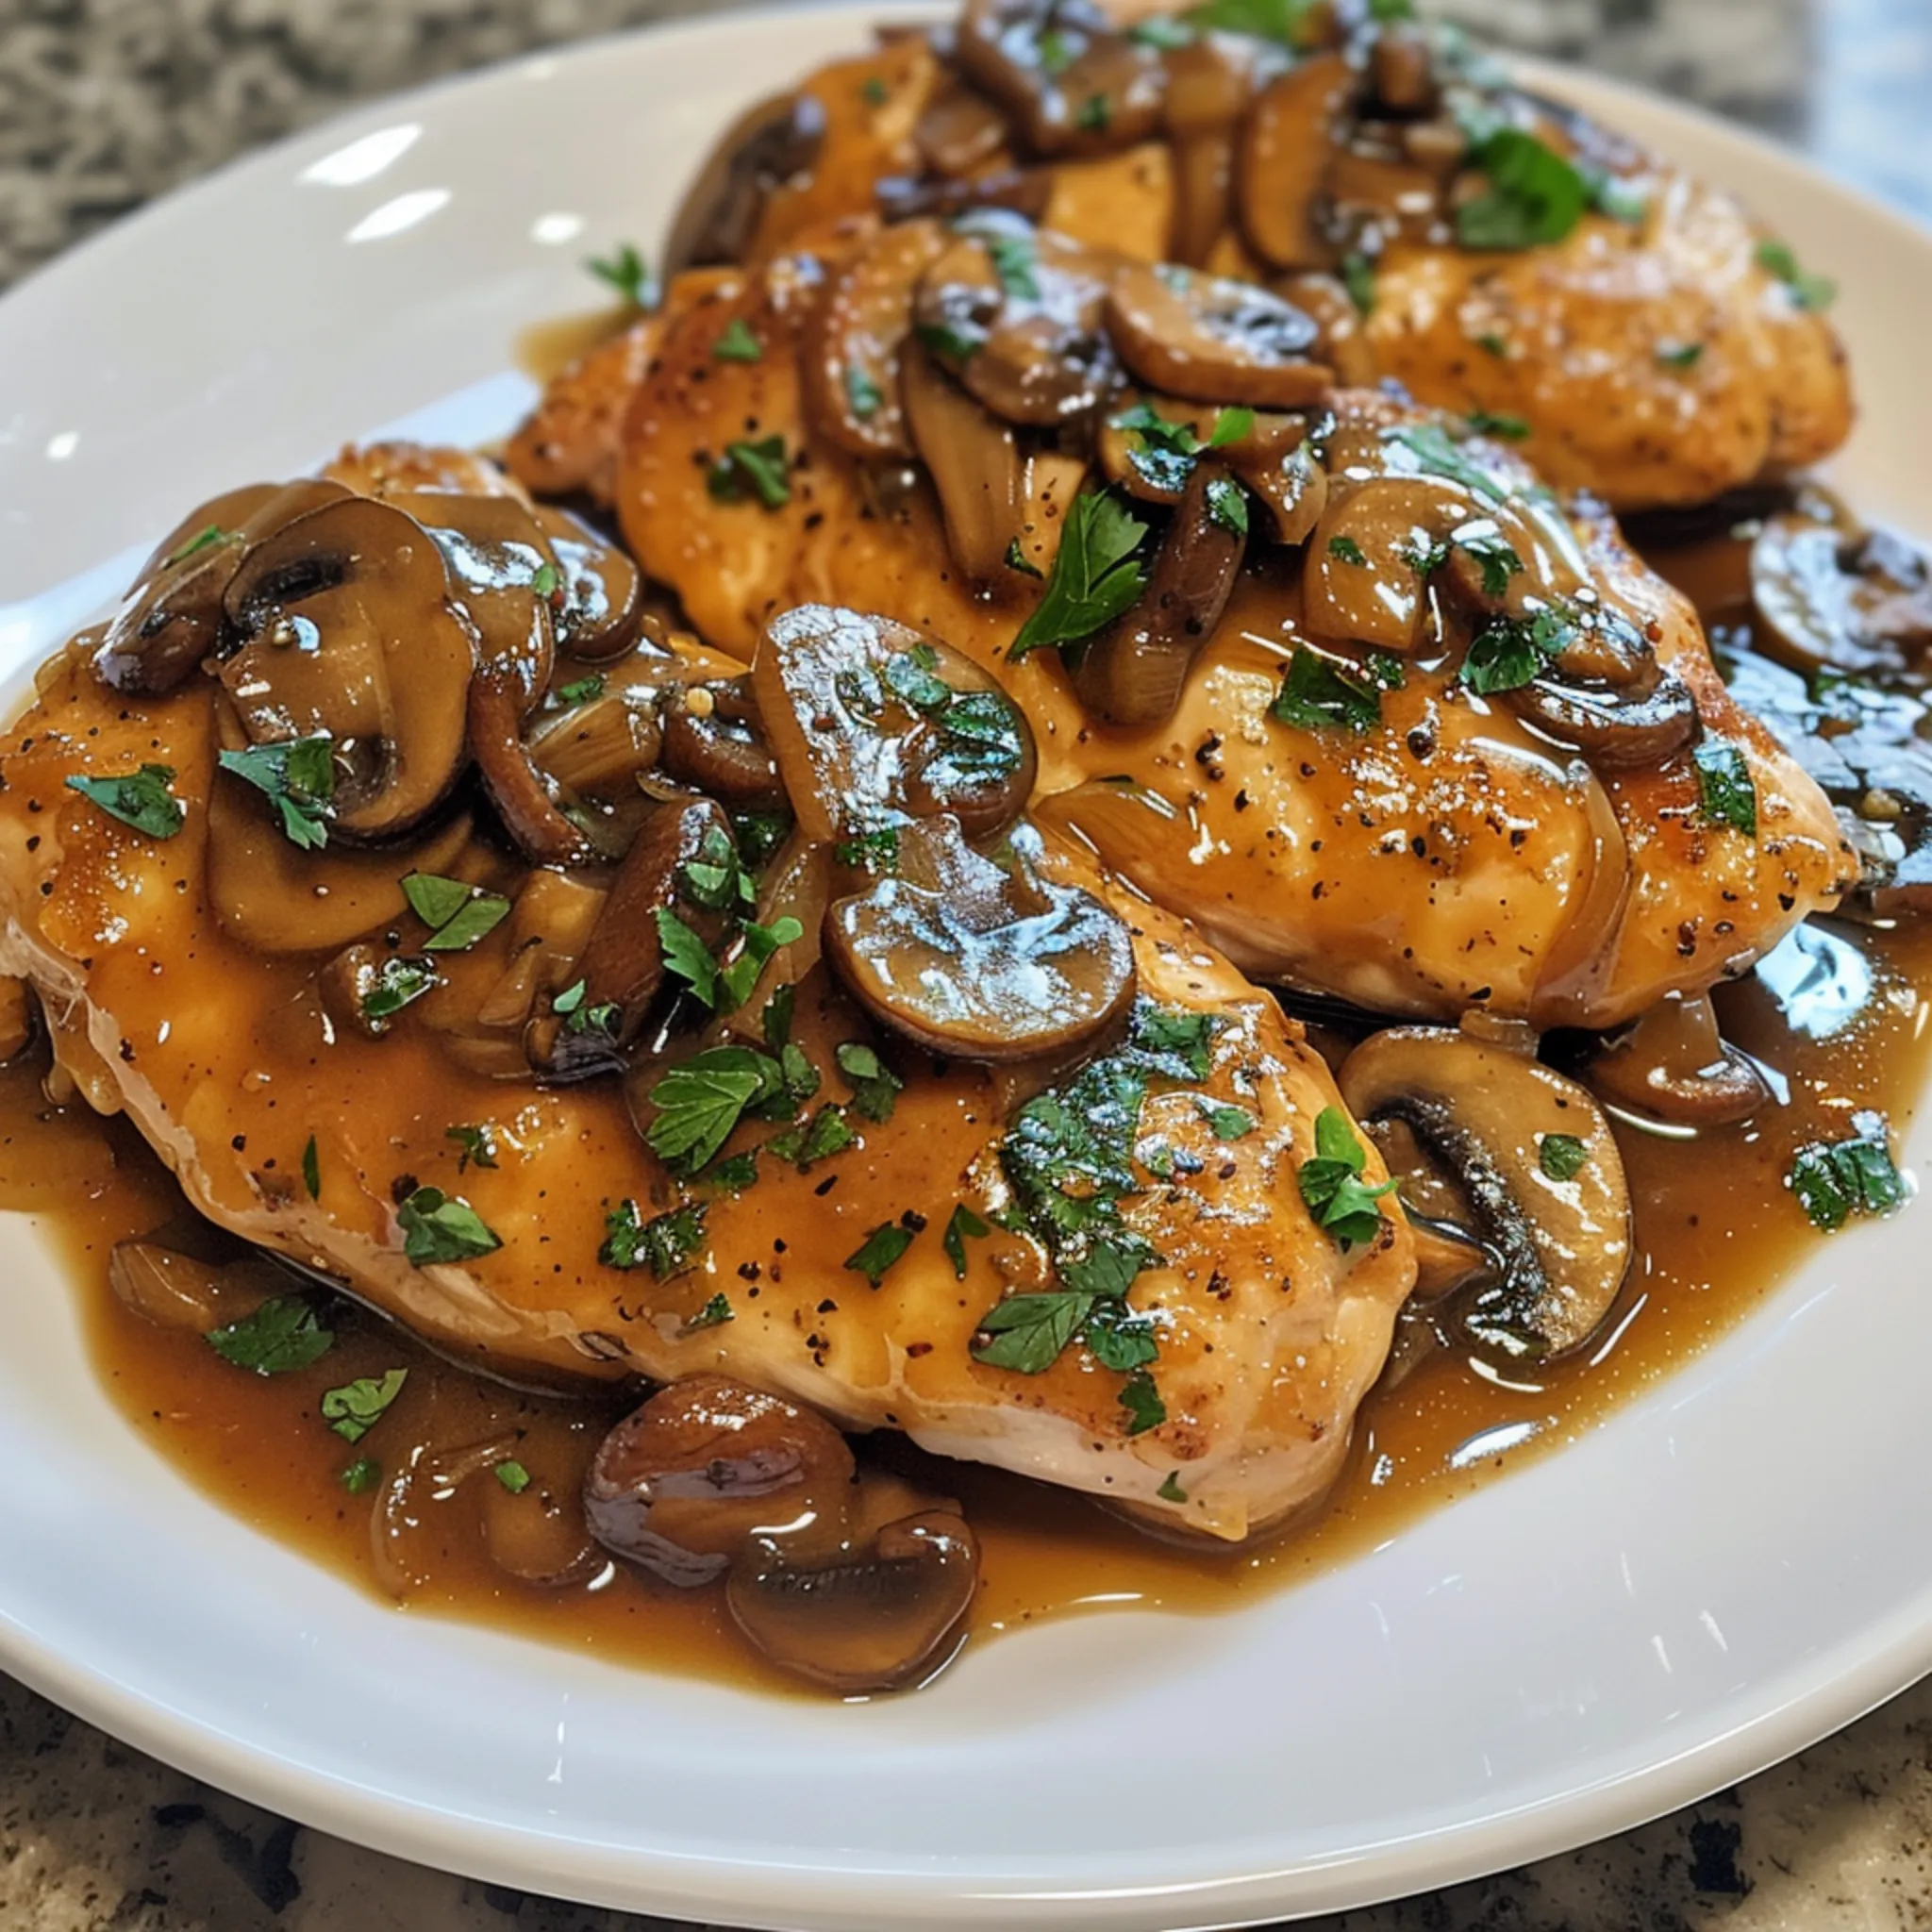
Do you desire something lovely and cozy? You only need to look at the chicken marsala! With its extraordinarily tasty Marsala wine sauce, this Italian-American staple has won hearts (and stomachs) for decades. The rich, flavorful sauce and soft, pan-fried chicken make it a restaurant favorite, but what’s even more satisfying? This enchantment is quite easy to duplicate at home.
Let us examine the main ingredients that give chicken marsala its unique flavor.
Overview of Chicken Marsala Ingredients
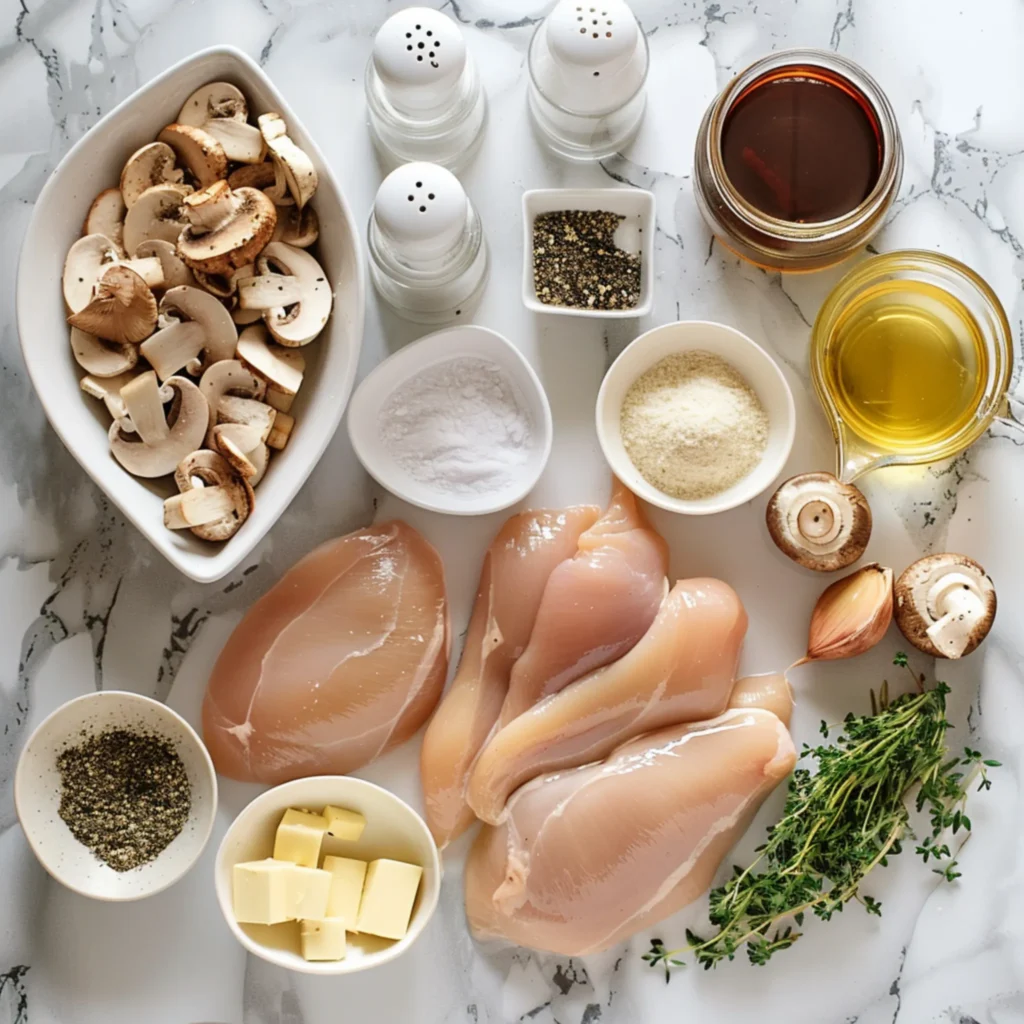
Rich tastes and a cozy charm characterize the wonderful Italian-American meal chicken marsala. The main components that give this meal its uniqueness are broken down here:
Primary Ingredients:
Chicken Breasts: The dish has a moist, soft texture when dredged in flour and pan-fried.
Marsala Wine: The dish has a moist, soft base when dredged in flour and pan-fried.
Mushrooms improve flavor overall by adding texture and earthy richness to the sauce.
Garlic: Provides a robust and aromatic foundation for the sauce.
Shallots: Give the sauce richness and subdued sweetness.
Chicken Broth: Incorporating the browned bits from the chicken helps deglaze the pan and gives the sauce a delicious depth.
Heavy Cream (Optional): Adds creaminess and richness to the sauce, making it more indulgent.
Seasoning enhances and balances the flavors of the dish.
Combining these components will produce a cozy, visually stunning, rich, and savory chicken marsala. Every component—from the silky Marsala wine sauce to the delicate, pan-fried chicken—contributes significantly to the dish’s nuanced profile.
After reviewing the key ingredients, let’s analyze a popular restaurant rendition of this classic meal.
Chef’s Secrets: Techniques for the Ideal Marsala Chicken Recipe
With this professional advice, turn your home kitchen into a gourmet sanctuary.
Chicken Perfection
Cook and Tenderize: Press the chicken breasts to a consistent 1/4-inch thickness. This keeps the chicken moist and avoids dry, overdone pieces.
The key is seasoning. Pay attention to the need to properly season food. Liberally season the chicken with salt and pepper before dredging for the best flavor.
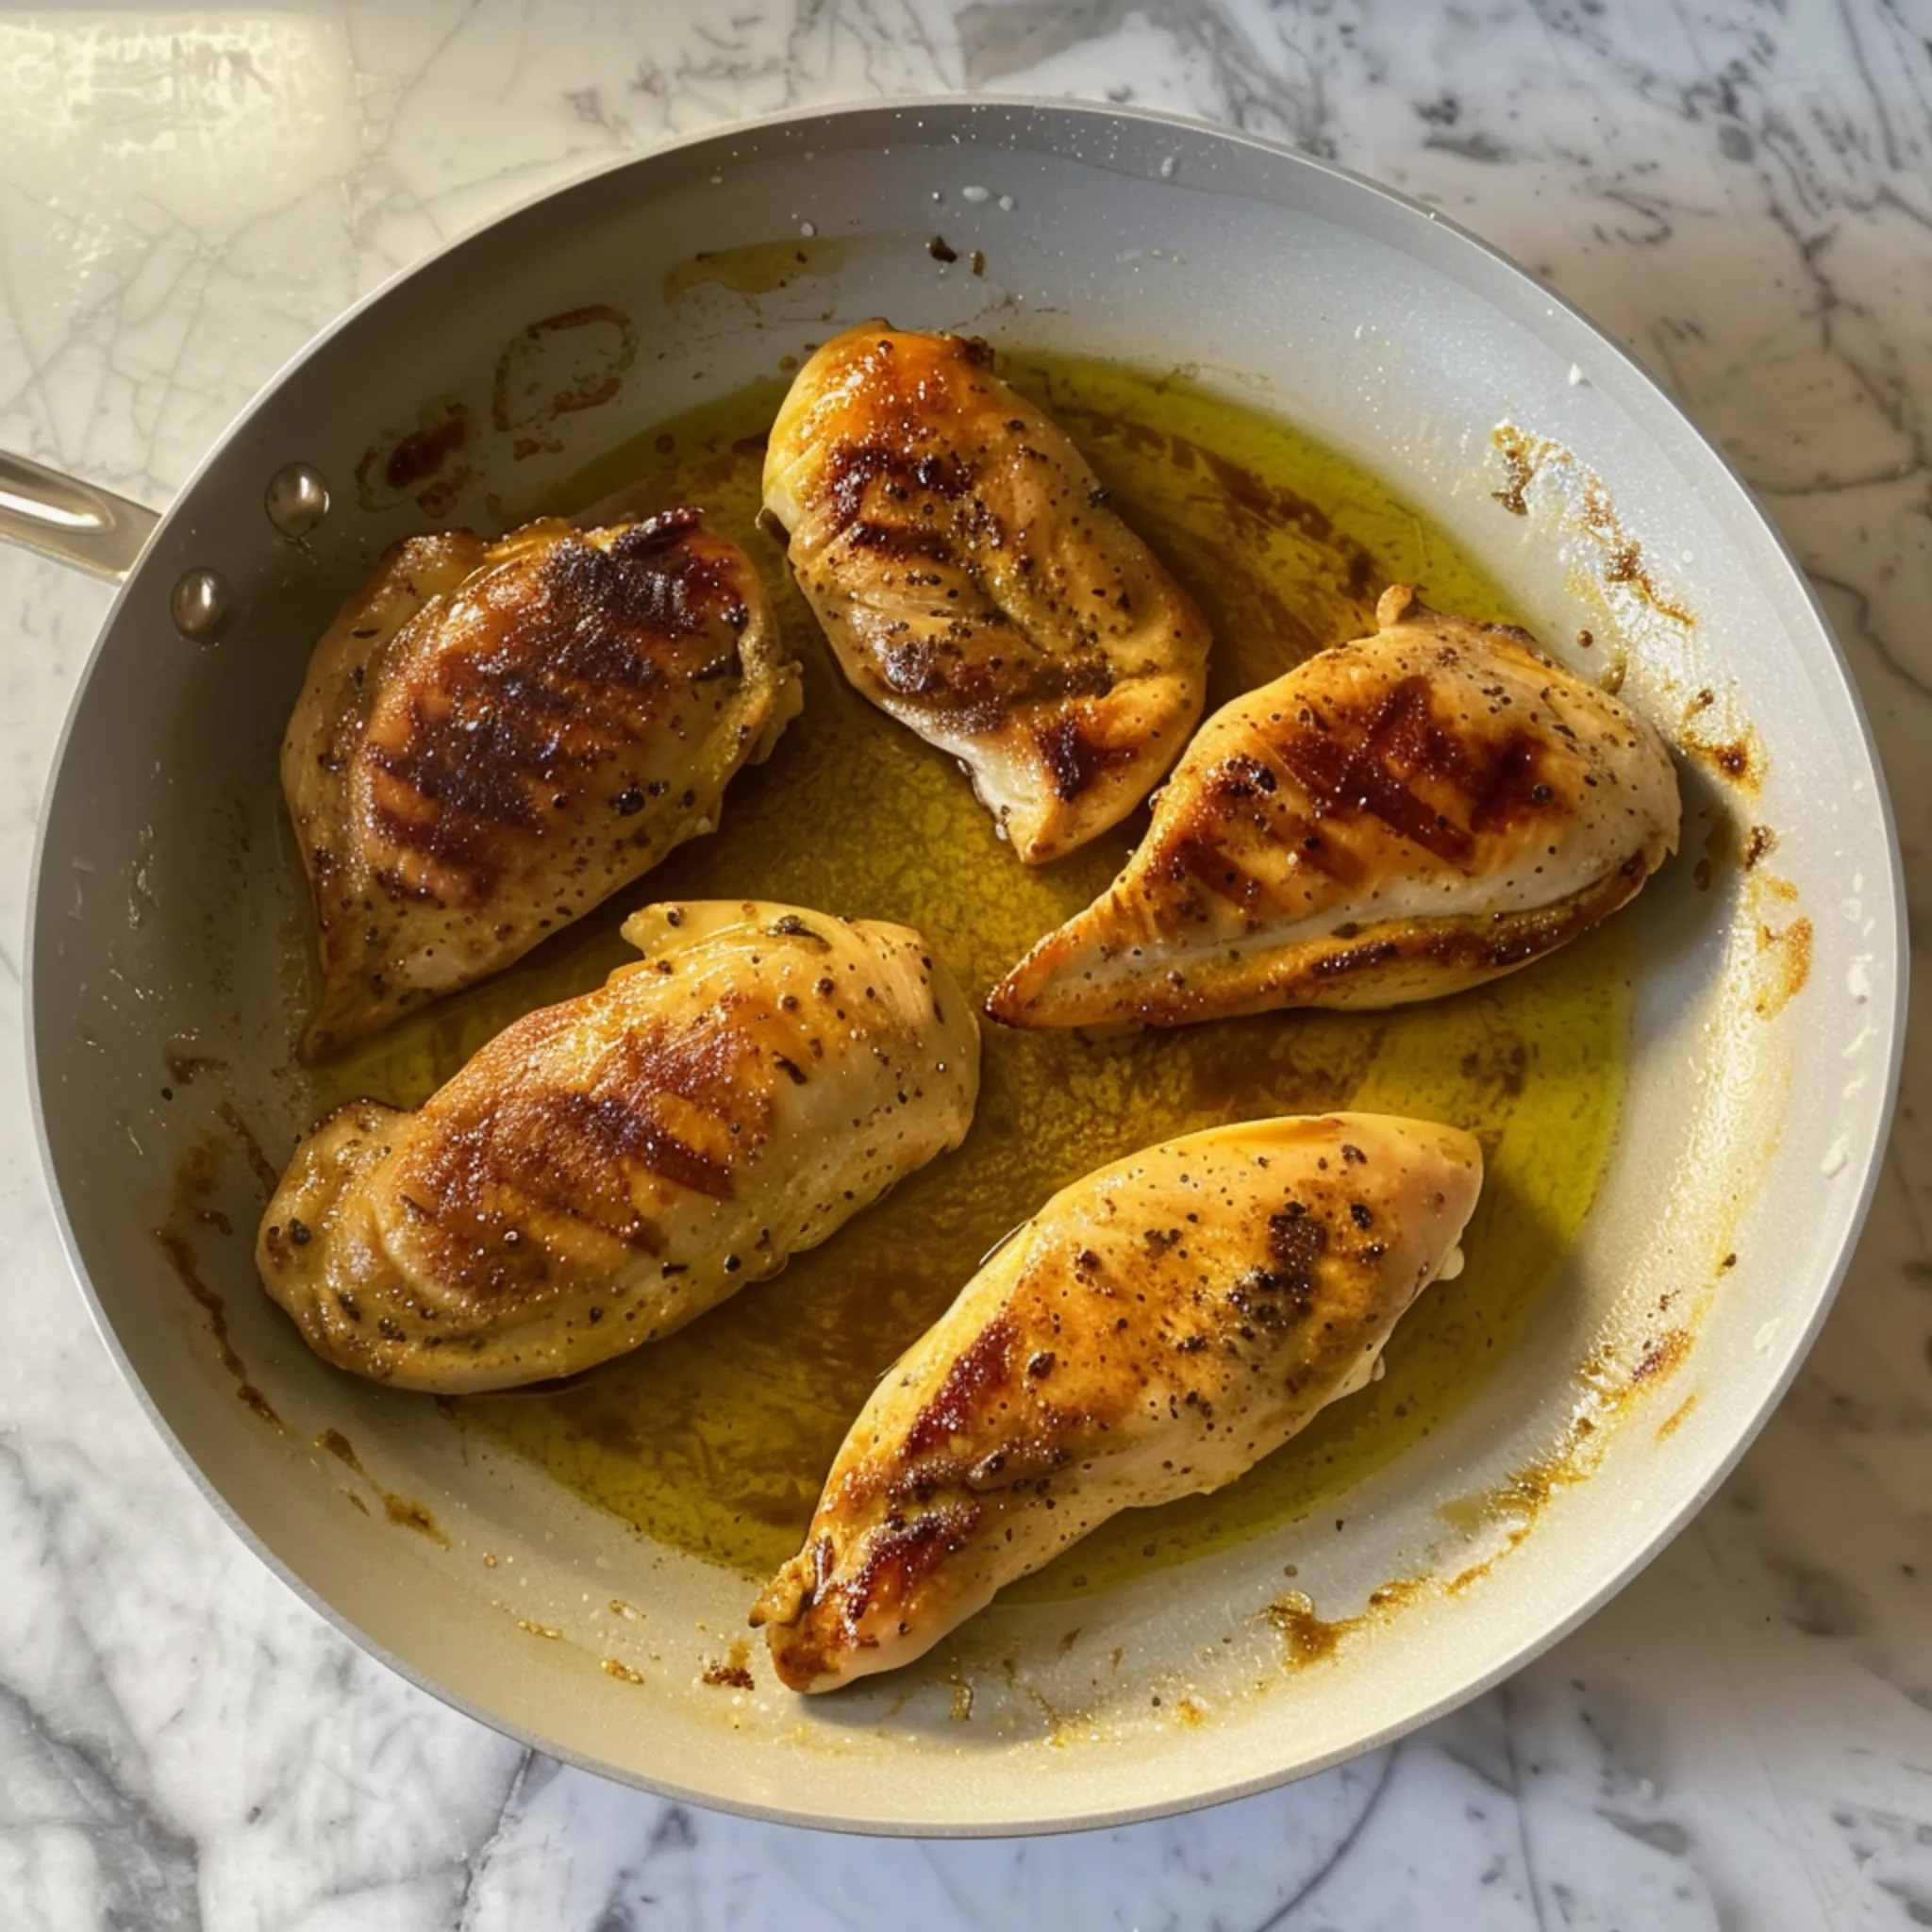
For flavor, searing means heating your pan with butter or oil until it shimmers. When hot, carefully add the chicken and sear, stirring occasionally, until golden brown. This keeps the inside moist and forms a tasty crust.
Senses of Sauce
Never Skip the Glazing: After removing the grilled chicken, pour Marsala wine into the pan. This gives your sauce an amazing, rich flavor by releasing the browned particles clinging to the pan’s bottom.
Simmering Marsala wine for a few minutes will reduce it and concentrate its flavor. As a result, the sauce will naturally thicken.
Cornstarch Slurry: To make a more controlled thickening, slurry one tablespoon of cornstarch with a little cold water. Whisk it gradually into the simmering sauce until you like the consistency.
Creamy Dream: Whisk in the cream or other dairy substitute once the sauce has thickened somewhat. After adding cream, watch out for the sauce to not boil, as it may curdle.
Further Advice
Cooking the chicken in batches will help prevent packing the skillet too full. It also keeps the chicken from boiling rather than scorching and guarantees equal browning.
Resting is Crucial: After cooking, give the chicken a short while before serving. This will result in a more tender and delicious chicken, as the liquids will re-distribute throughout the meat.
Fresh Herbs for a Finishing Touch: Just before serving, scatter fresh herbs like thyme or parsley over your chicken marsala for an additional dimension of flavor and scent.
This chef’s advice will have you well on your way to making a rich, delicious sauce and properly cooked chicken that is worthy of a restaurant. So strap on your apron, turn on the burner, and get ready to wow your palate!
With the fundamentals mastered, it’s time to get creative in the kitchen. Let’s examine a few methods to make your Chicken Marsala more your own.
Unleash Your Inner Chef: Customizing Your Chicken Marsala
Though its versatility is its charm, chicken marsala provides a tasty basis. Here are a few suggestions to make a Chicken Marsala that is distinctively your own:
Sensations of Sauciness
Creamy Dream: Cream makes a creamy, silky sauce in this traditional dish. For a truly decadent experience, think about substituting heavy cream.
Lighter Touch: To get the right consistency, blend cream and broth or low-fat or fat-free cream.
Stir in shredded mozzarella or grated Parmesan cheese near the end for a funky twist.
Add a dash of cayenne pepper or red pepper flakes to give the sauce a little bite.
The Protein Superpower
Beyond Chicken: While chicken is the classic protein, for a tasty change of pace, try veal cutlets or boneless, skinless pork chops.
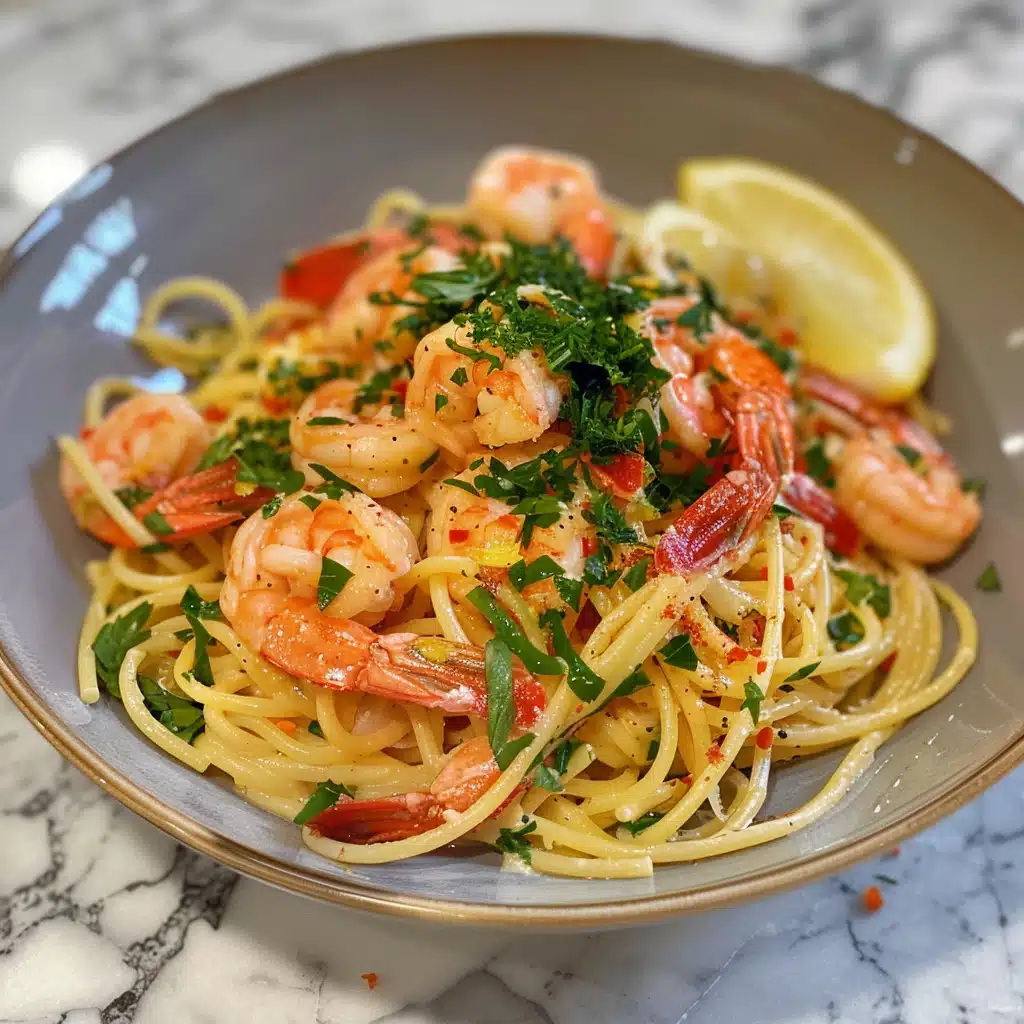
For a lighter and more sophisticated dish, replace the chicken with shrimp, scallops, or a combination of seafood.
Vegetable Medley
Classic Cremini: Marsala sauce goes incredibly well with the earthy flavor of cremini mushrooms. For a stronger flavor, try portobellos or shiitakes for a deeper umami note.
Haven of Herbs
Freshness First off, fresh herbs make everything better. While oregano or thyme are used in the traditional recipe, you might also try:
The sage adds a warm, earthy scent.
Rosemary has a strong, almost piney flavor.
Basil has a crisp taste and a touch of sweetness.
Past The Plate
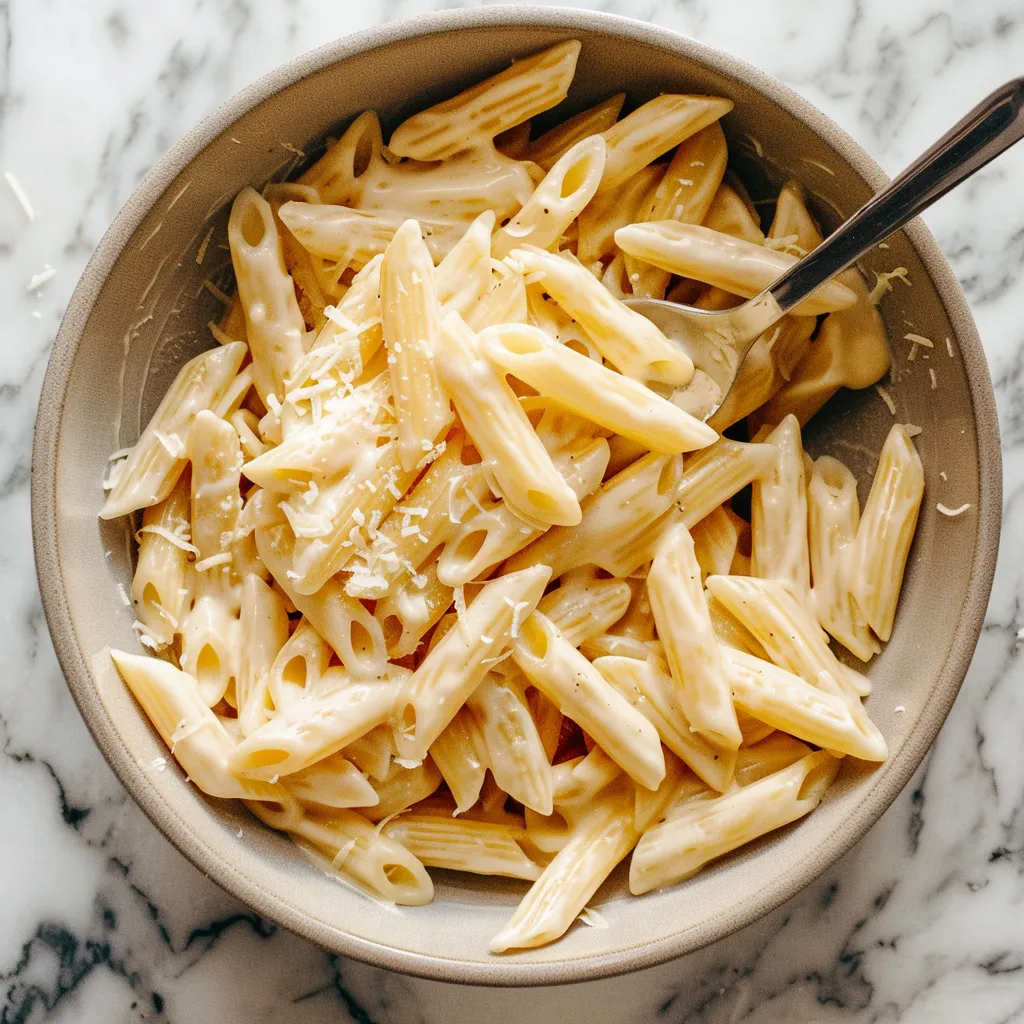
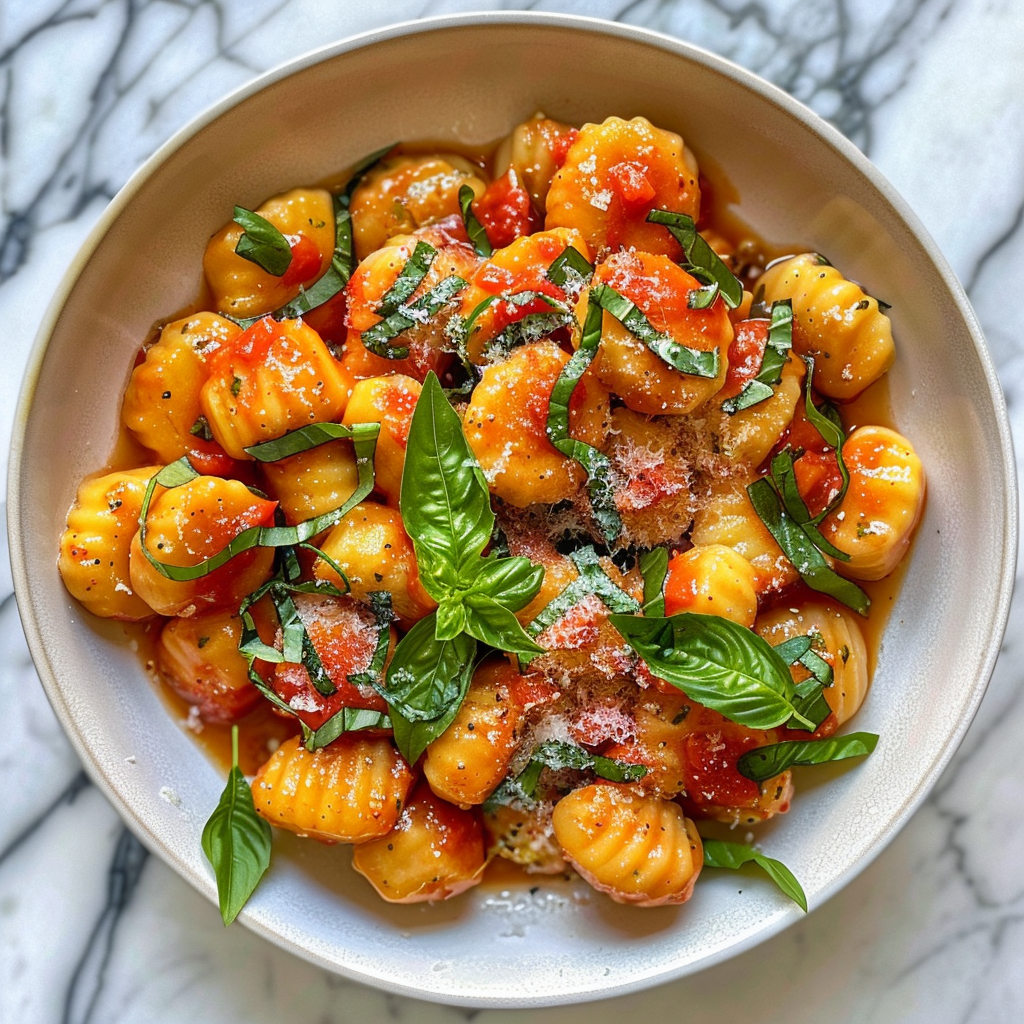
Pasta Perfection: While fettuccine is often chosen, penne or gnocchi work well with the sauce.
Grainy Goodness: For a healthier choice, try substituting brown rice or quinoa for pasta.
Roasted Delight: For a well-rounded dinner, serve your chicken marsala with a side of roasted veggies like Brussels sprouts, broccoli, or asparagus.
Although you can make your chicken marsala however you choose, combining it with the proper side dishes and drinks can really make your dinner shine. Let us examine some ideal combinations.
The Perfect Pairing: Side Dishes and Beverages for Chicken Marsala
Chicken marsala is excellent, but the ideal side dish improves the whole meal. Here are some side dishes and drinks that go really well with this dish’s flavors:
Specialty Side Dishes
A traditional option, spaghetti offers a tasty canvas on which to absorb the thick Marsala wine sauce. Think about these possibilities:
Long and Thin: The delicate chicken pairs well with fettuccine, angel hair, or spaghetti, letting the flavors shine.
Penne, orecchiette, or farfalle are short, filling pastas that can take on a richer sauce.
Tasteful Twists: For further intricacy, try noodles flavored with vegetables or herbs.
Grains
A basic yet tasty choice, rice serves as a canvas for the rich sauce. Consider these choices:
Long-Grain Selections: The fluffy, airy texture of jasmine or basmati rice balances the dish’s richness.
Brown Rice: A more healthful option, brown rice has a little nutty flavor and more fiber.
Pilaf: Elevate your rice game with a delectable pilaf flavored with vegetables, herbs, and spices.
Foods Roasted
Roasted vegetables add a vibrant and healthy touch to your dinner. Consider these suggestions:
The classic trio of roasted asparagus, broccoli, and cherry tomatoes is simple yet filling.
Hearty Selections: Root veggies, such as sweet potatoes, parsnips, and carrots, can provide a filling bite.
Mediterranean Medley: Roasted eggplant, peppers, onions, and zucchini give your dinner a hint of the Mediterranean.
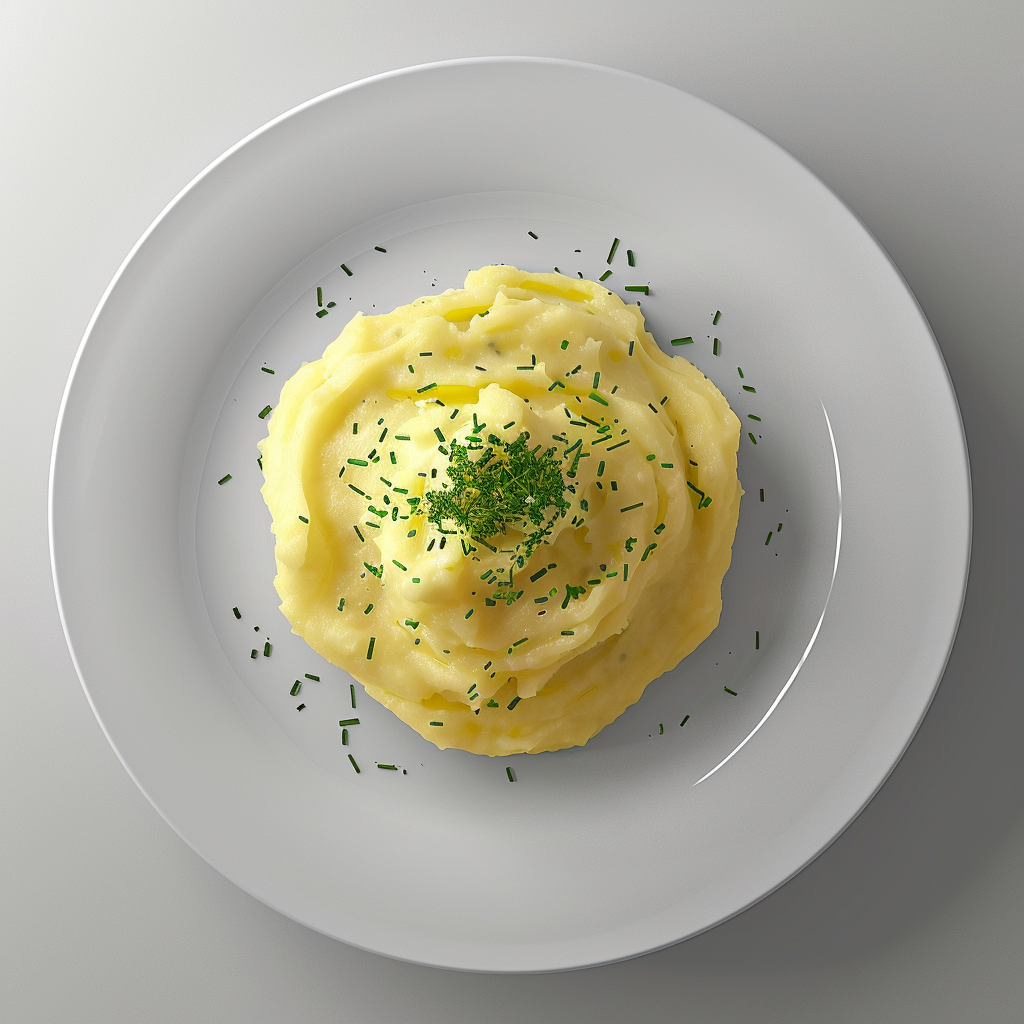
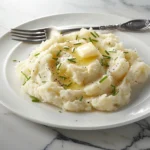
Mashed potatoes
Crispy chicken and flavorful sauce contrast delightfully in texture with creamy mashed potatoes. Their neutral foundation also lets the Marsala taste come through.
To add even more flavor, sprinkle it with shredded cheese, fresh herbs like dill or chives, or even roasted garlic.
Think about how sweet your Marsala sauce is when matching wines.
Match dry Marsala with a Sauvignon Blanc or Pinot Grigio dry white wine.
Sweeter Marsala: Go well with a medium-bodied red wine like Merlot or Pinot Noir.
Dry sherry, especially Pedro Ximenez or Amontillado, might be a good substitute. It tastes nutty, if maybe a little more dry than Marsala. Should your recipe call for sweet Marsala, consider boosting the sherry’s sugar content to achieve a more similar flavor.
Dry White Wine: Riesling or another dry white wine is a lighter option. A dash of brandy or cognac could help compensate for the lack of taste depth.
Selections Without Alcohol
There are still methods to convey the spirit of chicken marsala for individuals who abstain from alcohol:
Balsamic vinegar: Use a small amount of this vinegar to give a hint of acidity and richness of taste akin to Marsala. However, it won’t have the wine’s richness or nutty flavor.
A foundation resembling Marsala wine’s savory and somewhat sweet qualities can be made with chicken broth and added sugar and vinegar. To get the right flavor profile, play around with the sugar and vinegar ratios.
Sparkling Water: A lighter choice, sparkling water squeezed with lime or lemon can help clear the palate and revitalize taste buds between meals.
Iced tea: Another cool choice that won’t overwhelm the dish’s subtle flavors is unsweetened iced tea.
Recall: The secret to selecting the ideal beverage and side dish is to consider how your dinner will balance overall.
Here are three delectable dinners with distinctive twists on Chicken Marsala to inspire you.
Presenting a Trio of Delicious Menus Featuring Chicken Marsala
Menu 1: A Classic Italian-American Feast
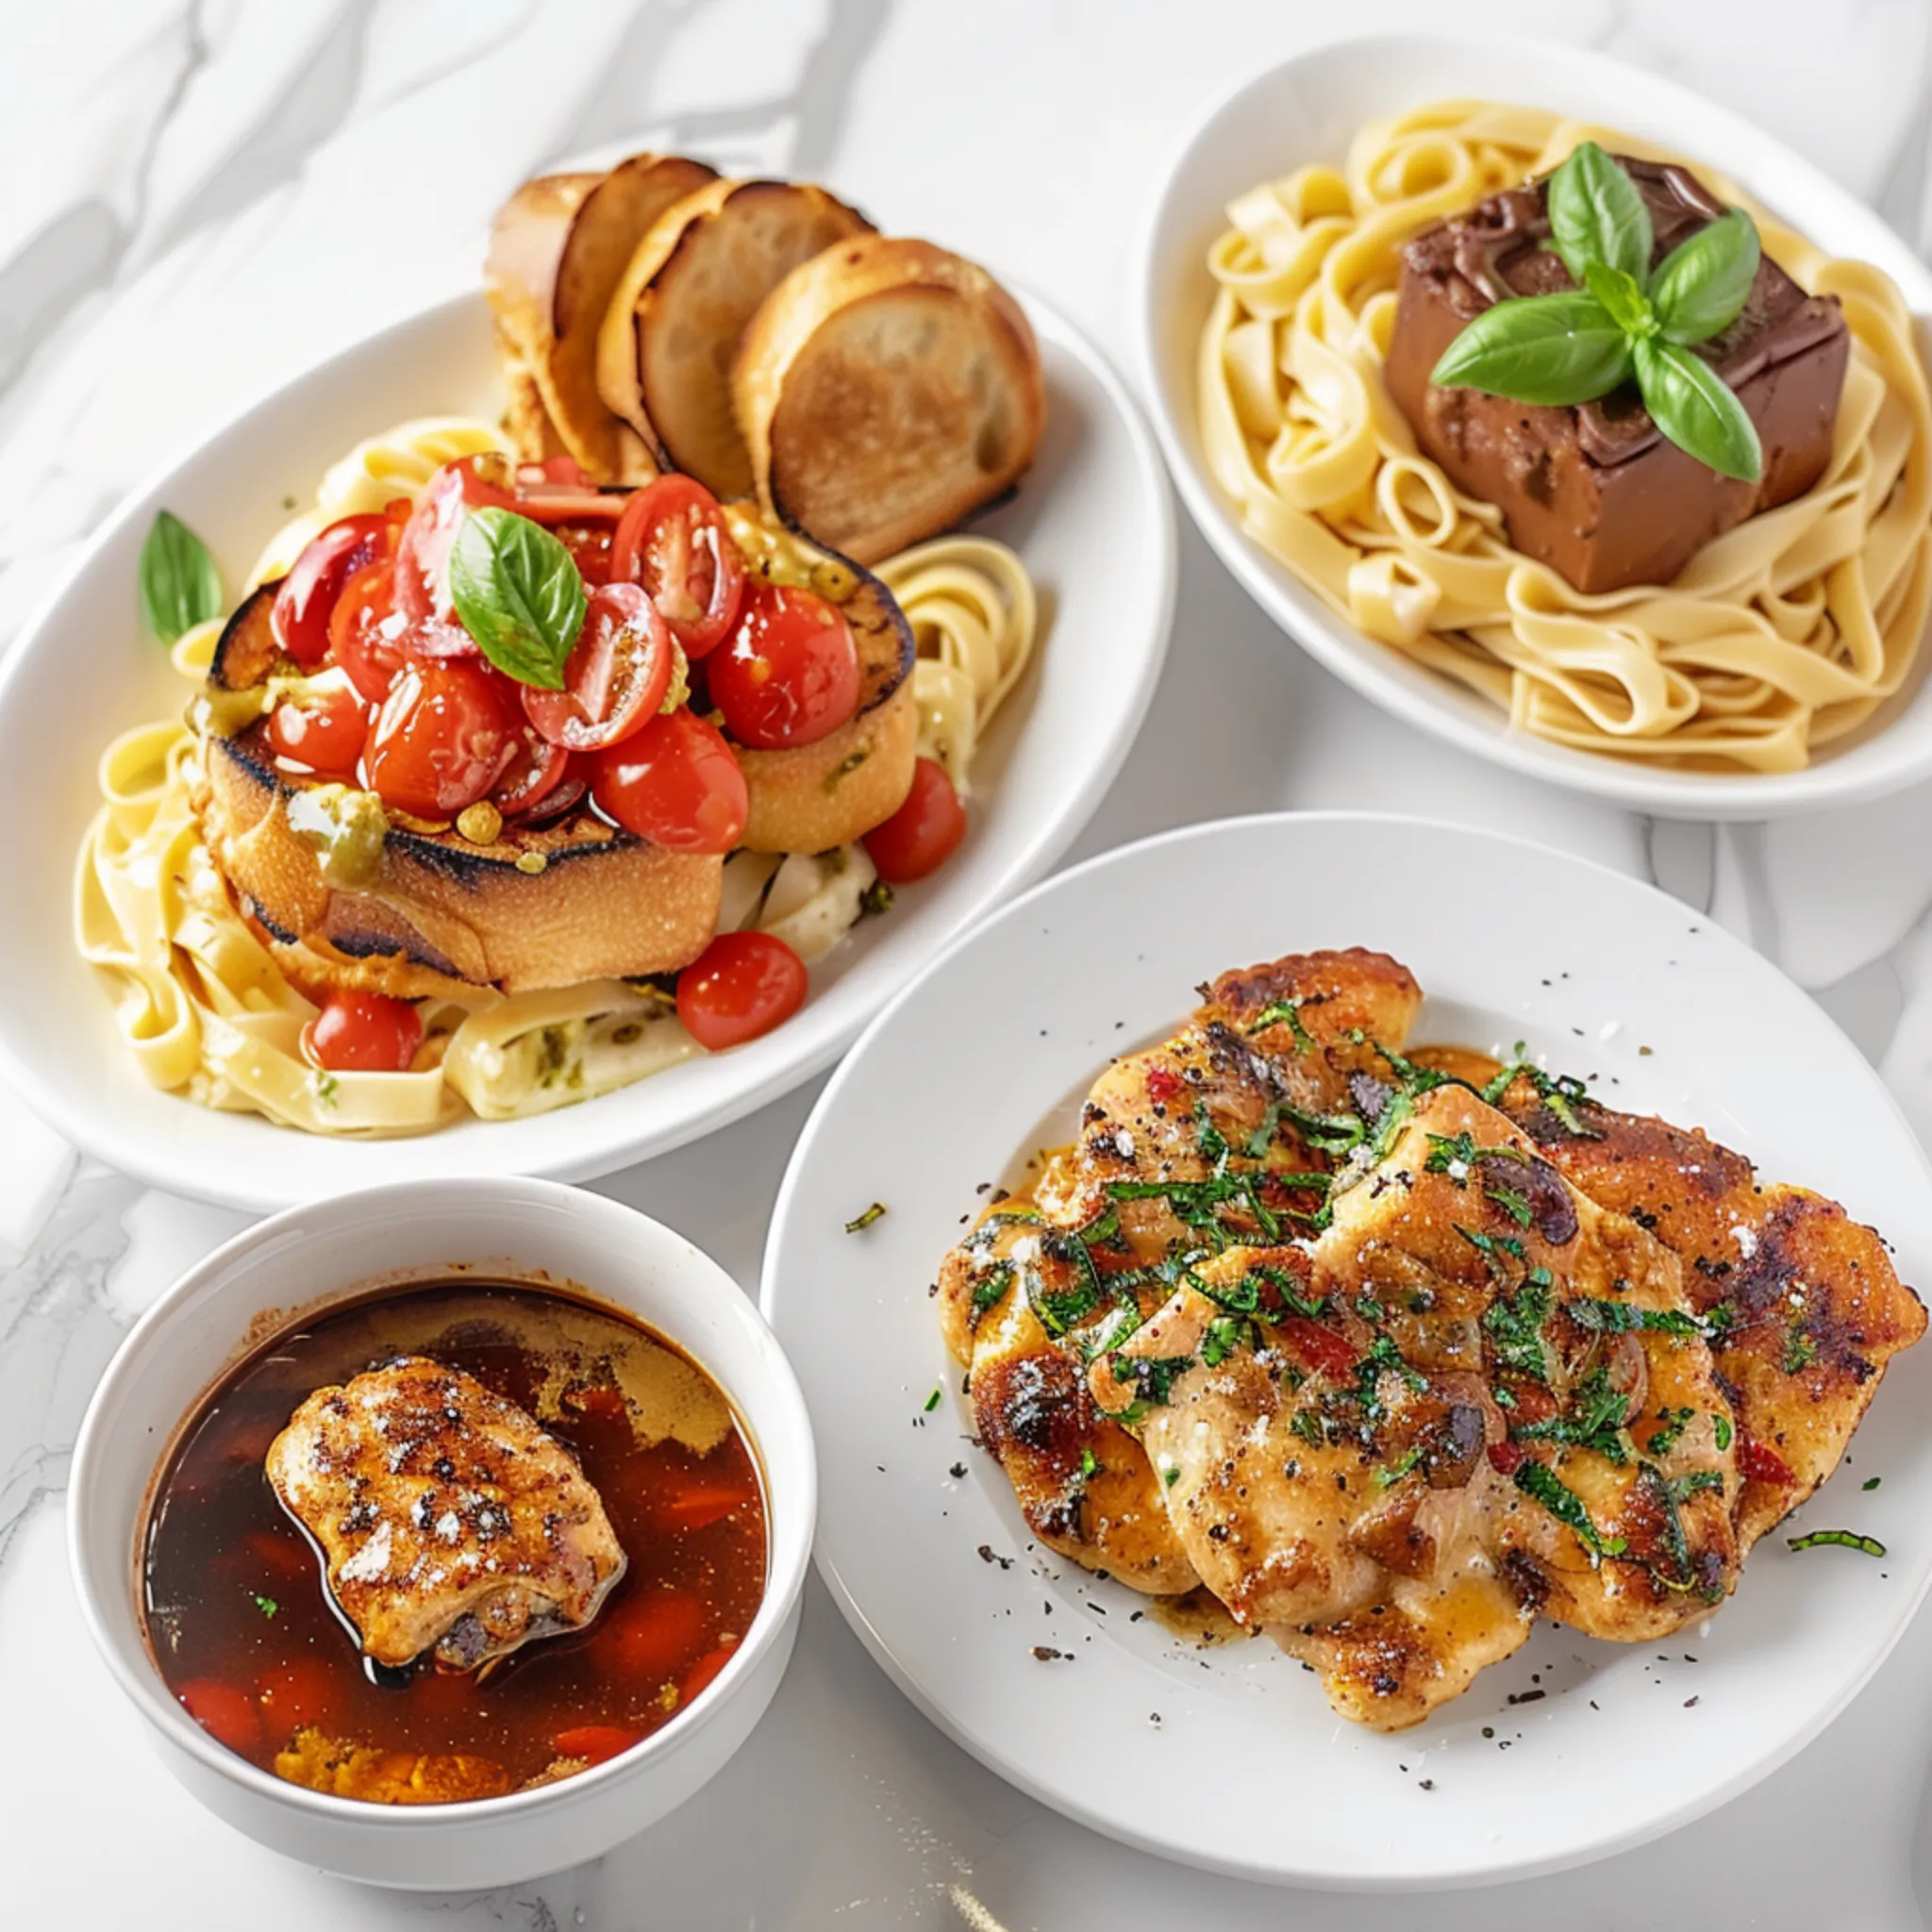
Experience the timeless flavors of Italy with a meal that brings together Bruschetta, Chicken Marsala over fettuccine, Garlic Bread, and Tiramisu.
Appetizer: Bruschetta: toasted bread topped with fresh tomatoes, basil, garlic, and olive oil.
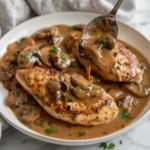
Main Course: Chicken Marsala: Pan-fried chicken cutlets with a rich Marsala wine sauce, served over a bed of fettuccine pasta.
Side Dish: Garlic Bread: Warm, crusty bread infused with garlic butter.
Dessert: Tiramisu: An Italian dessert made with ladyfingers soaked in espresso, layered with mascarpone cream, and dusted with cocoa powder.
Menu 2: A Lighter and Healthier Option
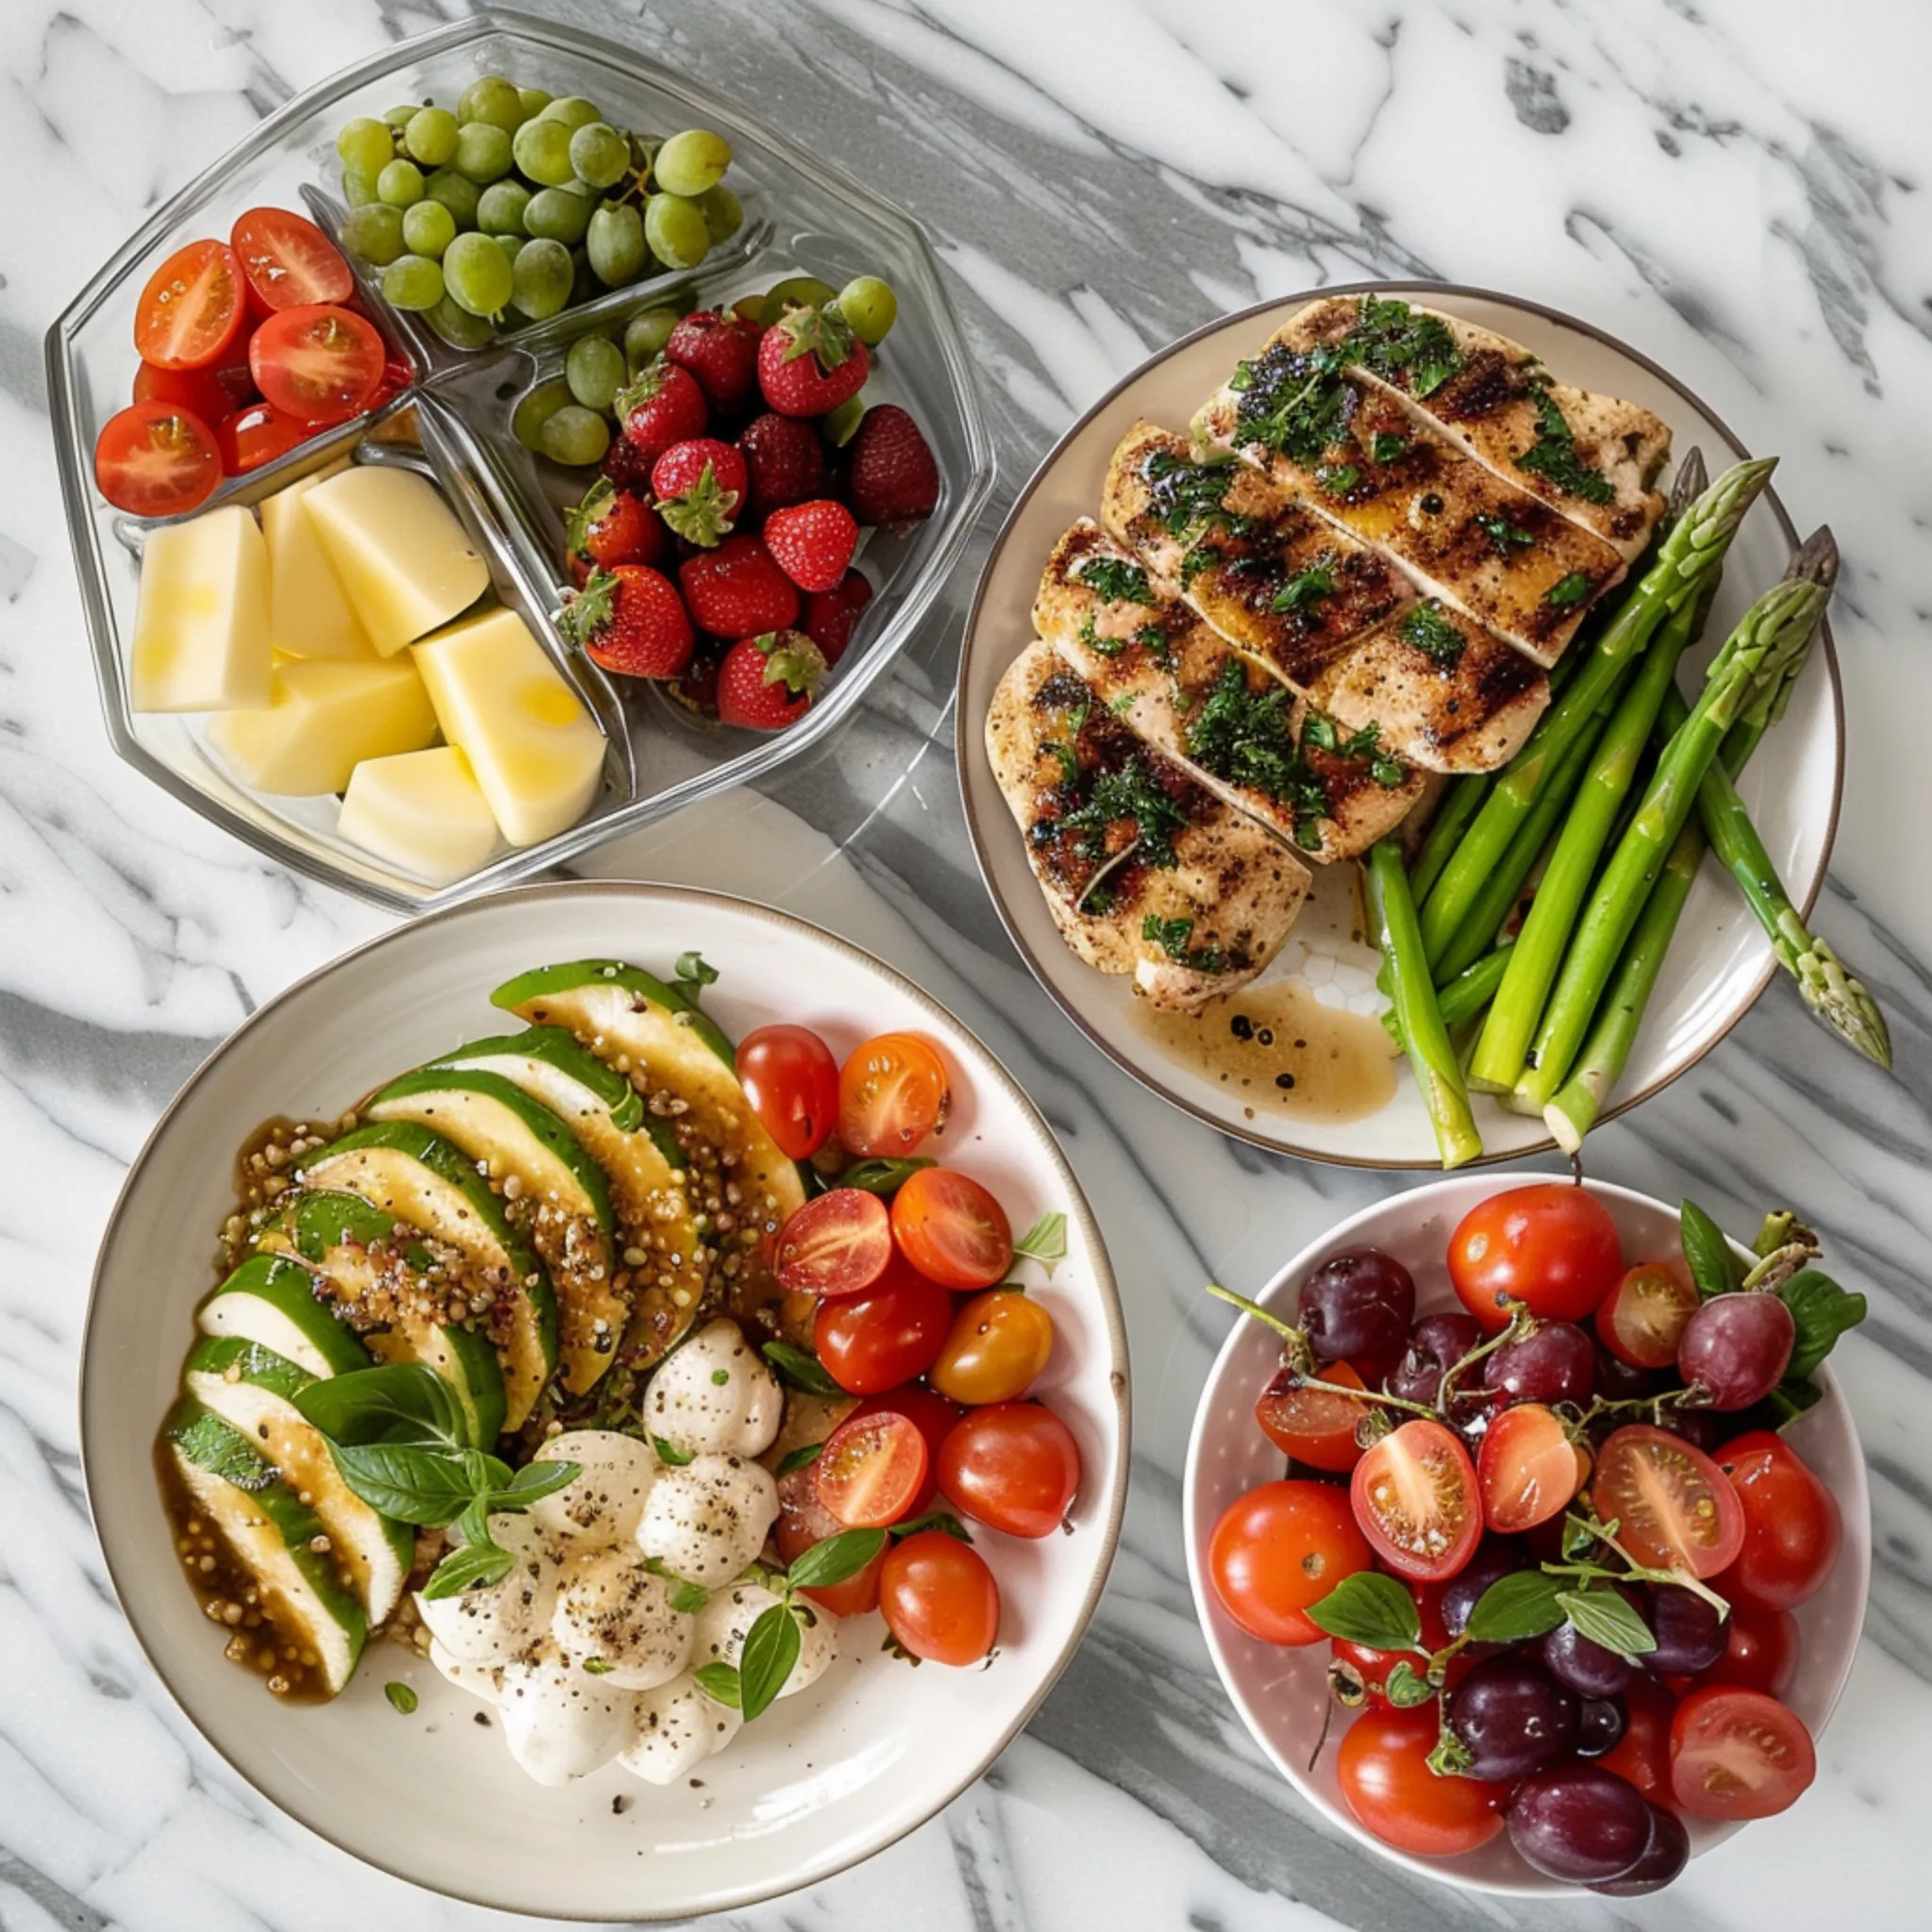
Enjoy a refreshing and nutritious meal featuring Caprese Salad, Chicken Marsala with brown rice, Steamed Asparagus, and Fresh Fruit Salad.
Appetizer: Caprese Salad: Slices of fresh mozzarella cheese, tomatoes, and basil drizzled with olive oil and balsamic vinegar.
Main Course: Chicken Marsala: pan-fried chicken cutlets with a Marsala wine sauce, served over a bed of brown rice.
Side Dish: Steamed asparagus: fresh asparagus spears steamed until tender and drizzled with a lemon-butter sauce.
Dessert: Fresh Fruit Salad: A medley of seasonal fruits, such as berries, grapes, and melon, tossed with a light vinaigrette.
Menu 3: A Gourmet Twist
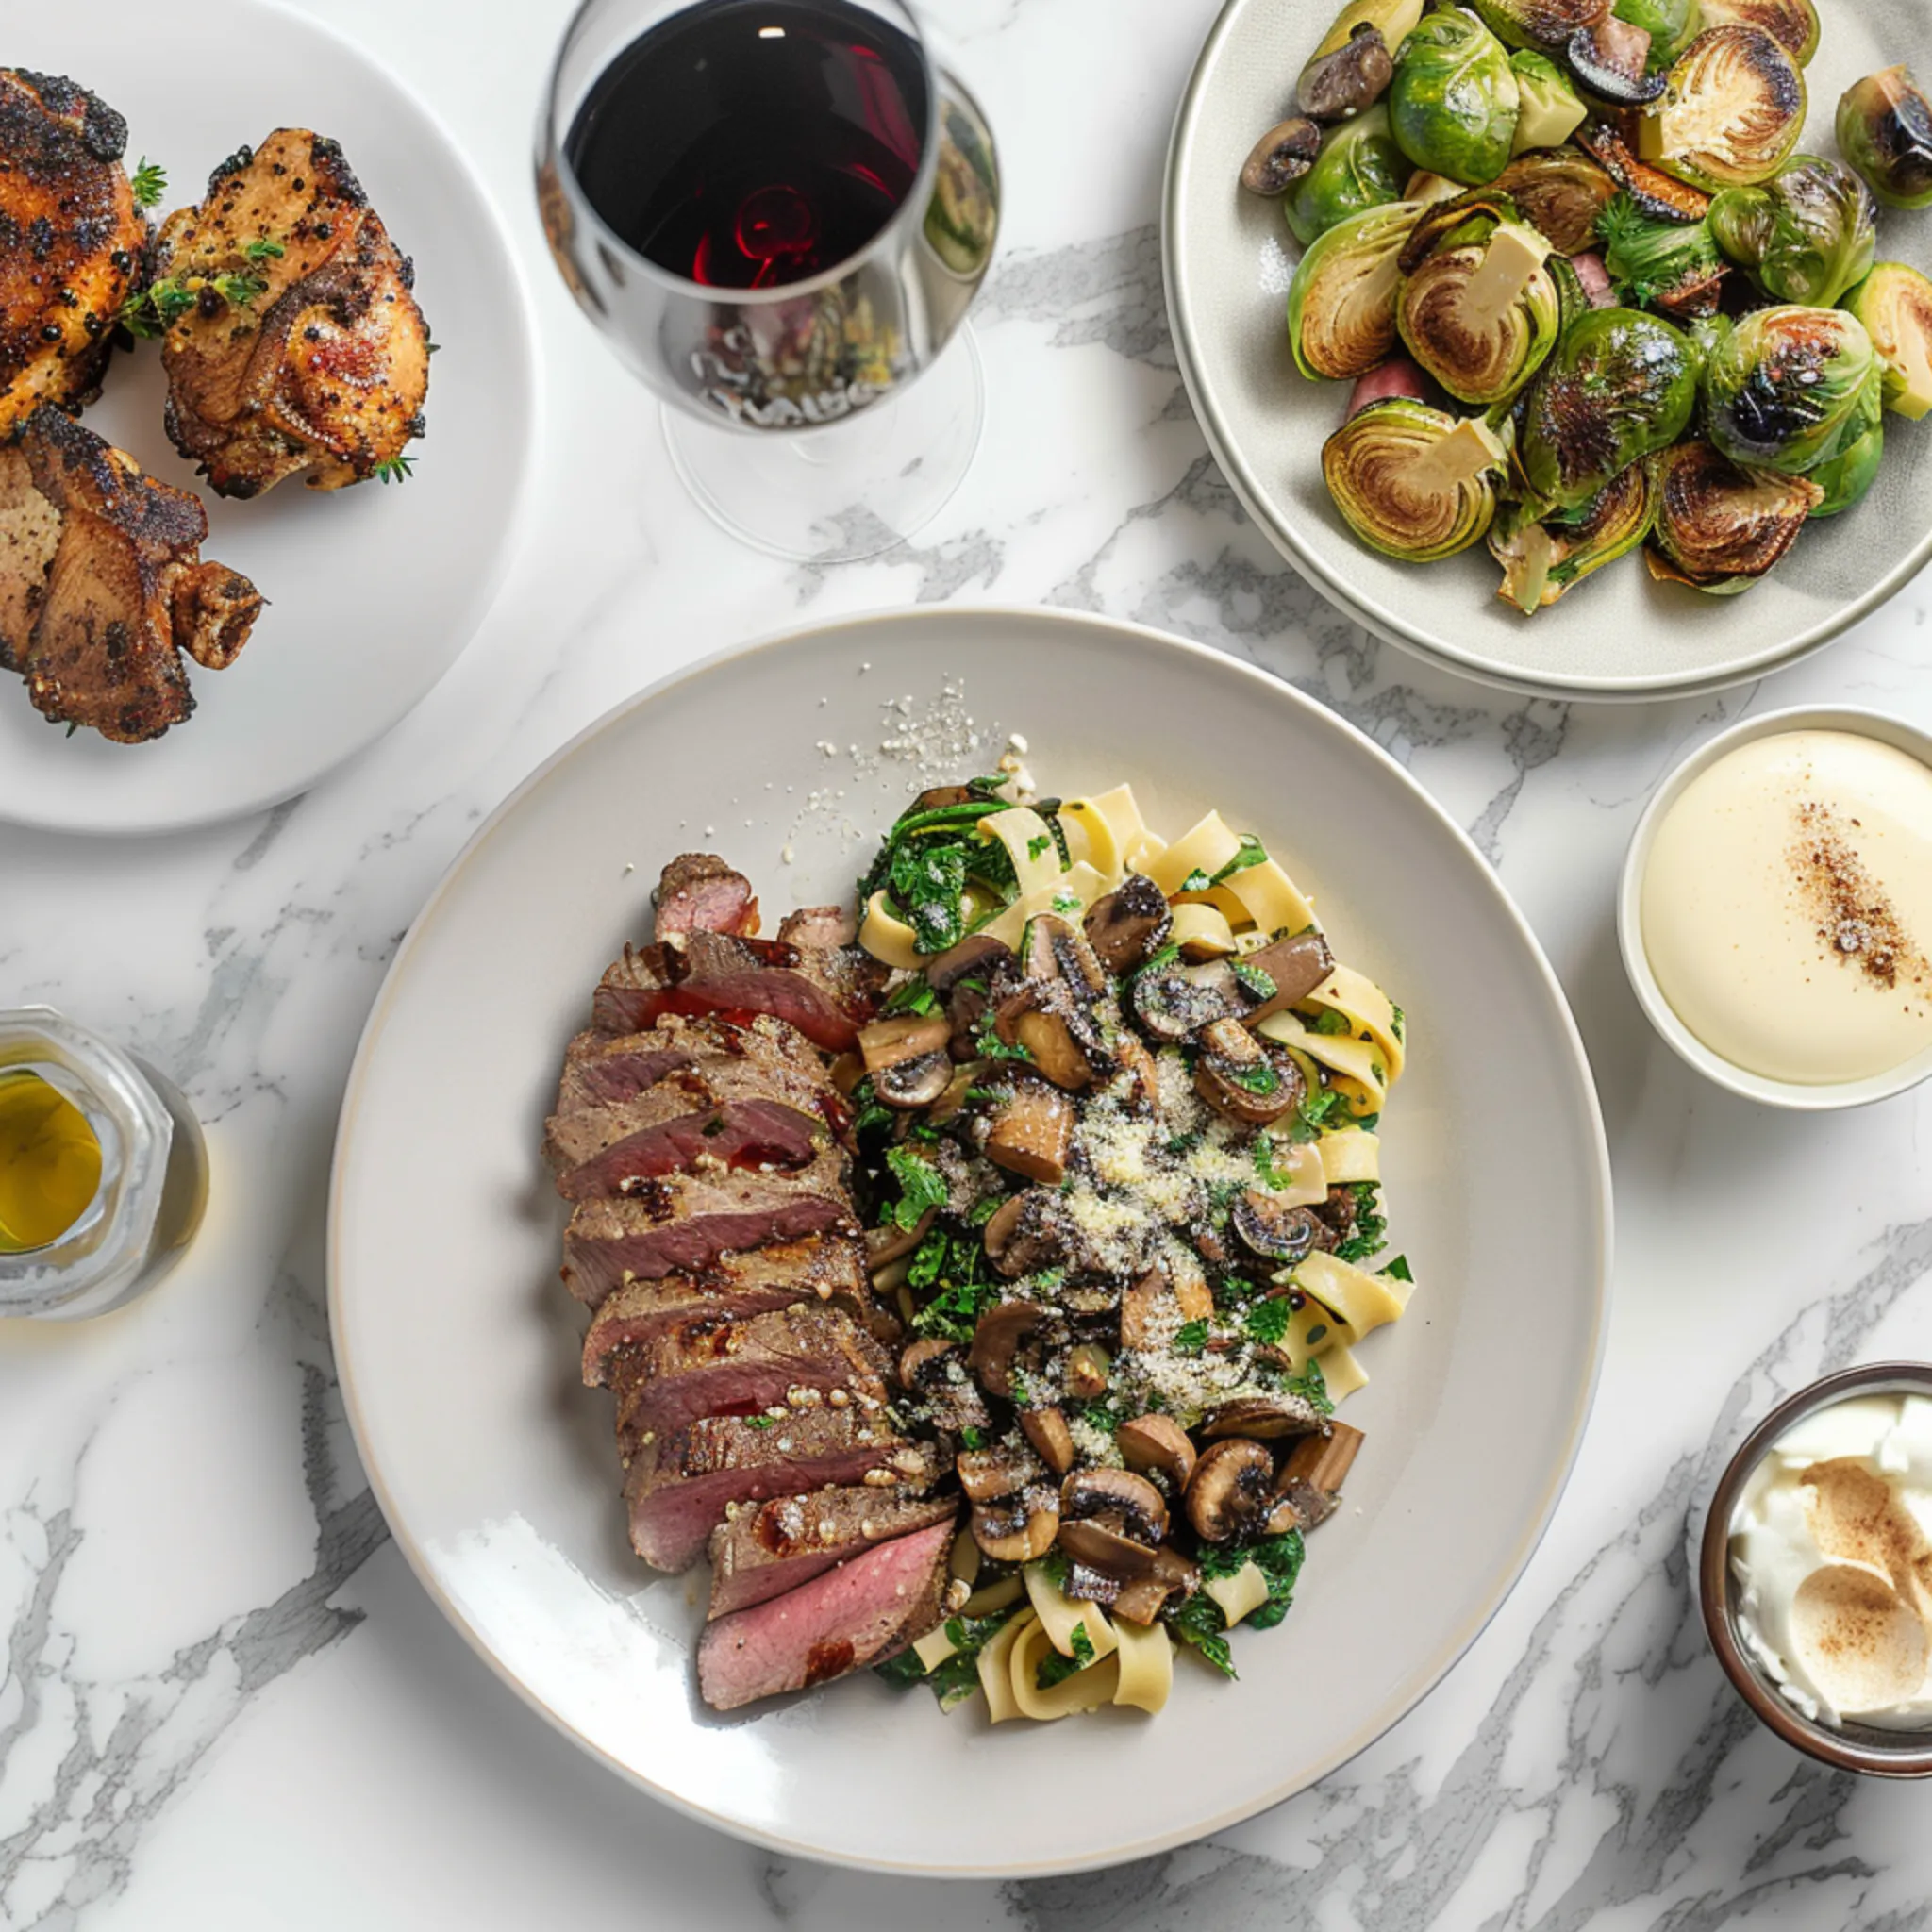
Indulge in an elegant dining experience with Carpaccio di Manzo, Chicken Marsala with wild mushrooms and truffle oil pasta, Roasted Brussels Sprouts, and Panna Cotta.
Appetizer: Carpaccio di Manzo: Thinly sliced beef carpaccio drizzled with olive oil, balsamic vinegar, and shaved Parmesan cheese.
Main Course: Chicken Marsala with Wild Mushrooms: Pan-fried chicken cutlets with a Marsala wine sauce and various wild mushrooms, served over a bed of pasta with truffle oil.
Side Dish: Roasted Brussels Sprouts: Brussels sprouts roasted with olive oil, balsamic vinegar, and bacon.
Dessert: Panna Cotta: A creamy Italian dessert made with cream, milk, and sugar, topped with fresh fruit or a fruit compote.
These are just a few examples, and there are endless possibilities for pairing chicken marsala with other dishes. Get creative and have fun exploring different flavor combinations!
Finally, while savoring the rich flavors of Chicken Marsala, it’s also important to consider its nutritional content. Let’s take a closer look at this dish’s health aspects.
Savoring Flavor and Considering Health: Chicken Marsala’s Nutritional Landscape
Though it’s a great meal, chicken marsala has a lot of calories. Its health features and factors to take into account for various diets are outlined here:
Analyzing Nutrition
Because it uses chicken breast, chicken marsala can be a nice source of protein. But the thick sauce, frying, and breading all add to the greater fat and calorie count. This is a ballpark figure per serving (variations in the recipe):
- Between 500 and 700 calories are involved.
- 30 to 50 grams of fat (saturated included).
- 30- to 50-grammes of carbohydrates.
There are a few approaches to lightening up your chicken marsala:
Use the leaner chicken parts. Go for boneless, skinless chicken breasts.
Whole-wheat substitutes: If dredging, use whole-wheat flour or whole-grain breadcrumbs.
Lighten up the pan-frying. Cook the chicken less oilily in a skillet, or try baking or grilling it.
Cream down: Choose fat-free or reduced-fat cream for the sauce.
Control over portion size: Enjoy a sensible portion size to control your calorie consumption.
Nutrient Requirements
One can modify chicken marsala to meet particular nutritional requirements.
- Gluten-Free: Be sure all other components are gluten-free, and use flour substitutes free of gluten for dredging.
- Low-Carb: For a low-carb option, serve with roasted veggies rather than pasta or rice.
- Dairy-Free: Substitute dairy-free butter and cream in the sauce.
You may have a tasty and healthier chicken marsala that satisfies your nutritional demands by carefully modifying and substituting.
Conclusion
Creating chicken marsala at home is a wonderful way to enjoy a restaurant-quality meal with your loved ones. The combination of tender chicken, rich Marsala wine sauce, and savory mushrooms makes this dish a delight. By following the detailed steps and tips provided, you can master this classic Italian-American favorite.
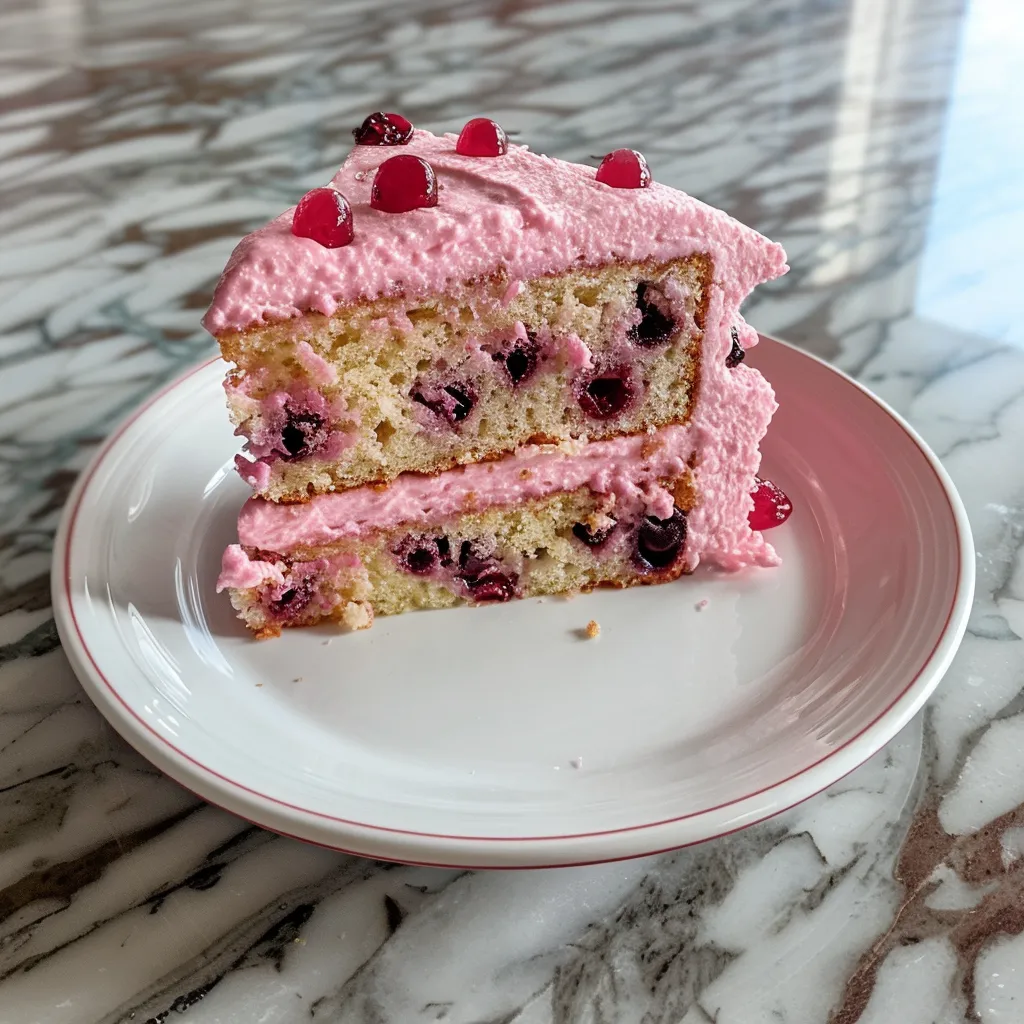
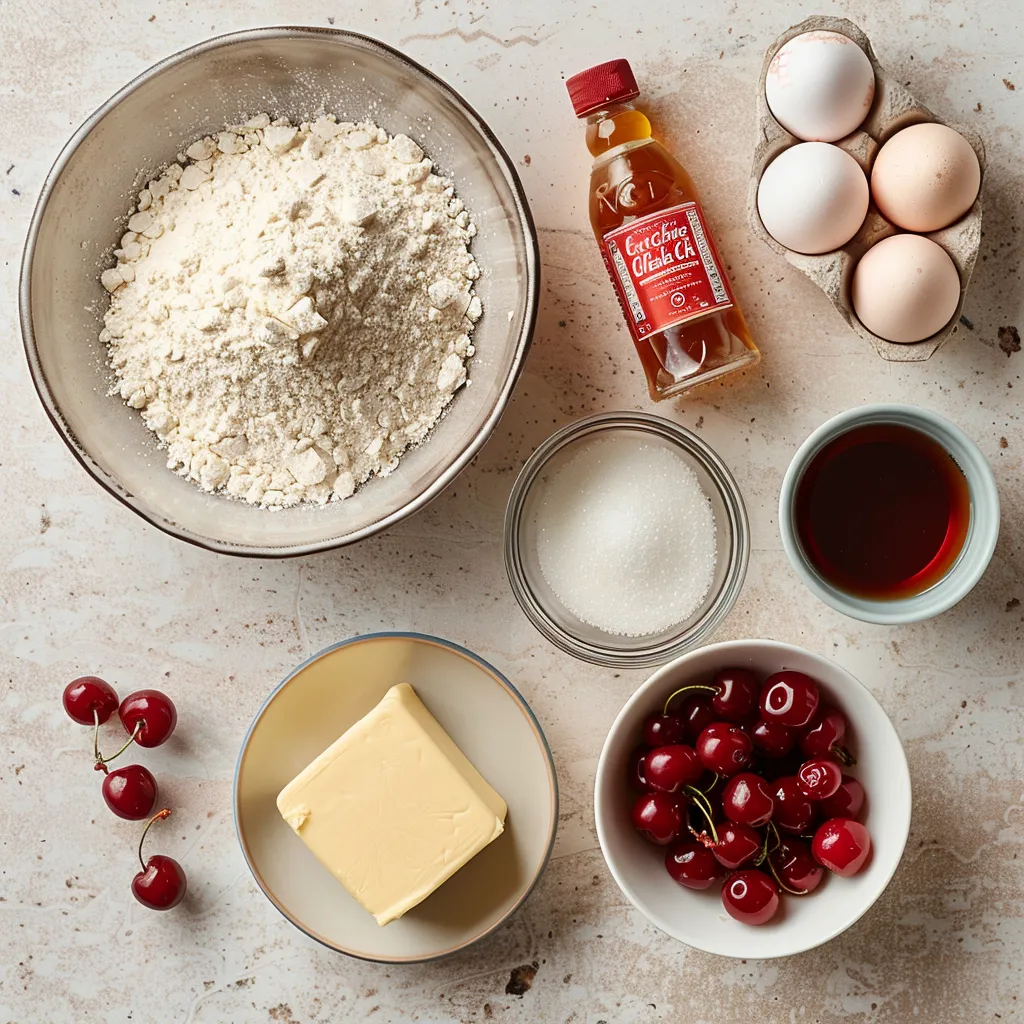
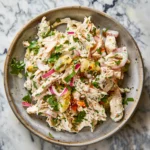
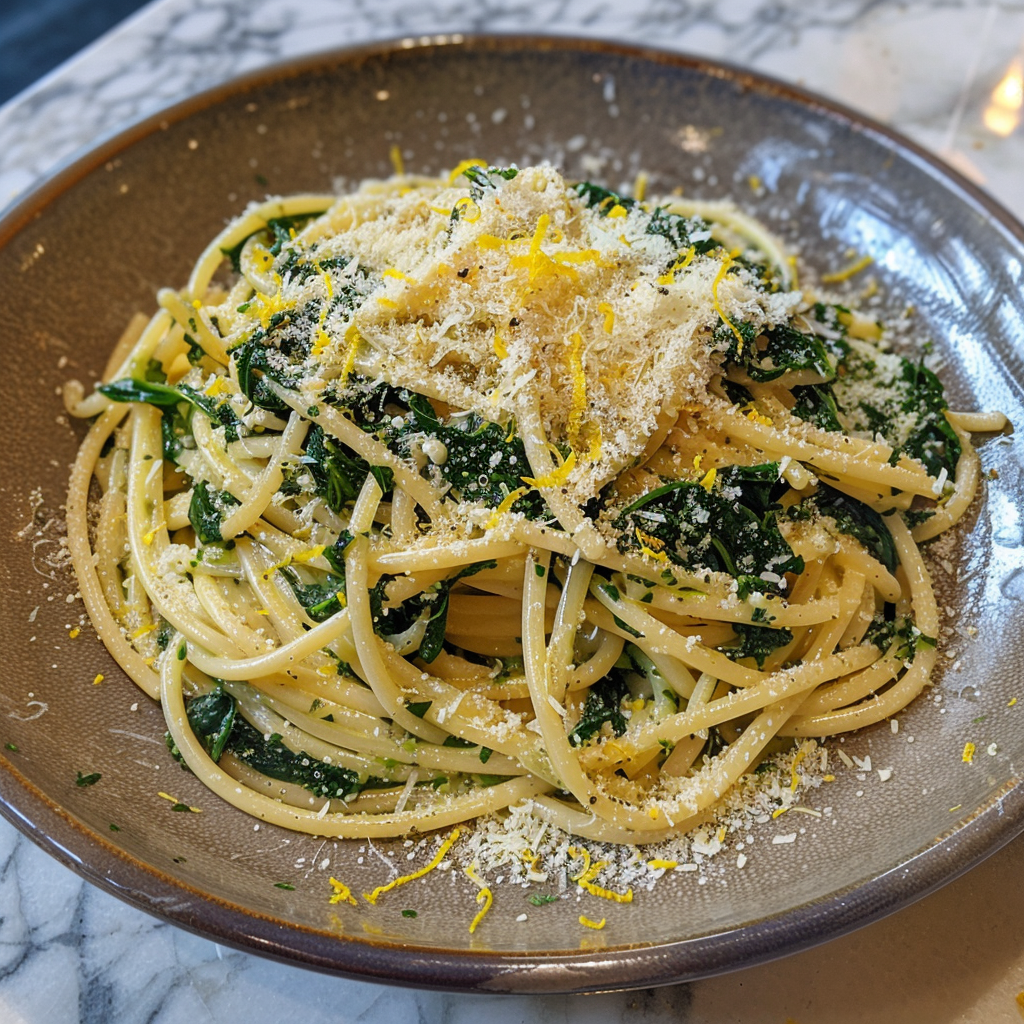
Try Gabriela’s Chicken Fricassee Cake or Creamy Lemon Pepper Pasta for more delicious recipes. You can also visit Gabriella’s Recipe Blog for more culinary inspiration.
We’d love to hear your thoughts! Please share your cooking experiences and tips in the comments below.
Happy cooking!
Cozy Chicken Marsala Recipe – A Restaurant-Quality Dish at Home
Discover the rich flavors of Chicken Marsala with our easy recipe. Tender chicken, savory Marsala wine sauce – perfect for any occasion!
- Prep Time: 15 minutes
- Cook Time: 30 minutes
- Total Time: 45 minutes
- Yield: 4
- Category: Main Course
- Method: Pan-frying
- Cuisine: Italian-American
- Diet: Gluten Free
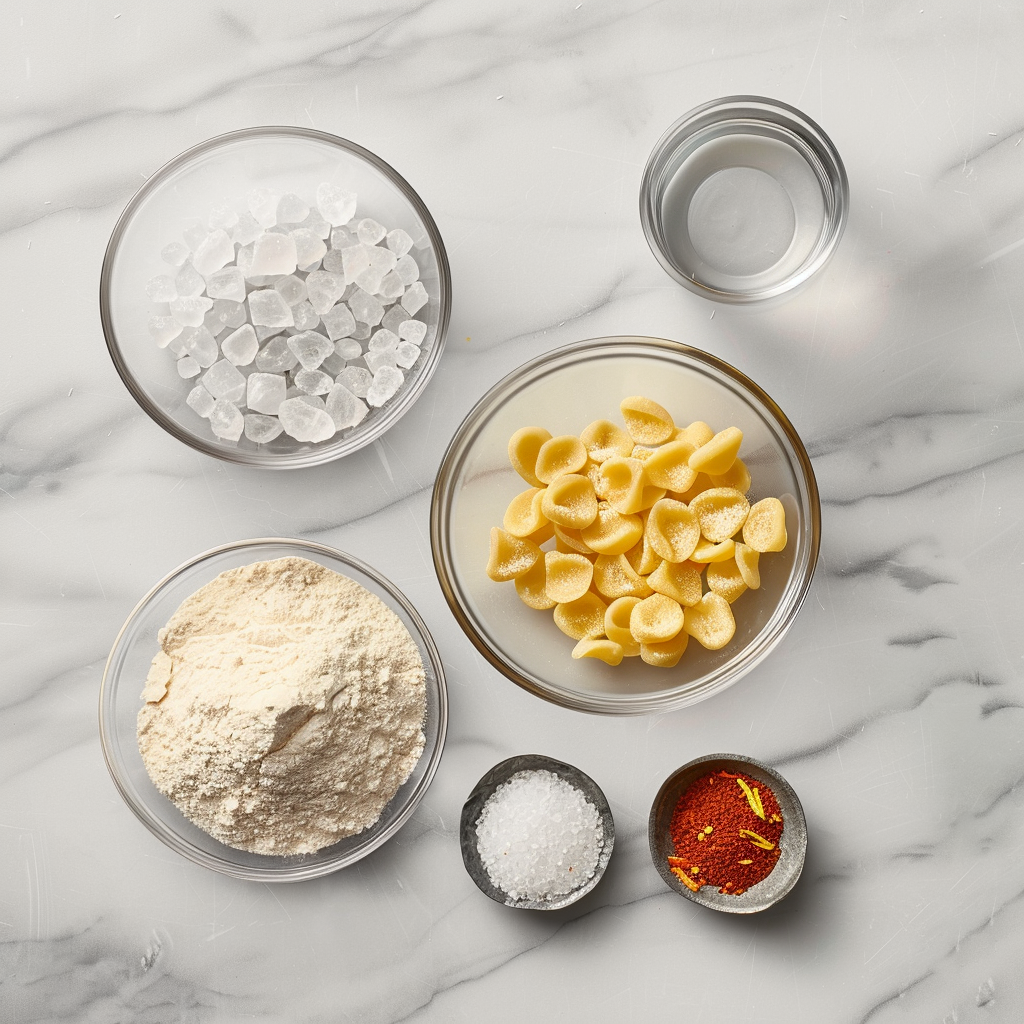
Ingredients
- 4 boneless, skinless chicken breasts
- 1/2 cup all-purpose flour
- Salt and pepper to taste
- 2 tablespoons olive oil
- 2 tablespoons butter
- 1 cup Marsala wine
- 1 cup chicken broth
- 1/2 cup heavy cream (optional)
- 8 ounces cremini mushrooms, sliced
- 2 cloves garlic, minced
- 1 shallot, finely chopped
- Fresh parsley or thyme for garnish
Instructions
- Prepare the Chicken:
- Tenderize: Pound the chicken breasts to an even thickness of about 1/4 inch. This ensures they cook evenly and remain juicy.
- Season: Generously season both sides of the chicken breasts with salt and pepper.
- Dredge: Coat the chicken in flour, shaking off any excess.
- Cook the Chicken:
- Heat the Pan: In a large skillet, heat the olive oil and 1 tablespoon of butter over medium-high heat until the butter is melted and the mixture is hot.
- Sear the Chicken: Add the chicken breasts to the pan and cook for about 3-4 minutes on each side, or until golden brown and cooked through. Transfer the chicken to a plate and set aside.
- Prepare the Sauce:
- Sauté the Aromatics: In the same skillet, add the remaining tablespoon of butter. Once melted, add the minced garlic and chopped shallot. Sauté for about 1-2 minutes until fragrant.
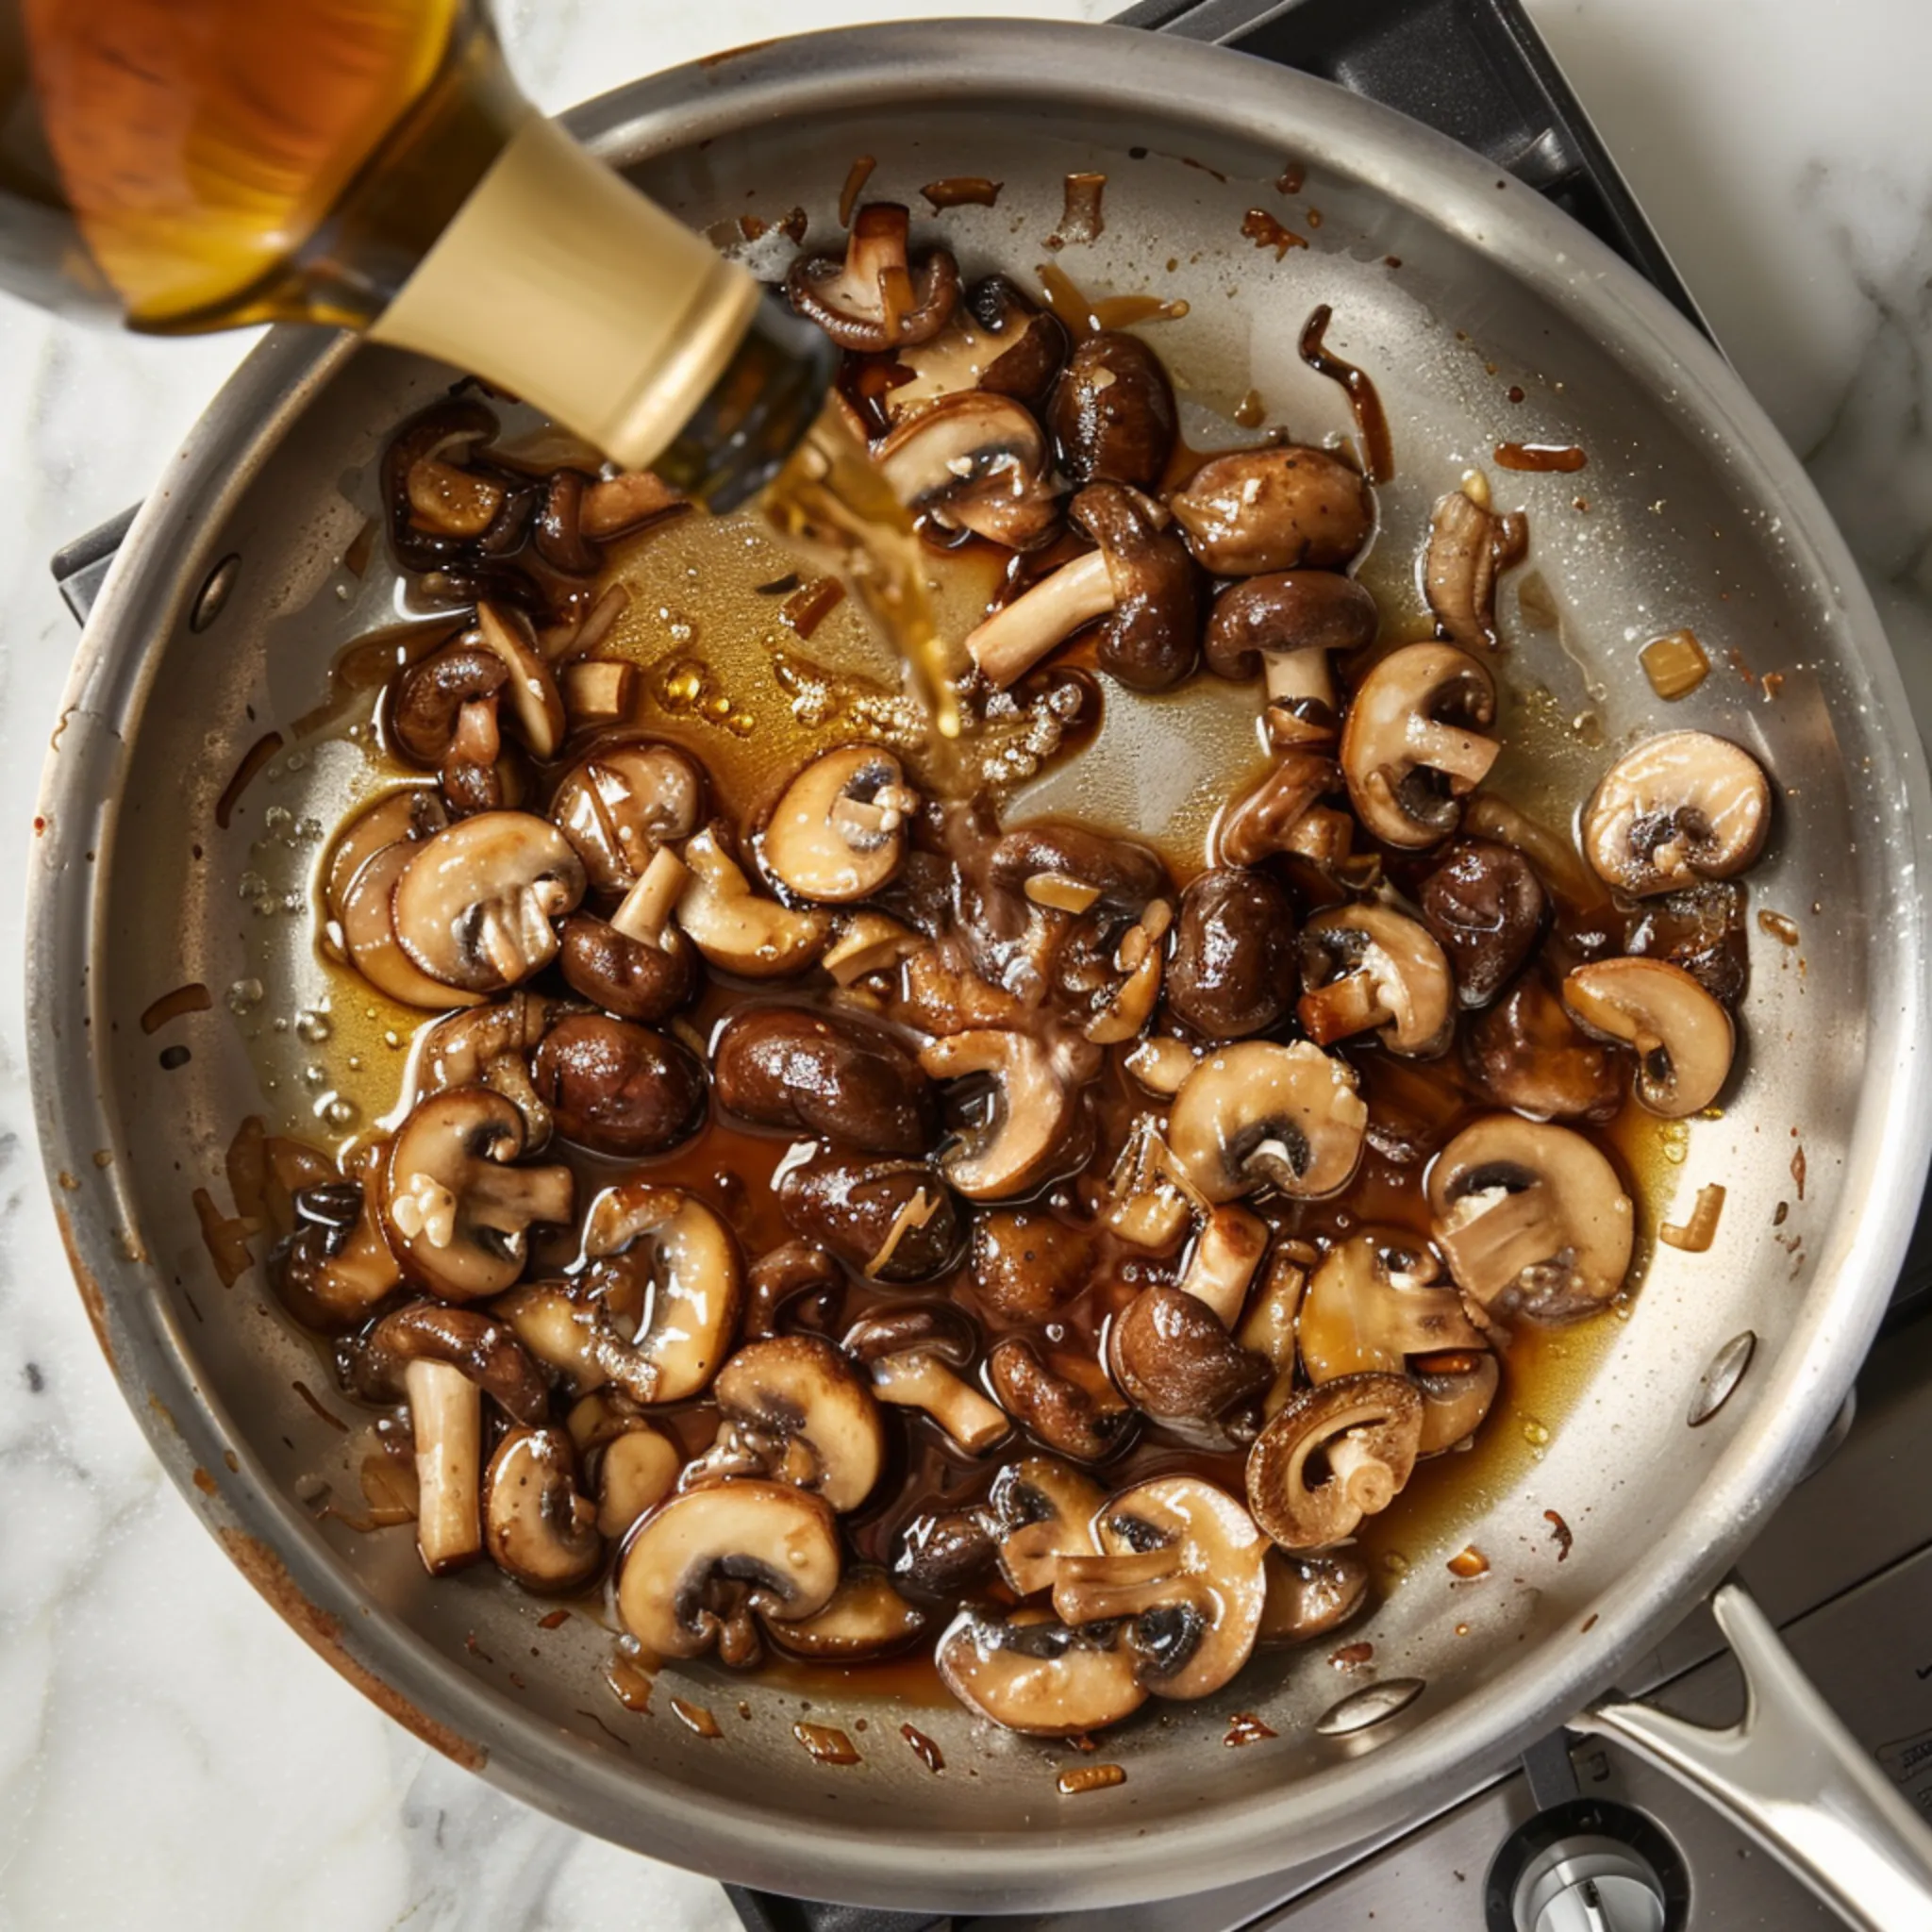
- Cook the Mushrooms: Add the sliced mushrooms to the skillet and cook for about 5-7 minutes until they are golden brown and have released their moisture.
- Deglaze the Pan:
- Add Marsala Wine: Pour the Marsala wine into the skillet to deglaze, scraping up any browned bits from the bottom of the pan. This adds incredible flavor to the sauce.
- Simmer: Allow the wine to simmer for about 2-3 minutes, reducing slightly.
- Finish the Sauce:
- Add Chicken Broth: Pour in the chicken broth and bring the mixture to a simmer.
- Thicken the Sauce: Let the sauce simmer for an additional 5 minutes to reduce and thicken slightly.
- Add Cream (Optional): If you prefer a creamier sauce, stir in the heavy cream and let it simmer for another 2-3 minutes. Be careful not to let the sauce boil after adding the cream to prevent curdling.
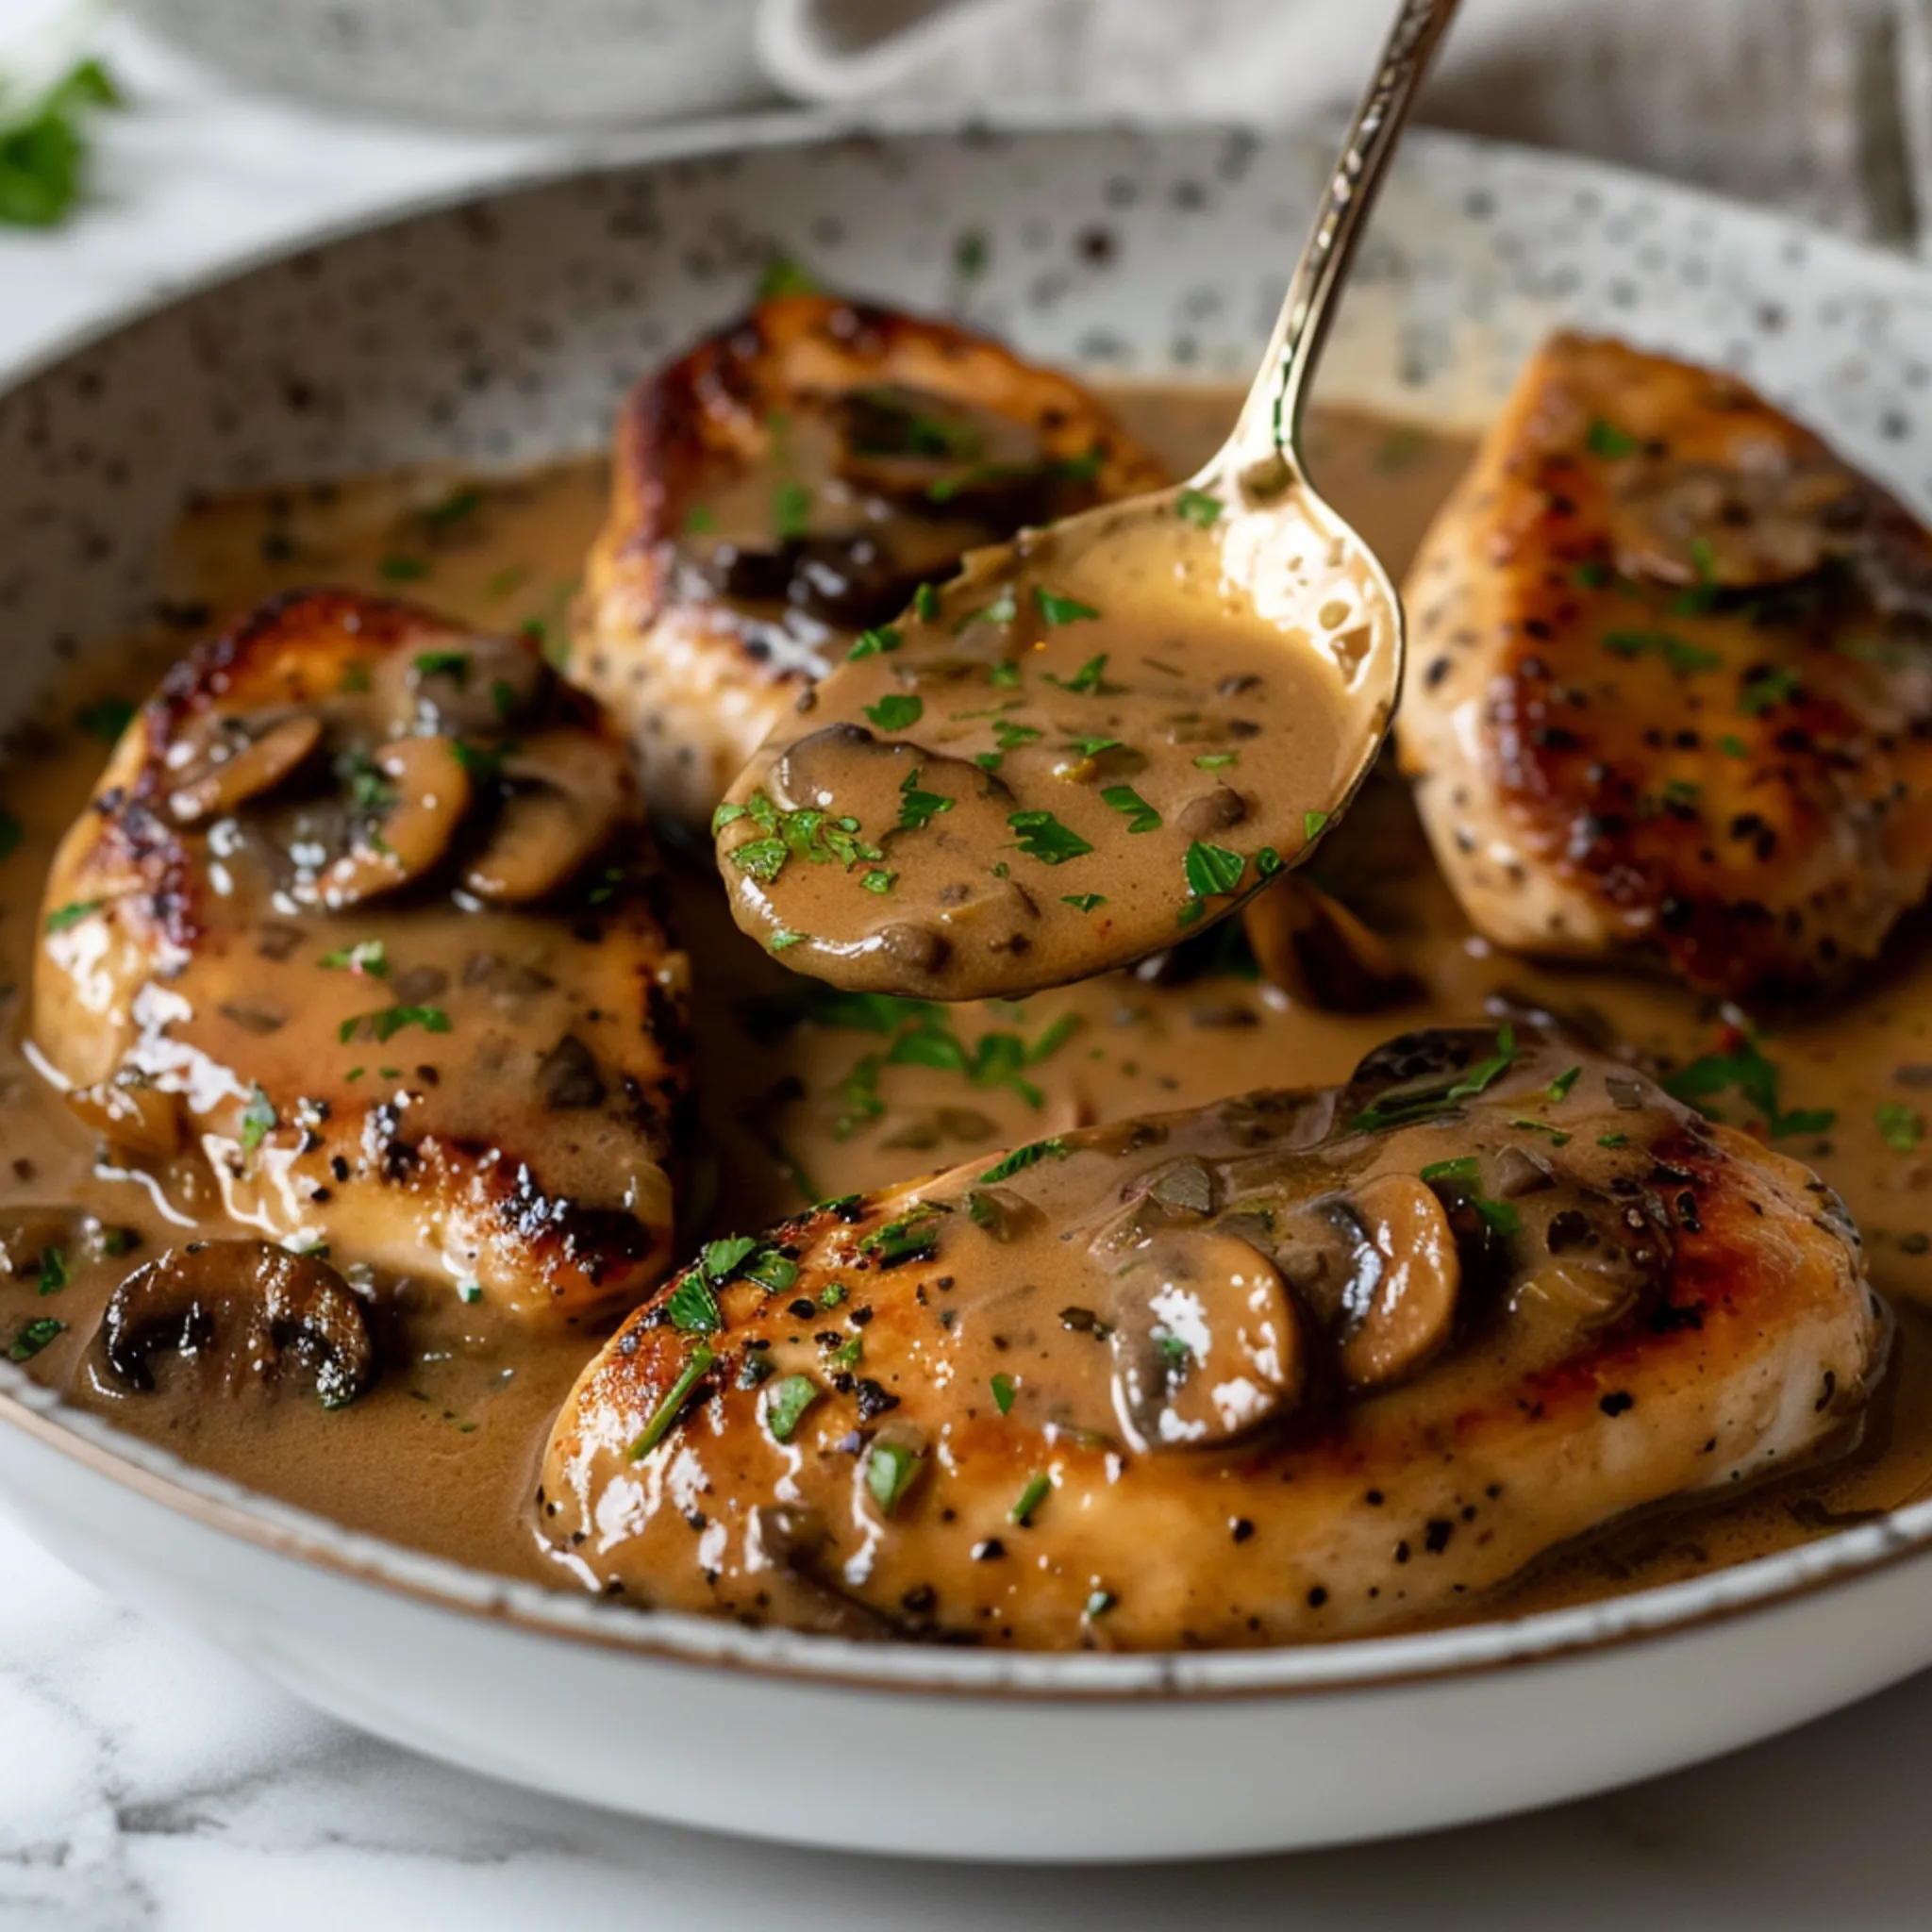
- Combine and Serve:
- Return Chicken to the Pan: Place the cooked chicken breasts back into the skillet, spooning some of the sauce over the top. Allow the chicken to simmer in the sauce for a few minutes to absorb the flavors.
- Garnish: Sprinkle with fresh parsley or thyme for a burst of color and freshness.
- Serve: Serve the Chicken Marsala hot, preferably over a bed of fettuccine pasta, mashed potatoes, or with a side of roasted vegetables.
Tips for Selecting the Best Marsala Wine and Chicken:
- Marsala Wine: Opt for dry Marsala wine for a more traditional, less sweet flavor. If you prefer a slightly sweeter sauce, choose sweet Marsala. Look for a good-quality brand to ensure the best flavor.
- Chicken: Use boneless, skinless chicken breasts for a lean and tender option. Make sure to pound them to an even thickness for even cooking. Organic or free-range chicken often has better flavor and texture.
By following these steps and tips, you can create a delicious Chicken Marsala that will impress your family and friends. Enjoy!
Notes
1. Choosing the Right Pan:
- Use a heavy-bottomed skillet or sauté pan to ensure even heat distribution and prevent hot spots, which can cause uneven cooking or burning.
2. Don’t Overcook the Chicken:
- Chicken breasts can become dry if overcooked. Keep an eye on them and remove them from the pan as soon as they are golden brown and cooked through.
3. Enhance the Flavor:
- For a deeper flavor, you can marinate the chicken breasts in a mixture of olive oil, garlic, and a splash of Marsala wine for an hour before cooking.
4. Experiment with Mushrooms:
- While cremini mushrooms are a classic choice, you can also use a mix of different mushrooms such as shiitake, portobello, or oyster mushrooms to add more complexity to the dish.
5. Balancing the Sauce:
- If the sauce becomes too thick, you can thin it with a bit more chicken broth. Conversely, if the sauce is too thin, let it simmer a bit longer to reduce and thicken.
6. Add Depth with Stock:
- Use homemade chicken stock instead of store-bought broth for a richer and more flavorful sauce.
7. Incorporate Fresh Herbs:
- Adding fresh herbs such as thyme, rosemary, or sage to the sauce can enhance the aroma and flavor. Add them during the simmering process and remove before serving.
8. Perfecting the Deglaze:
- When deglazing the pan with Marsala wine, make sure to scrape all the browned bits from the bottom. These bits are packed with flavor and will enrich your sauce.
9. Serving Suggestions:
- Chicken Marsala pairs wonderfully with a variety of side dishes. Besides pasta, consider serving it with creamy polenta, garlic mashed potatoes, or a simple green salad.
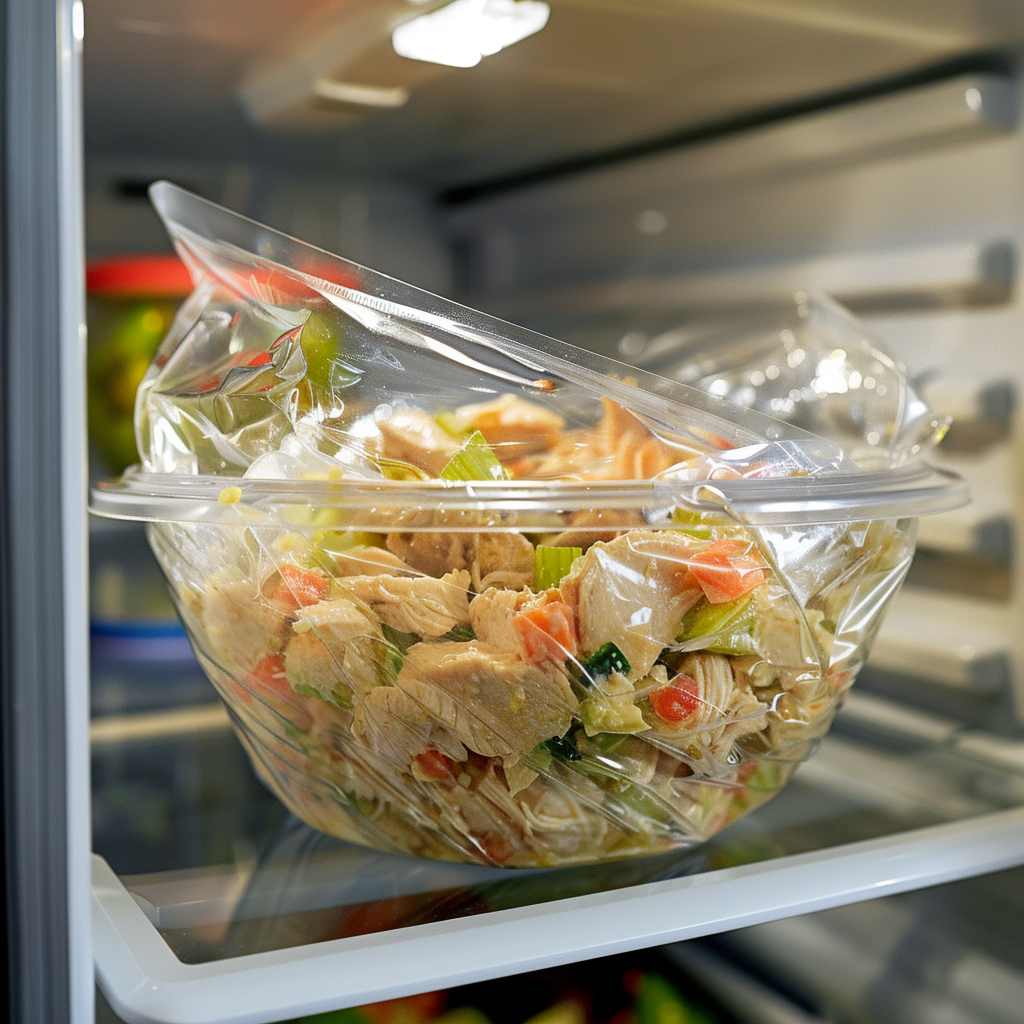
10. Storing and Reheating:
- Leftovers can be stored in an airtight container in the refrigerator for up to 3 days. Reheat gently in a skillet over low heat, adding a splash of chicken broth or water to the sauce to keep it from drying out.
11. Adjusting for Dietary Preferences:
- For a gluten-free version, substitute the all-purpose flour with gluten-free flour or cornstarch for dredging the chicken.
- For a dairy-free option, use a dairy-free cream alternative or omit the cream entirely and rely on the reduction of the sauce for thickness.
12. Presentation:
- For an elegant presentation, garnish the dish with finely chopped fresh parsley or chives just before serving. You can also add a lemon wedge on the side for a fresh citrus touch.
By incorporating these additional tips and notes, you’ll be able to create a Chicken Marsala dish that’s not only delicious but also tailored to your preferences and needs. Enjoy the process and happy cooking!
Keywords: Chicken Marsala recipe. Marsala chicken, Italian chicken dish, Chicken Marsala dinner Chicken in Marsala sauce Classic Chicken Marsala Marsala wine chicken Chicken with Marsala sauce Pan-fried chicken Marsala Traditional Chicken Marsala Savory Marsala chicken