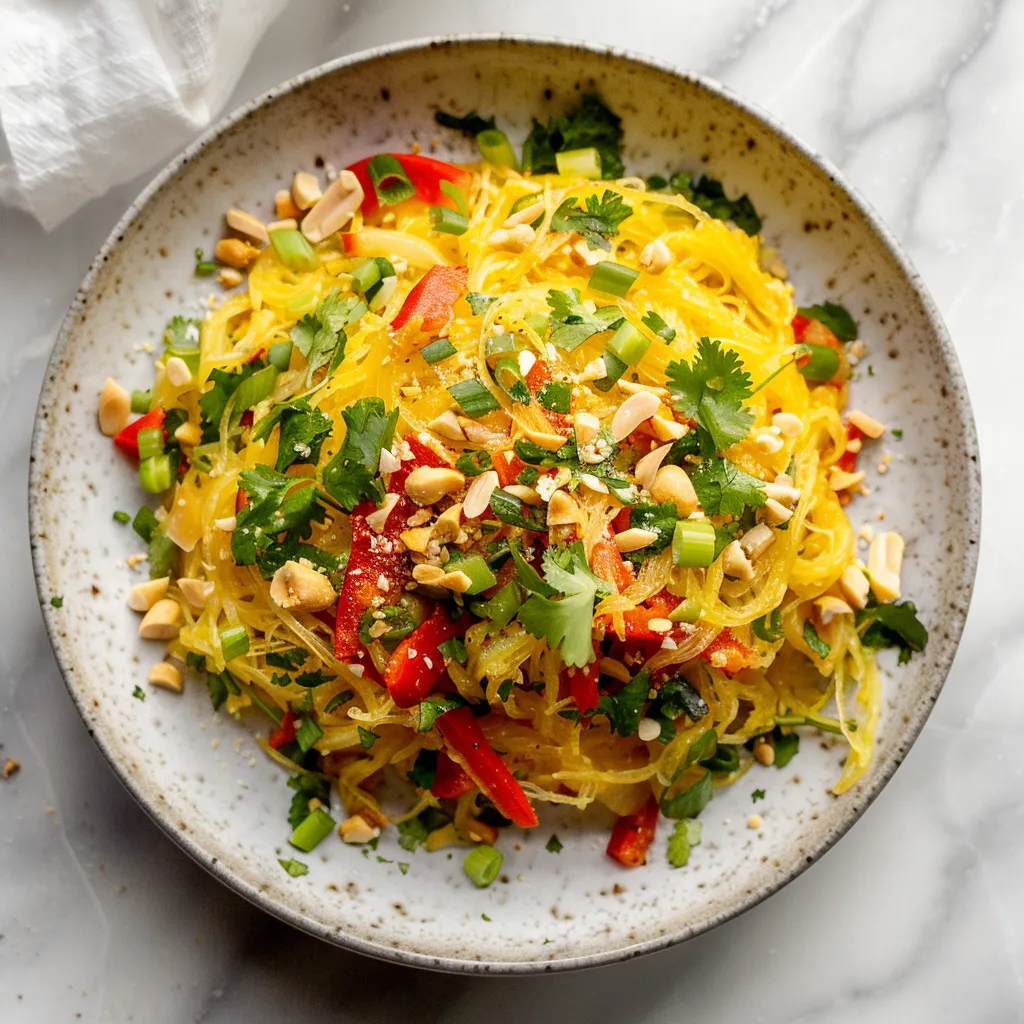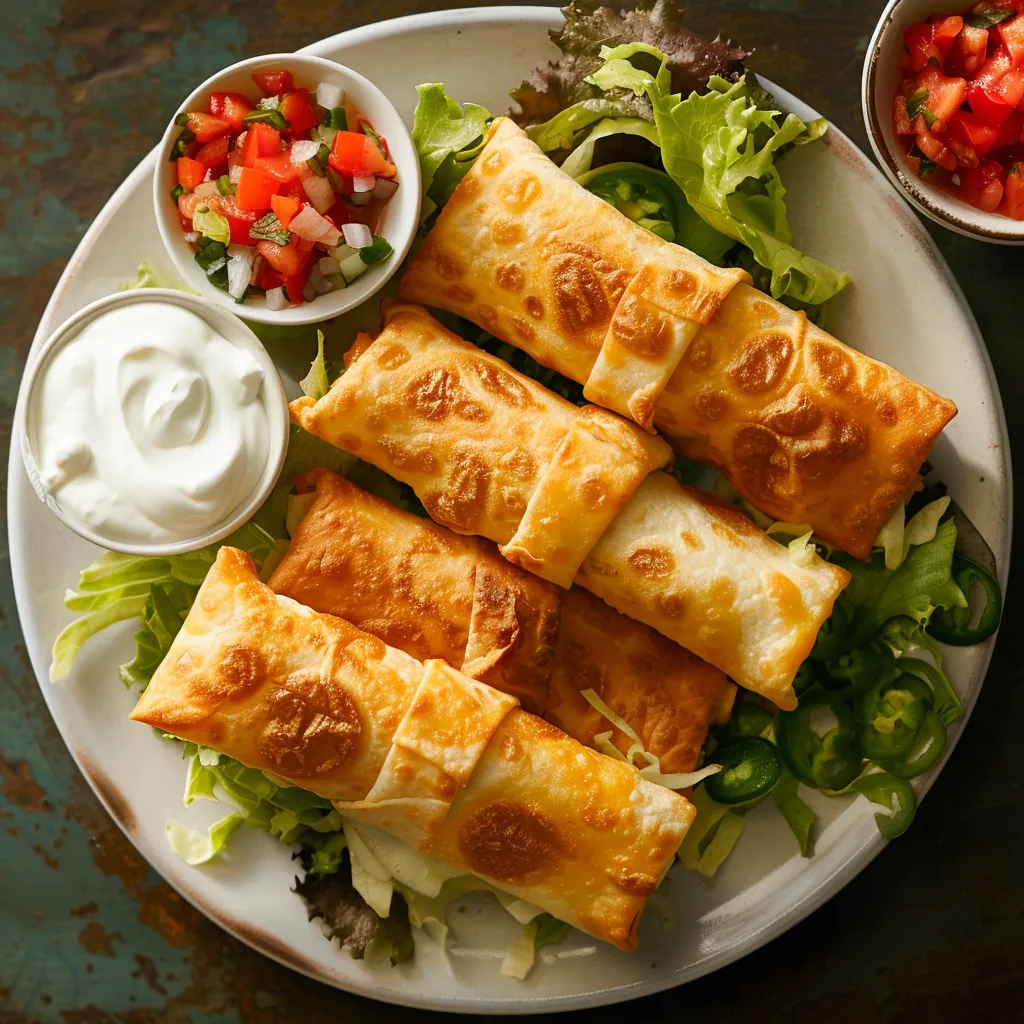
Mexican food is known for its bright tastes and diverse textures, including the popular chimichanga. The beef and bean chimichanga is a delicious deep-fried tortilla with a crispy crust and a thick, flavorful inside that is popular among Mexican cuisine lovers.
Overview of Ingredients
Each individual ingredient contributes a unique flavor to the chimichanga. The following items will be necessary for you:
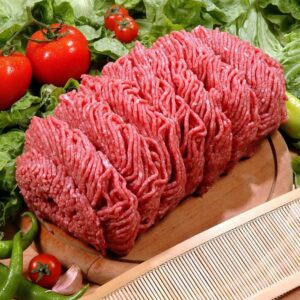
Ground beef is the primary ingredient in the filling.
Black or pinto beans—to impart heartiness and flavor
Choose tortillas that are of exceptional quality for the purpose of shaping.
You can customize the recipe by adding rice, corn, or diced peppers. For a look at some freezer-friendly versions, check out this article on making freezer meals that save time, where you can find tips on making chimichangas that are perfect for storing and reheating.
What Makes a Good Beef and Bean Chimichanga
Quality ingredients are essential for creating a great beef and bean chimichanga. Here’s what sets the recipe apart:
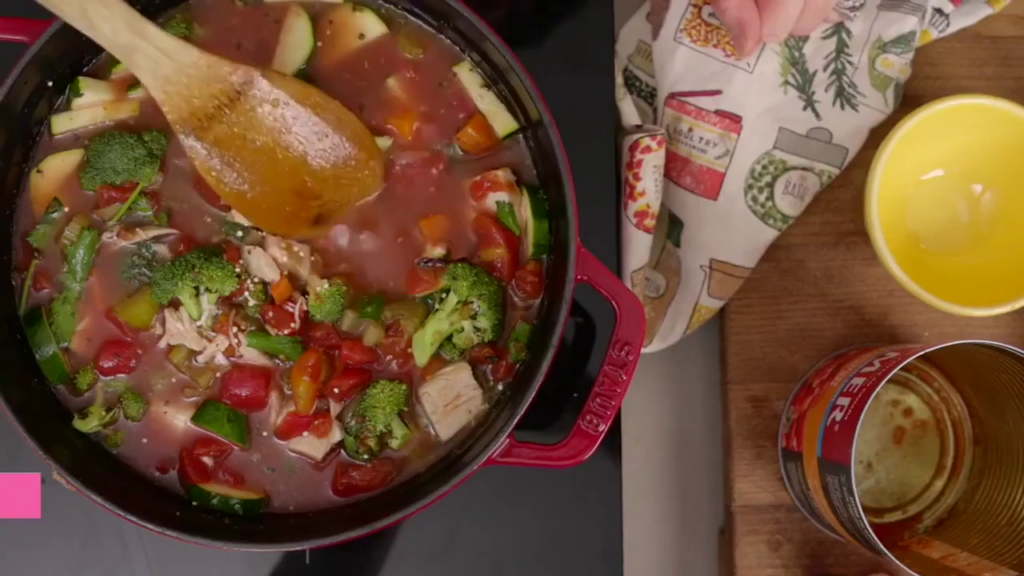
Quality of Ingredients: Start Begin with fresh, high-quality meat and beans. These are the heart of the chimichanga.
Balance of Flavors: The correct spices, including cumin, chili powder, and garlic, are essential. They should complement the delicious meat and substantial beans.
Texture Considerations: A chimichanga’s appeal stems from its crispy surface and juicy, delicious interior. Achieving this texture is a culinary skill. Learn more about harmonizing these aspects.
For detailed cooking techniques and ingredient insights, explore traditional methods on this comprehensive guide on how to make the best beef burrito bowl, which provides an excellent basis for these deep-fried delights.
Suggestion from the Chef for Ideal Bean Chimichanga
To prepare the perfect chimichanga, both science and art are required. The following expert recommendations will ensure that your chimichangas are consistently outstanding:
Cooking Techniques
The careful selection of an appropriate cooking technique is of the utmost importance. Although traditional deep-frying achieves a crusty exterior, baking chimichangas is a healthier alternative that retains their delectable crunchiness. Before frying, preheat a high smoke point oil, such as canola or vegetable oil, to prevent the chimichangas from becoming gummy.
Seasoning
The meat mixture ought to be adequately seasoned. Utilize garlic powder, chile powder, and cumin without fear. They contribute to the opulent tastes that are emblematic of Mexican gastronomy.
Methods of Wrapping
How you enclose your chimichanga has the potential to determine its success or failure. Reheat the tortillas marginally to increase their malleability. Tightly wrap the chimichanga to prevent the stuffing from escaping during preparation. Tucking in the ends will seal the delicious contents better.
Cheese Factor
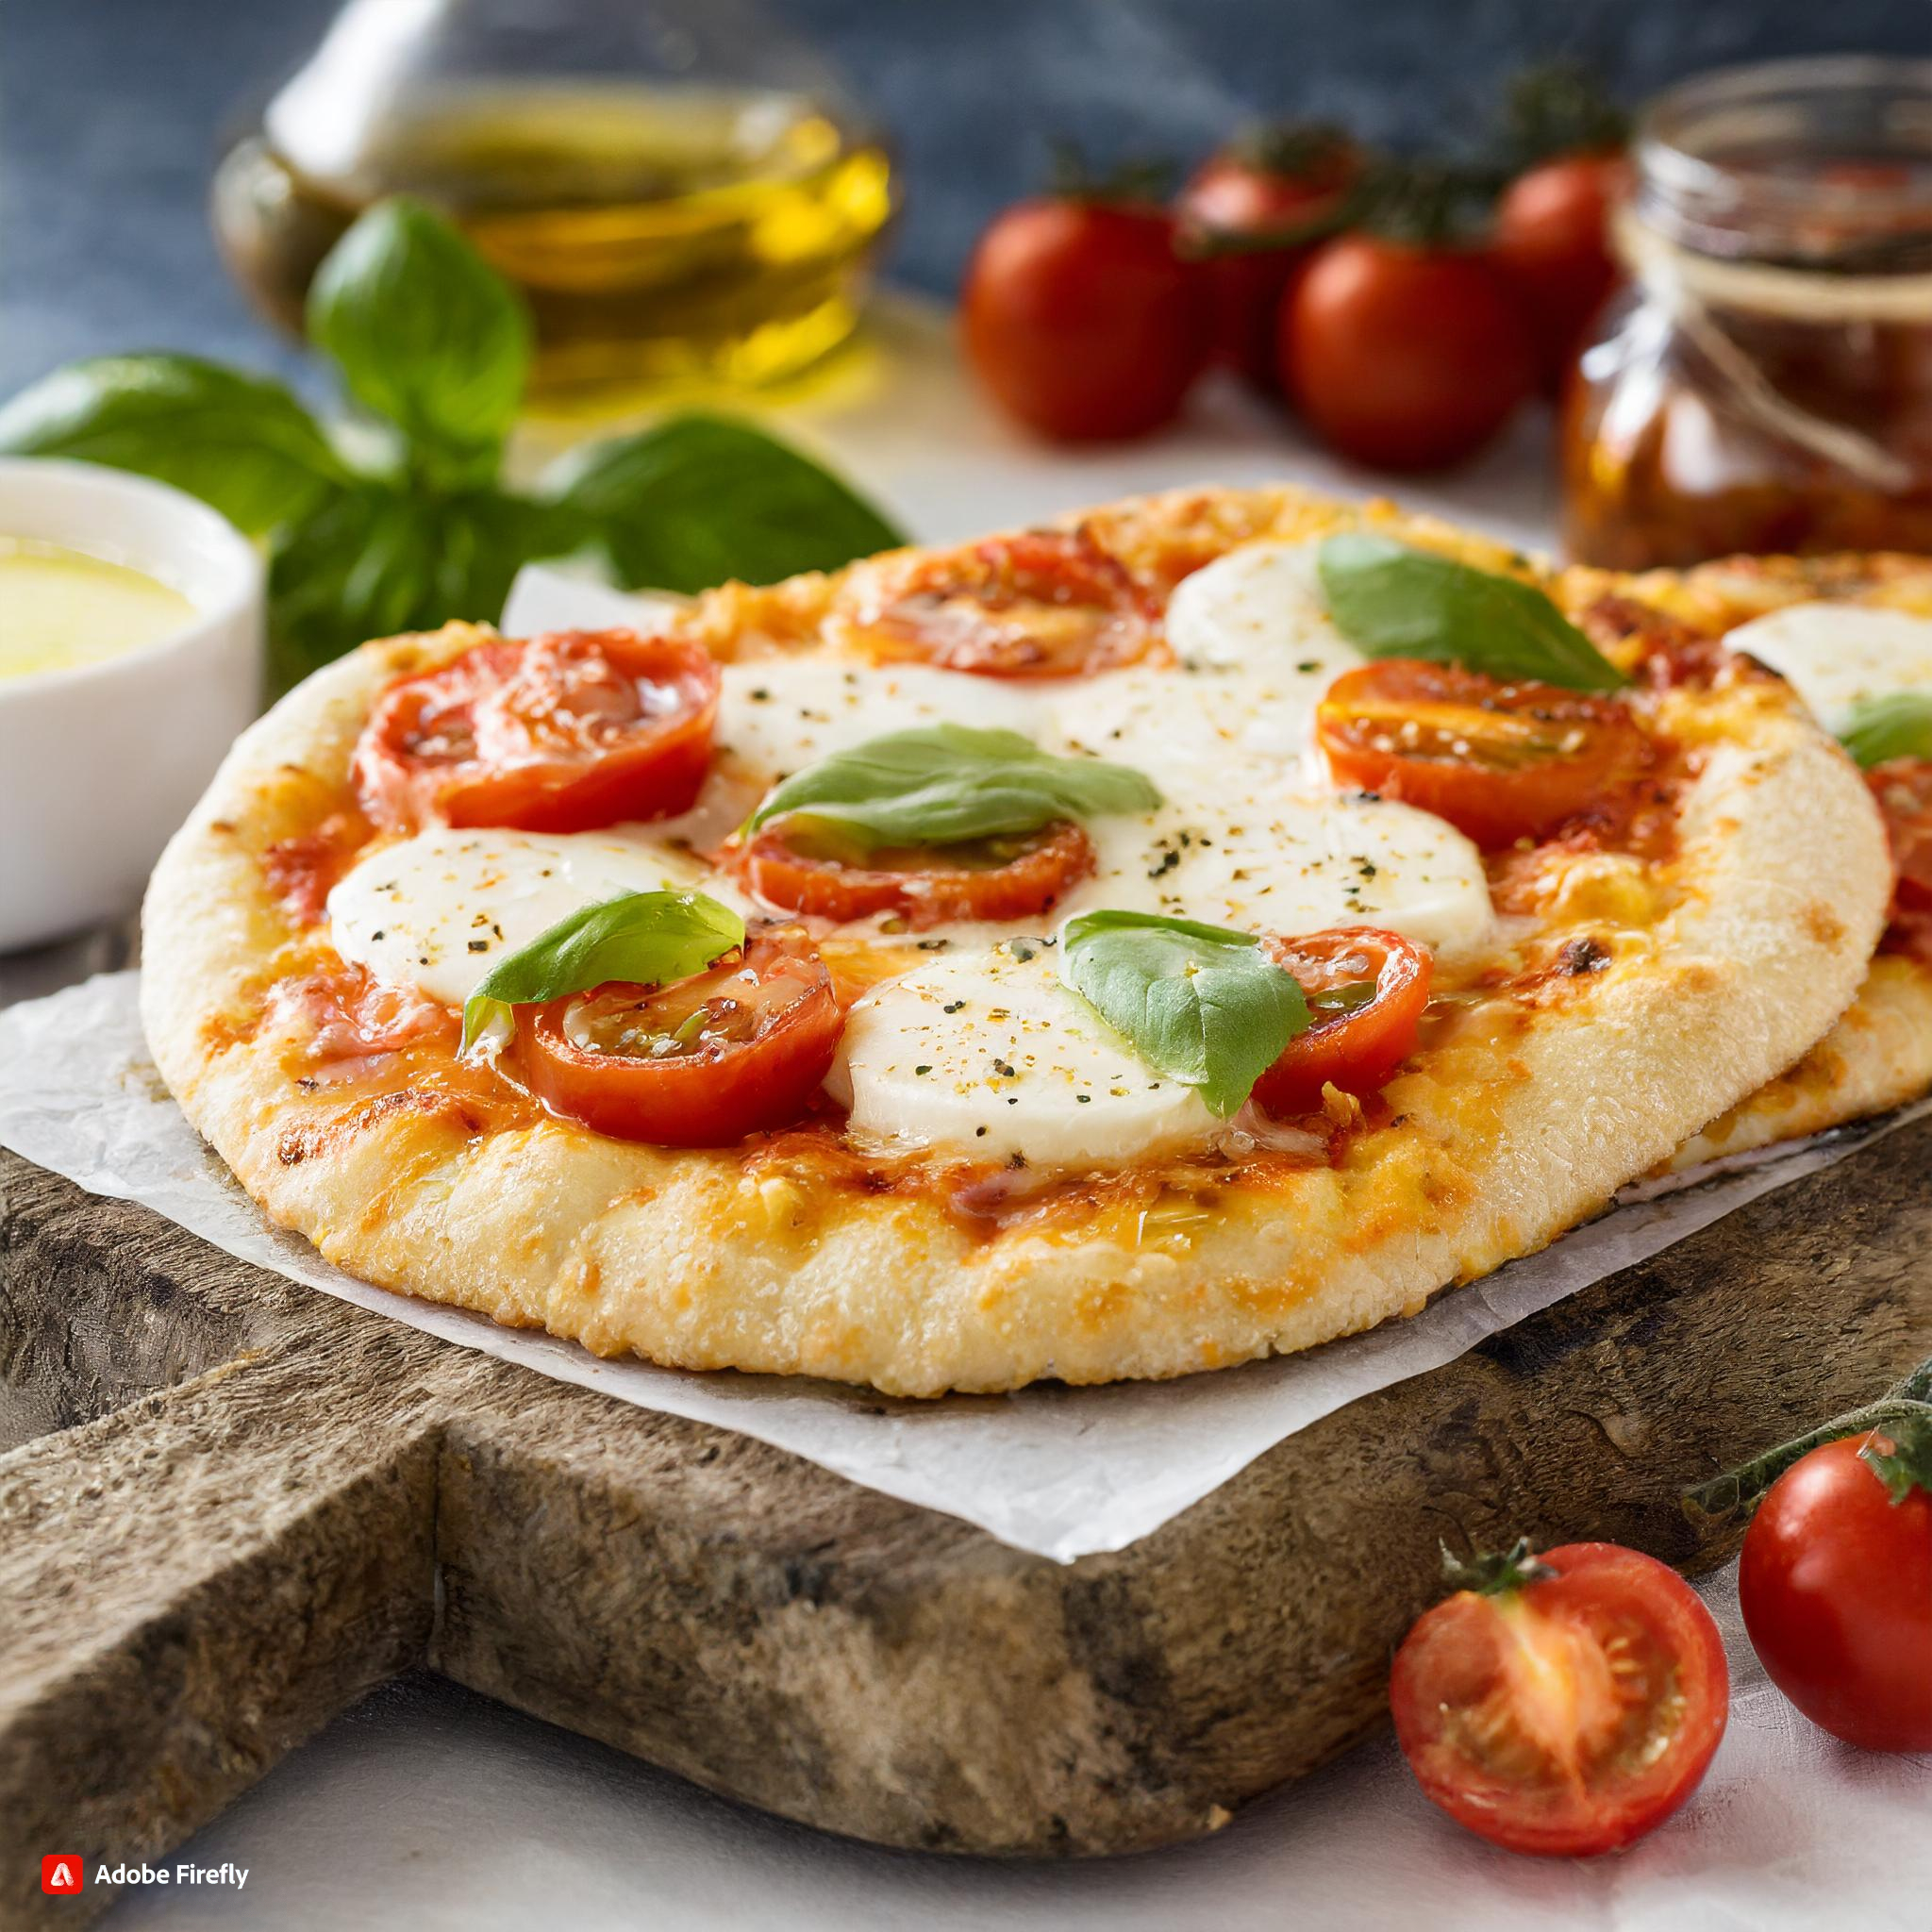
Incorporating cheese into or on top of the layers can enhance your chimichangas’ creamy texture and luscious flavor. Choose a cheese that readily softens, such as Monterey Jack or cheddar.
Moisture Management
An overly moist filling may result in a crumbly tortilla. Ensure that cooked meat and vegetables (such as chilies and shallots) are not watery and are well-drained.
Chimichangas are most appetizing when freshly fried or baked when crisp and heated. To maintain their texture, preheat them in a low oven setting when you need to keep them toasty for guests.
To regulate the tortilla’s moisture content and preserve the exterior’s crispiness, condiments like guacamole, sour cream, or salsa should be served as side dishes instead of being incorporated into the chimichanga.
What goese best with Beef and Bean Chimichangas
Pairing your chimichangas with the right sides and drinks can enhance the dining experience:
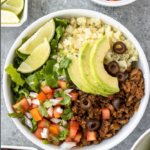
Sides: Rice, fresh salads, or corn are great choices.
Drinks: Margaritas or cold beers complement the flavors well.
Health Benefits of Ingredients
Gaining knowledge regarding the health advantages associated with the essential components can enhance one’s appreciation for the meal to a greater extent:
Beef serves as a vital source of proteins and minerals.
Beans are an excellent source of plant-based protein and fiber.
Eating healthily does not necessitate sacrificing flavor. At EatRight, you can discover methods for maintaining the health and flavor of your dishes.
Beef and Bean Chimichanga
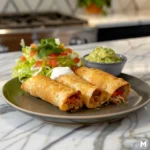
Discover our easy Beef and Bean Chimichanga Recipe for a Tex-Mex delight. Crispy, flavorful, and ready in 45 mins.
- Prep Time: 15 minutes
- Cook Time: 30 minutes
- Total Time: 45 minutes
- Yield: 4
- Category: Main Course
- Method: Baking or Frying
- Cuisine: Tex-Mex
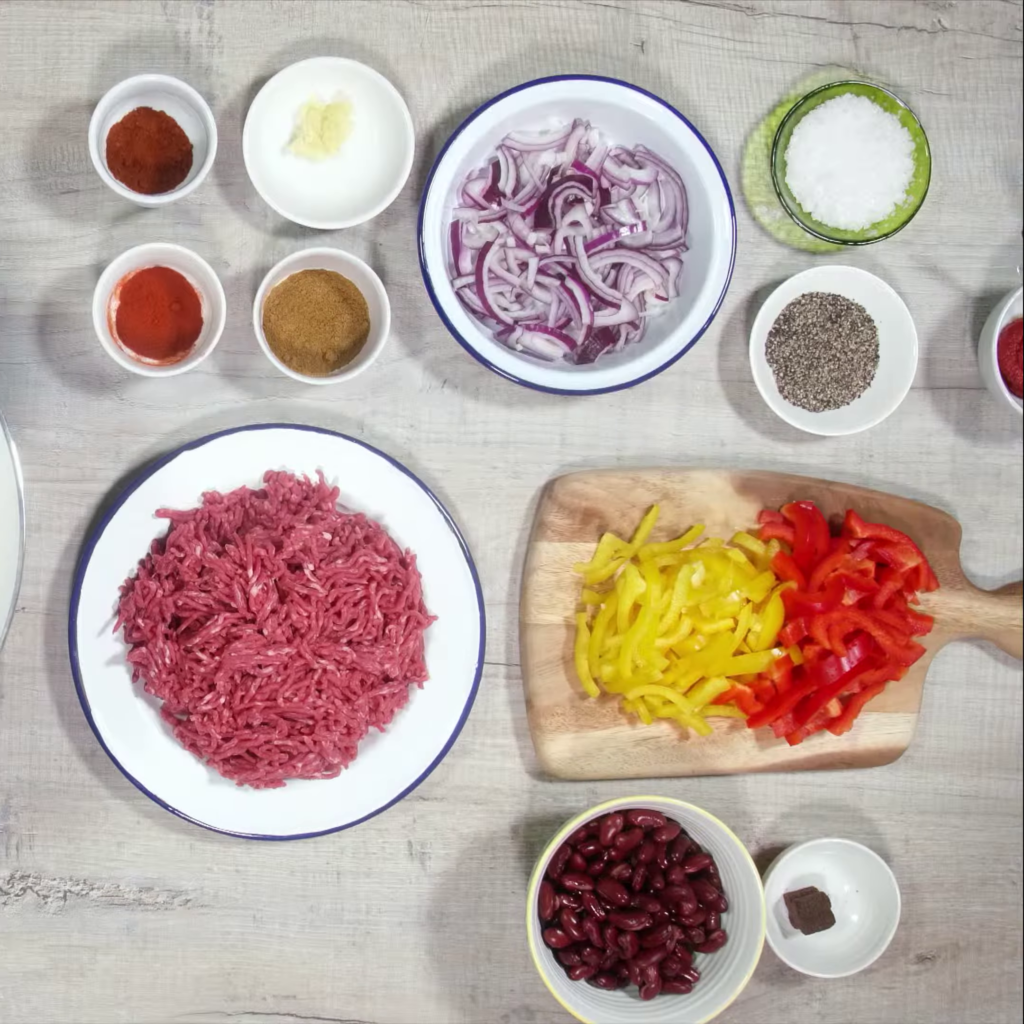
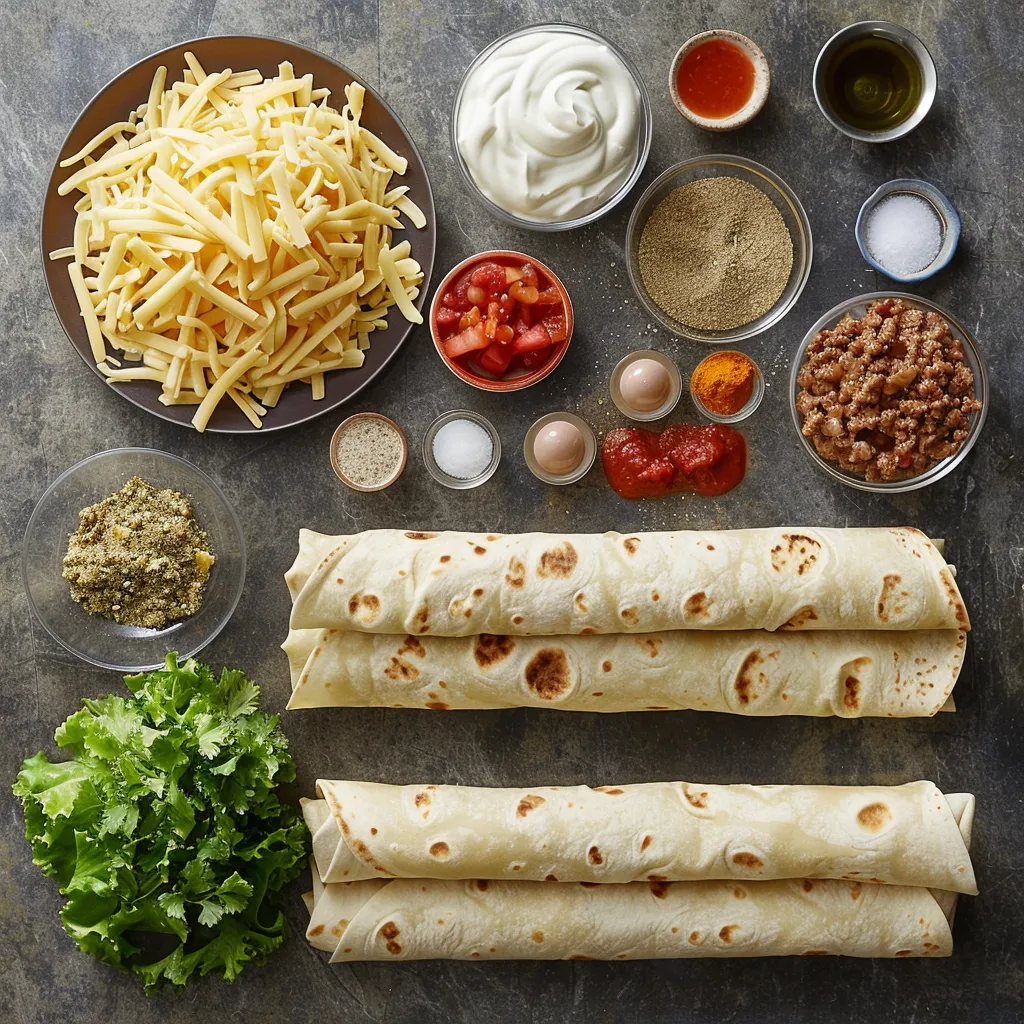
Ingredients
- 1 lb lean ground beef
- 1 can (16 oz) refried beans
- 4 large flour tortillas (gluten-free if preferred)
- 1 cup shredded Monterey Jack and Cheddar cheese blend
- 1/2 cup salsa (plus extra for serving)
- 1/4 cup sour cream (for topping)
- 2 tablespoons vegetable oil (if frying)
- Spices: 1 teaspoon cumin, 1 teaspoon chili powder, 1/2 teaspoon garlic powder, salt, and pepper to taste
- Optional: guacamole, shredded lettuce, diced tomatoes for garnish
Instructions
- Preheat oven to 400°F if baking. For frying, skip to step 5.
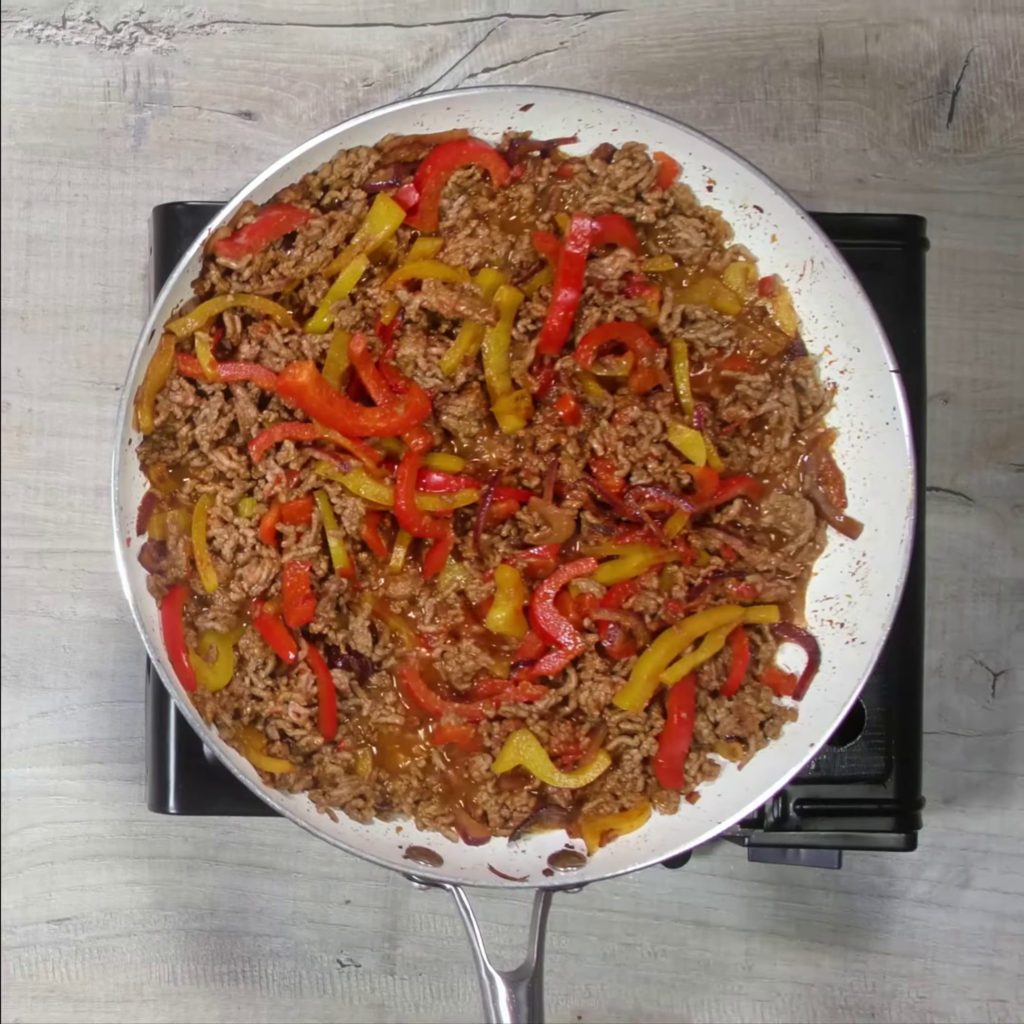
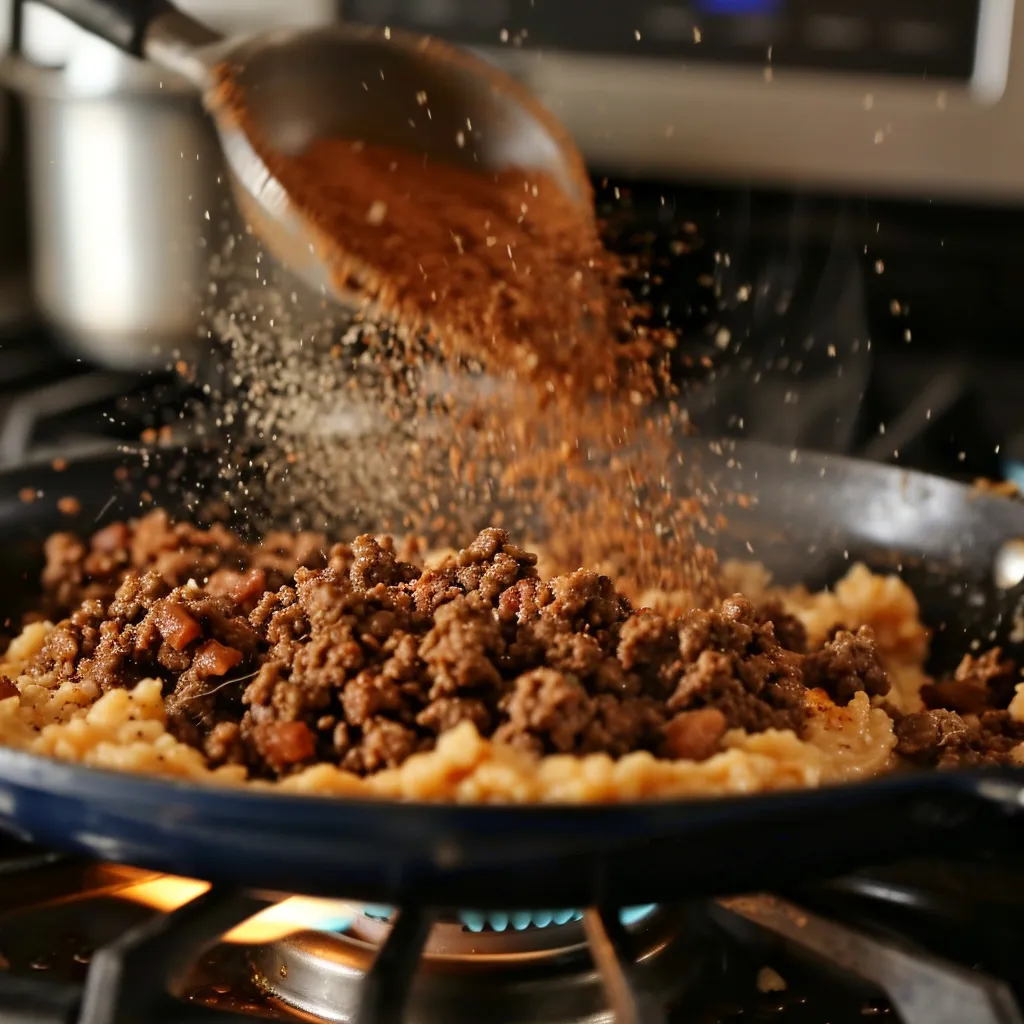
- Cook the ground beef in a skillet over medium heat until browned. Drain excess grease.
- Mix in refried beans, cumin, chili powder, garlic powder, salt, and pepper. Cook until heated through.
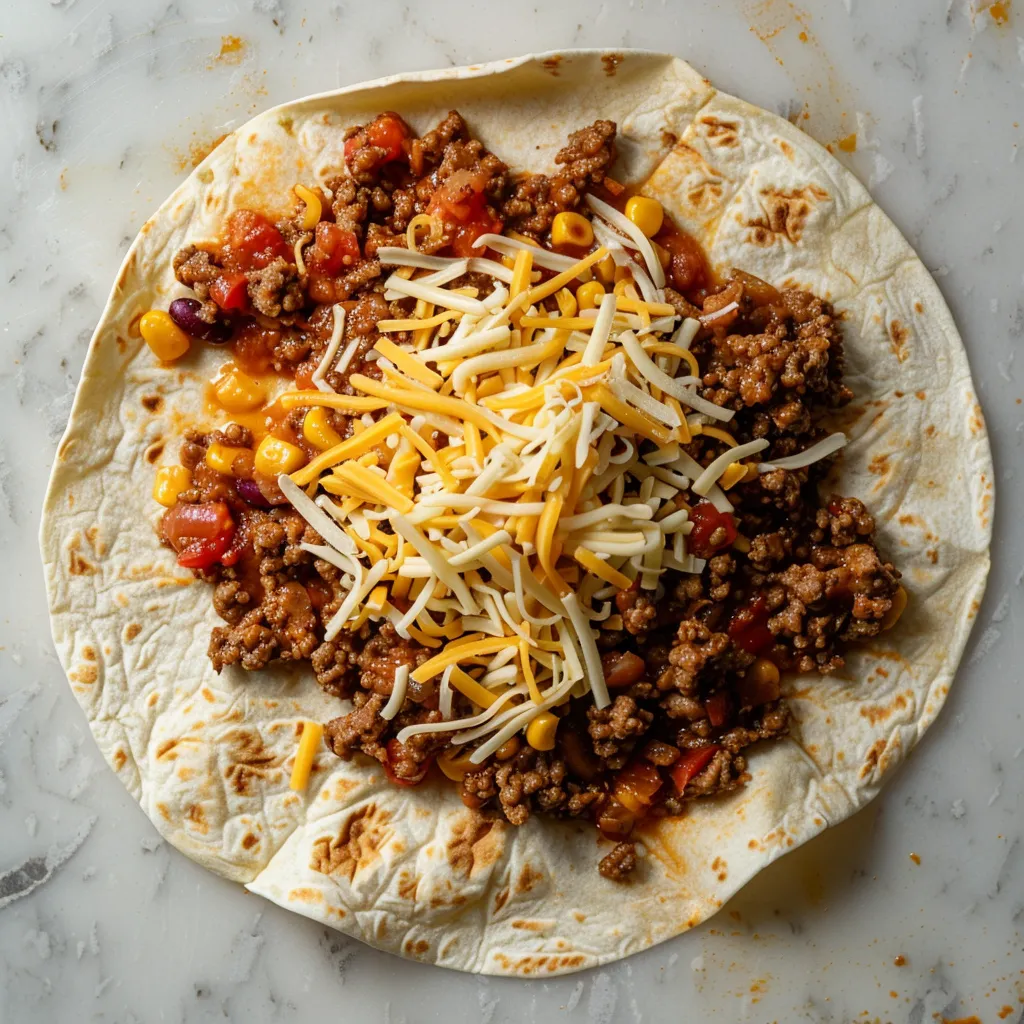
- Assemble the chimichangas by placing a quarter of the beef and bean mixture onto each tortilla, topping with cheese, and folding tightly.
- For Baking: Place chimichangas seam-side down on a baking sheet, brush lightly with oil, and bake for 20-25 minutes until crispy. For Frying: Heat vegetable oil in a deep skillet and fry chimichangas until golden brown, about 3-4 minutes per side.
- Serve hot with salsa, sour cream, and optional garnishes.
Notes
- Lean Meat: Opt for lean ground beef (at least 90% lean) to keep the dish lighter.
- Customization: Feel free to add in other ingredients like cooked rice, corn, or diced peppers to the filling for extra flavor and texture.
- Make Ahead: Assemble chimichangas ahead of time and refrigerate until ready to cook for an easy meal prep solution.
Keywords: Beef Chimichanga, Bean Chimichanga, Tex-Mex Chimichanga