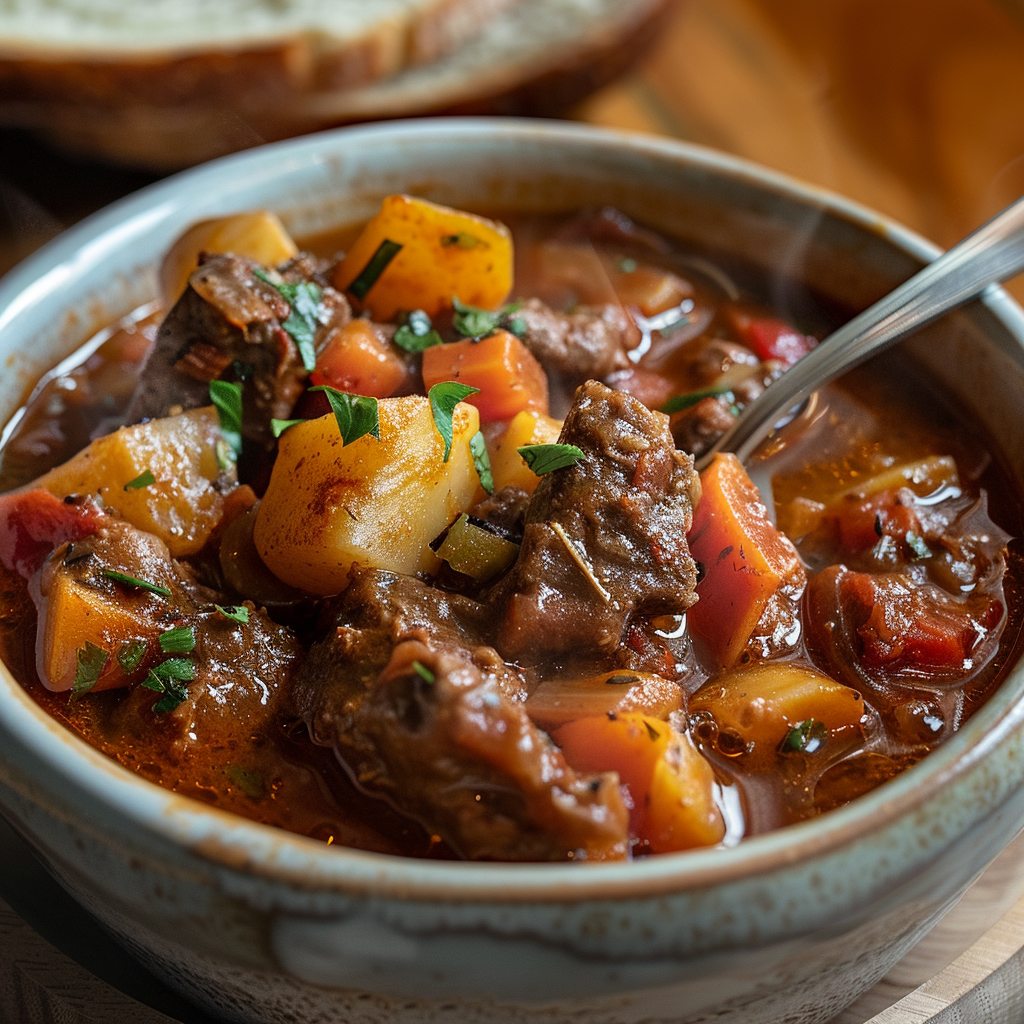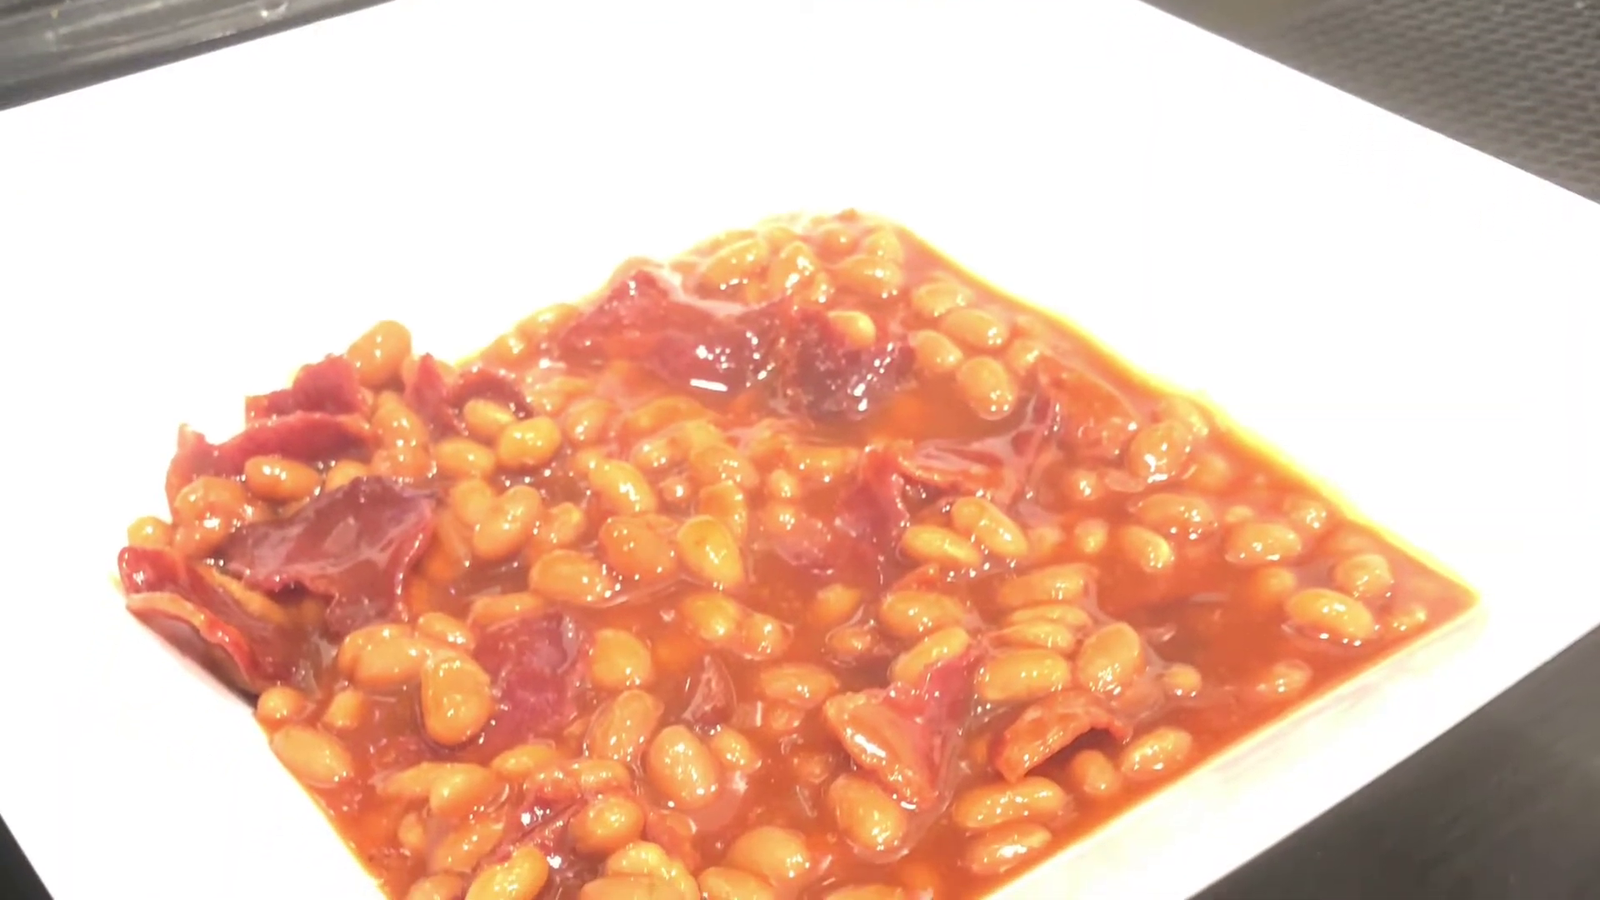
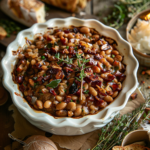
Apple Pie Baked Beans combine BBQ familiarity with apple pie sweetness. This unusual mix offers a delicious touch to BBQ dinners and starts family conversations. For chefs and amateur cooks alike, this dish offers simplicity and taste in every mouthful.
The Special Allure of Baked Beans with Apple Pie
Apple Pie Baked Beans succeeds by combining old and fresh flavors. Why this recipe stands out:
- Simplicity: With just a few ingredients, this dish is both easy to prepare and delicious to enjoy.
- Unique Flavor Combination: The integration of apple pie filling with the savory depth of baked beans yields a truly memorable dish.
FAQs
What is the baking soda trick for beans?
Adding a little bit of baking soda—roughly one teaspoon per cup of dried beans—to your soaking or boiling water will actually speed up the cooking process.
Does putting a potato in beans reduce gas?
Supposedly to “absorb” the gas from the beans, she also added an entire potato to the pot and cooked it. As a consequence, although eating the potato will make you very gassy, eating the beans should make you less so.
What can I add to beans to make them taste better?
While sea salt and water-cooked dried beans are great, adding an onion, garlic, or other aromatic to the pot can enhance their taste!
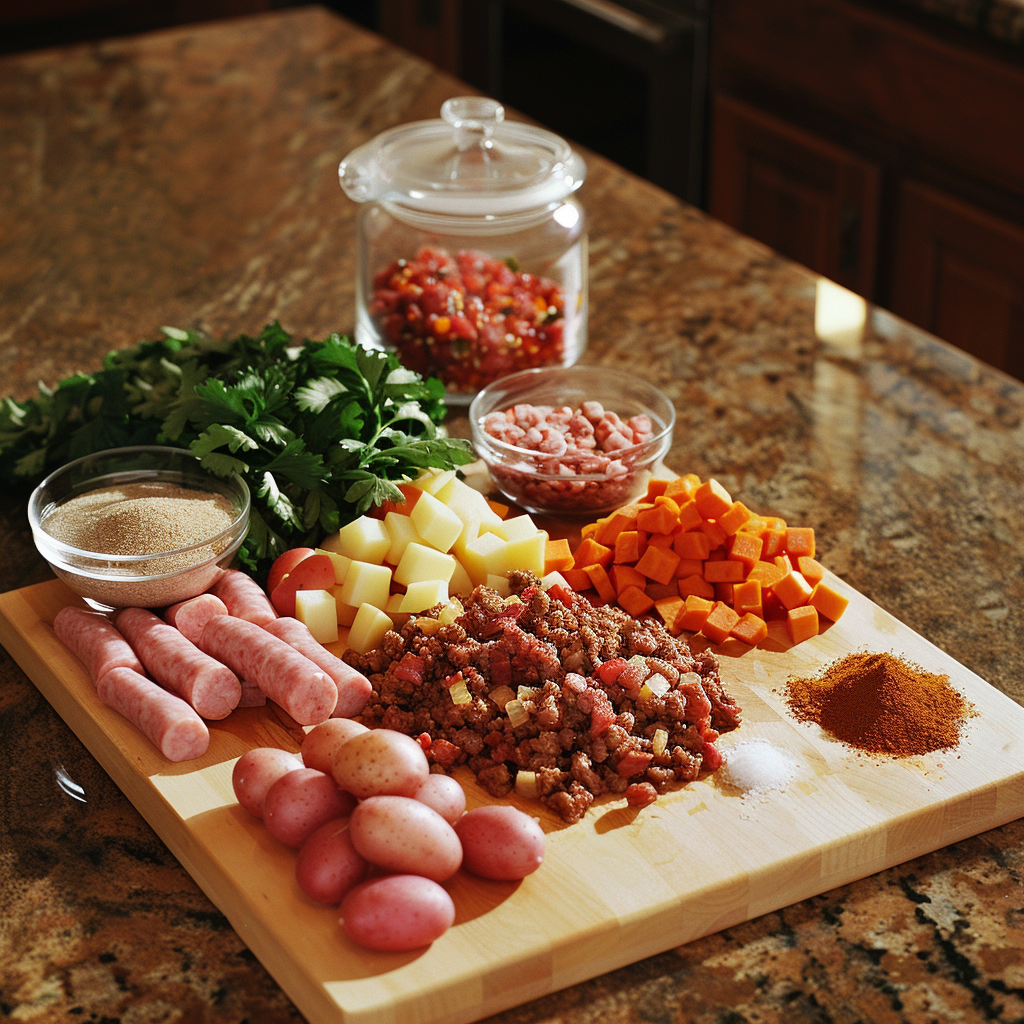
Overview of Ingredients
The key to this dish lies in its ingredients, which are both minimal and impactful.
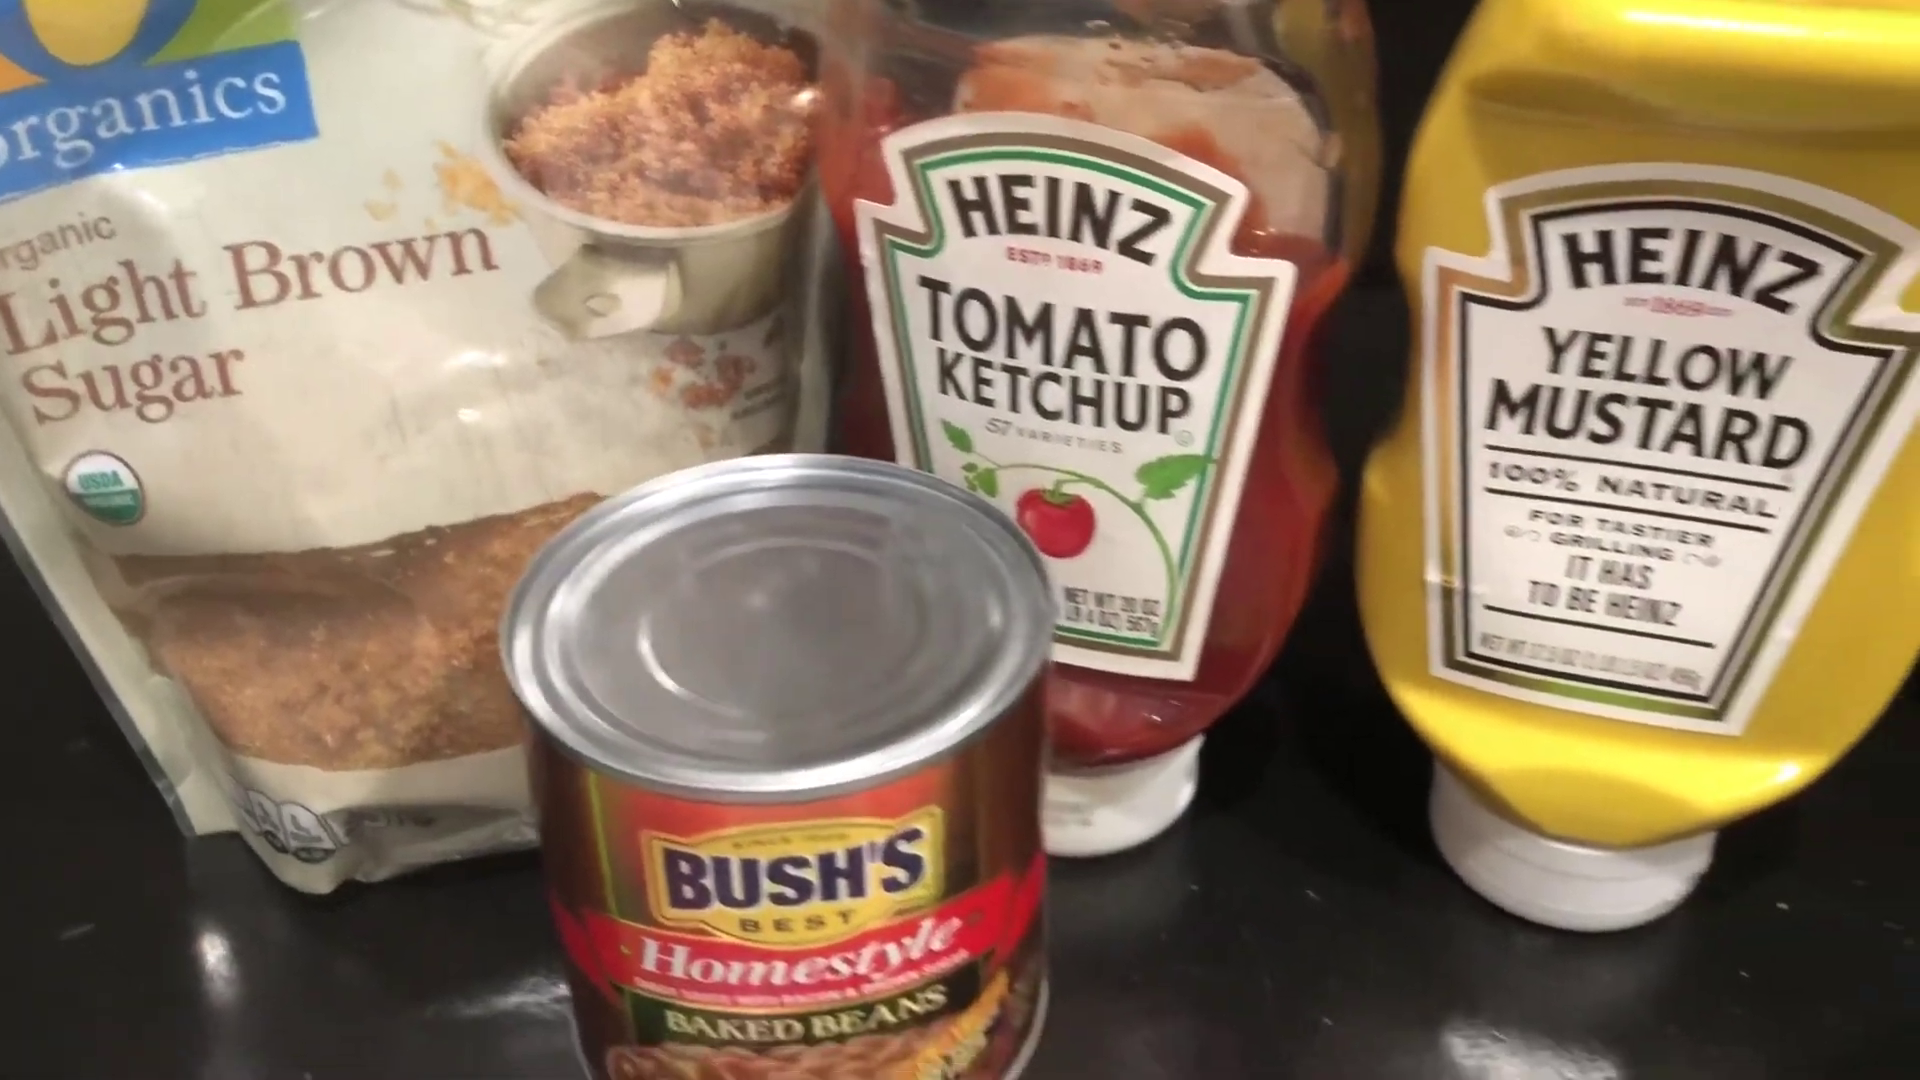
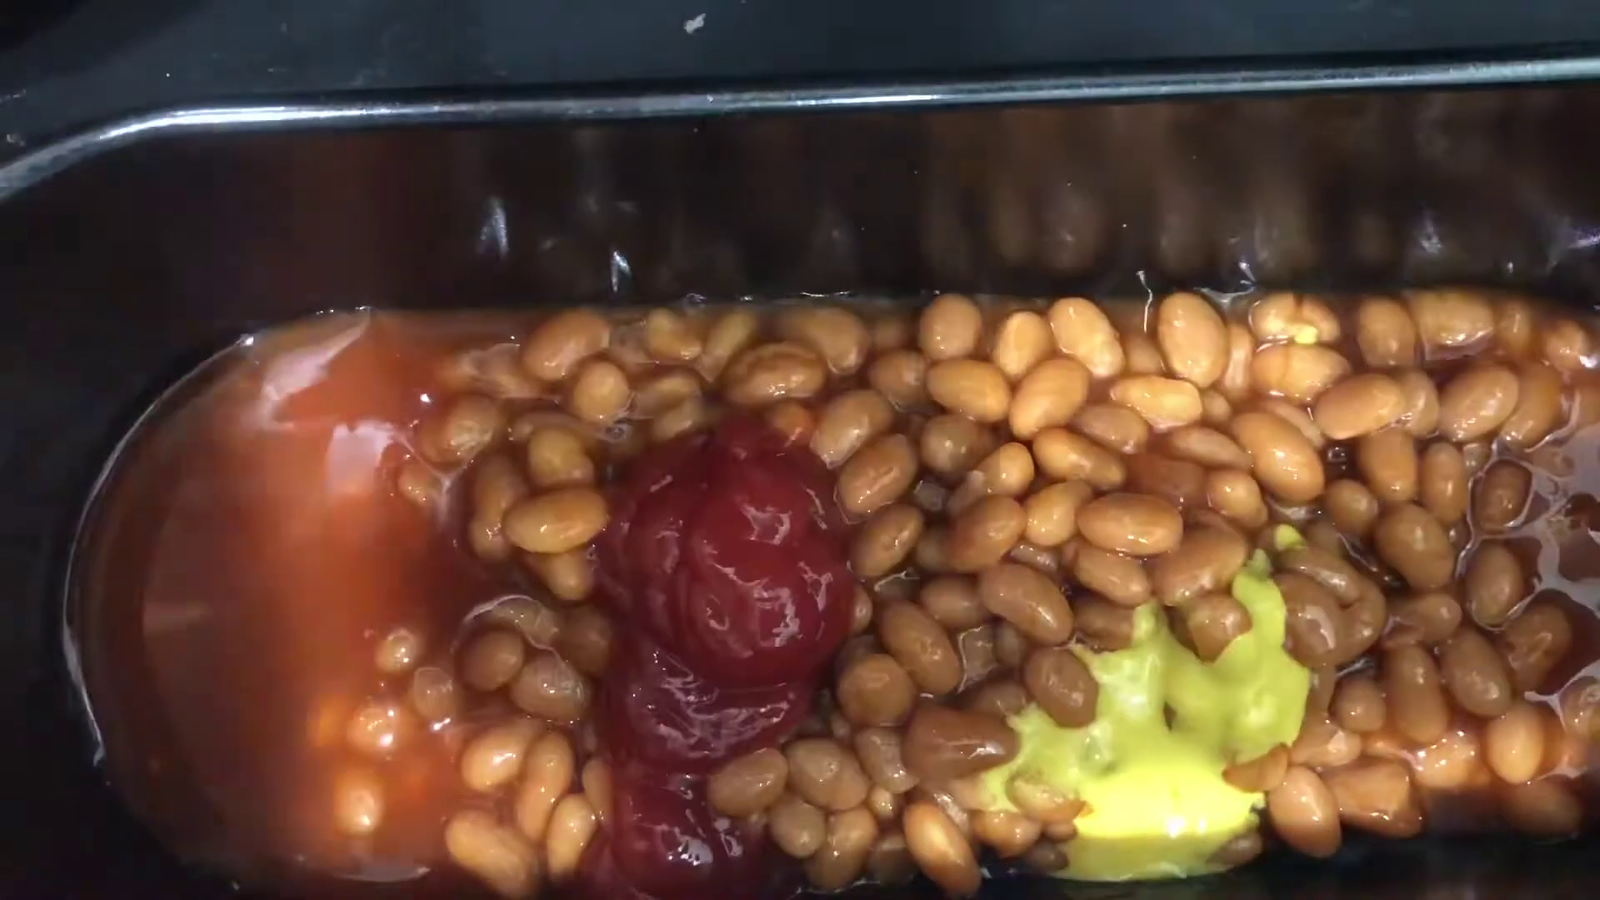
- There is no sugar-added apple pie filling (16 ounces).
- Bush’s original baked beans, also known as Showboat (55 ounces), are available.
- Your favorite BBQ sauce (½ cup)
- Favorite BBQ rub/seasoning (2 tablespoons)
Tips for excellent apple pie-baked beans
Achieving the perfect batch of apple pie baked beans is easier than you might think. Here are some expert tips:
Ingredient Enhancements
Adding additions to canned baked beans may turn them from a basic side dish into a gourmet experience. Apple pie filling gives a distinct sweetness, and a little of your favorite BBQ sauce enhances the taste. A dusting of BBQ rub may give even another dimension of flavor, balancing the savoury and the sweet just so.
The Role of Apples
Cooking beans with apples adds a delicious touch. The beans have a rich, delicious richness from the caramelization of the natural sugars in apples. When apples are sweet and the beans are salty, like in Apple Pie Baked Beans, this combination works very well.
Elevating Techniques
The addition of various flavors is one way to improve baked beans. Sautéing onions and garlic before adding the beans can create an aromatic base. The richness of the meal is increased with smoked bacon or spices like cumin and paprika.
Flavor Enhancements
The addition of more spices and condiments is essential to improving the taste of canned beans even more. Spices like bay leaves and thyme, as well as mustard and chili powder, add aroma to the beans. A spoonful of molasses or a splash of vinegar may provide sweetness and acidity to balance things out and provide a more interesting and filling meal.
Additional Tips for Better Apple pie baked beans
Look at both texture and taste improvements when adding more to your beans. Ingredients like chopped tomatoes, crispy bacon, or even dark chocolate may offer new flavor aspects. The simple beans may also become a spectacular side dish by adding tart ingredients like apple cider vinegar or BBQ sauce.
Readers who want to try different ways to cook beans might want to check out Air Fryer Baked Beans for a quick and easy option.
Customizing Your Dish
Tailor this dish to suit your taste or dietary preferences with these simple modifications:
- Vegan Adaptation: Use vegan-friendly beans and a plant-based BBQ sauce.
- Additional Flavors: Consider adding smoked paprika or a pinch of cinnamon for a deeper flavor profile.
Ideal Pairings for Apple Pie Baked Beans
This dish pairs beautifully with various main courses and sides. For a perfect BBQ menu, consider:
- Grilled meats, like chicken or pork
- A fresh coleslaw or green salad
- Cornbread or crusty bread
Why not serve the Sloppy Joe recipe at your BBQ? For a particular touch, serve smoked potato salad.
Health Benefits
Apple Pie Baked Beans are not just tasty—they’re also nutritious.
- Fiber-Rich: Both apples and beans are great sources of dietary fiber.
- Vitamin-Packed: Apples provide vitamin C, while beans offer protein and iron.
Want to make sweet baked beans? Share your ingredients and experiences! Show us your projects and tell us about any changes. Share your images and comments here or on social media using #UniqueBBQTwist.
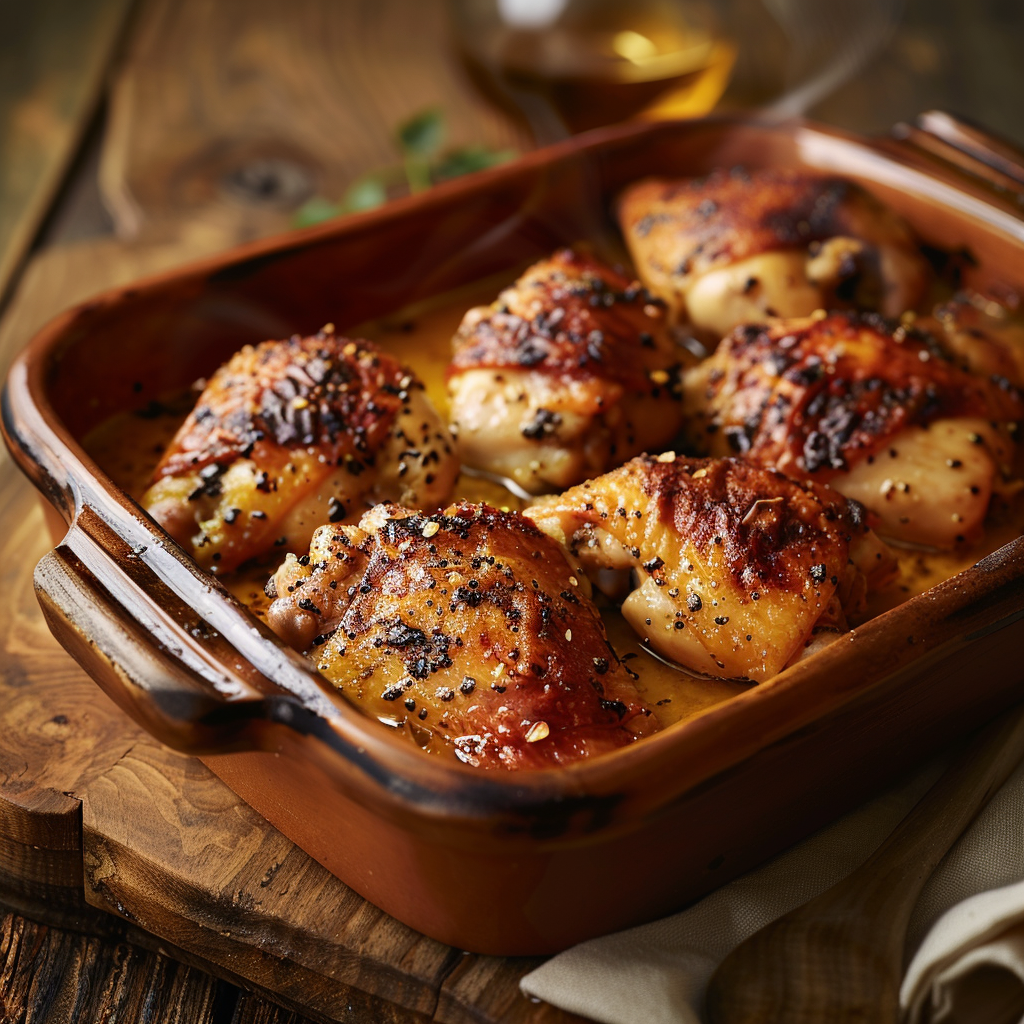
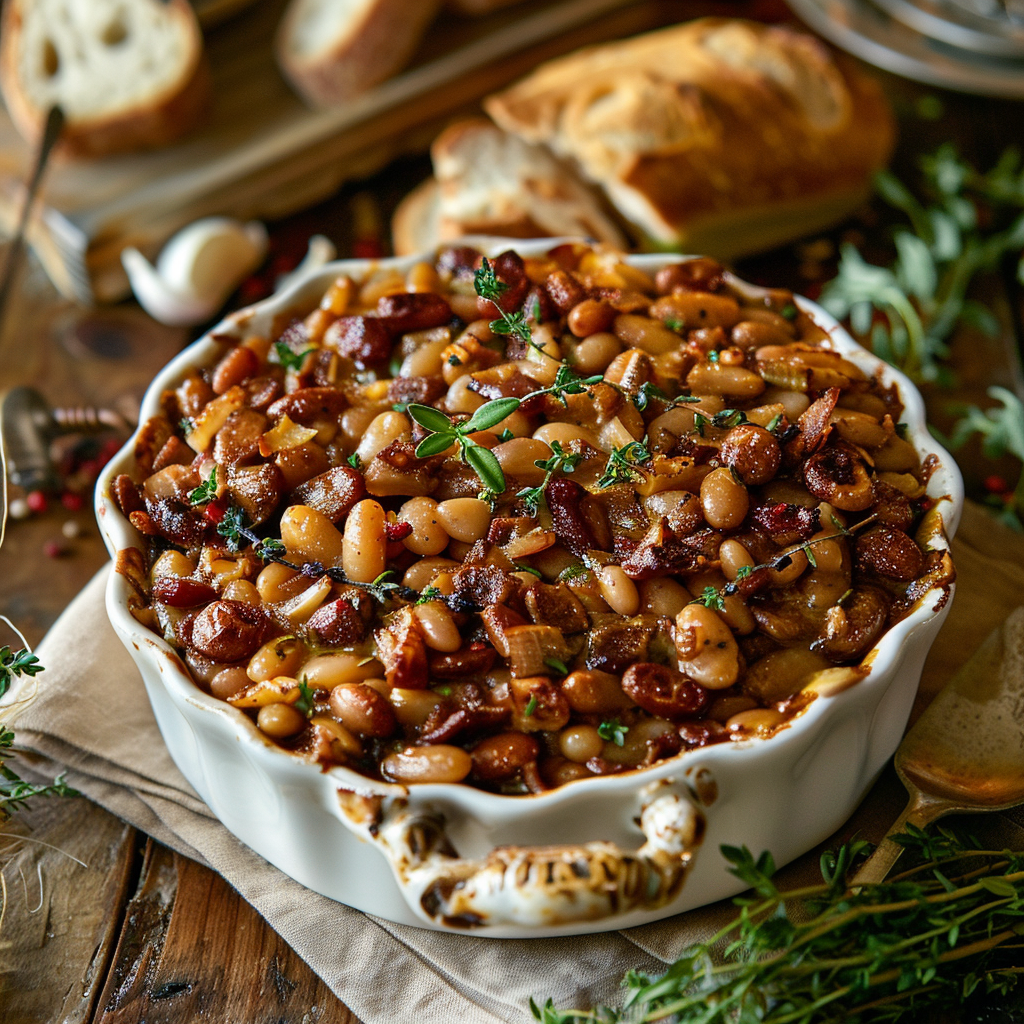
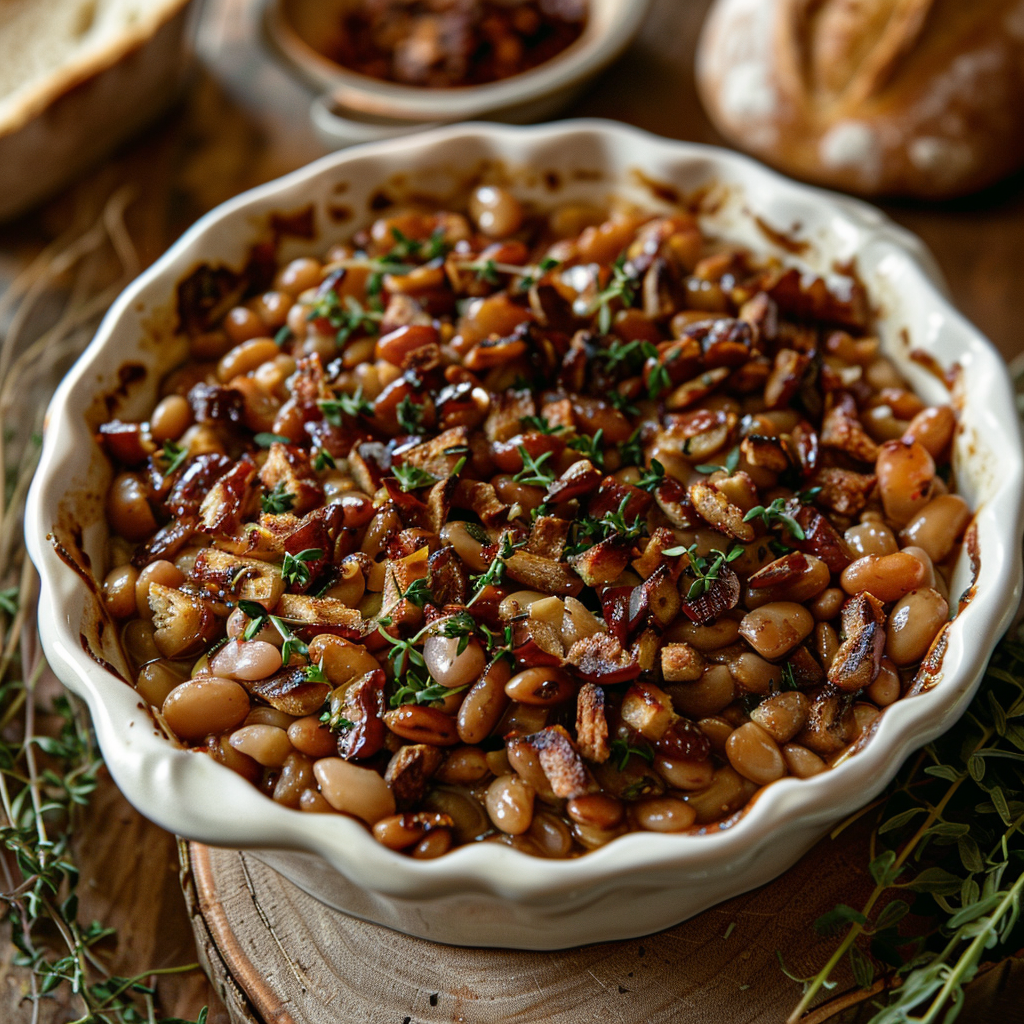
PrintApple Pie Baked Beans
Make your BBQs unforgettable with our Apple Pie Baked Beans recipe. Quick prep, rich flavors, and health benefits in every bite.
- Prep Time: 15 minutes
- Cook Time: 1 hour 30 minutes
- Total Time: 1 hour 45 minutes
- Yield: 6
- Category: Side Dish
- Method: Baking/Smoking/Grilling
- Cuisine: American
- Diet: Gluten Free
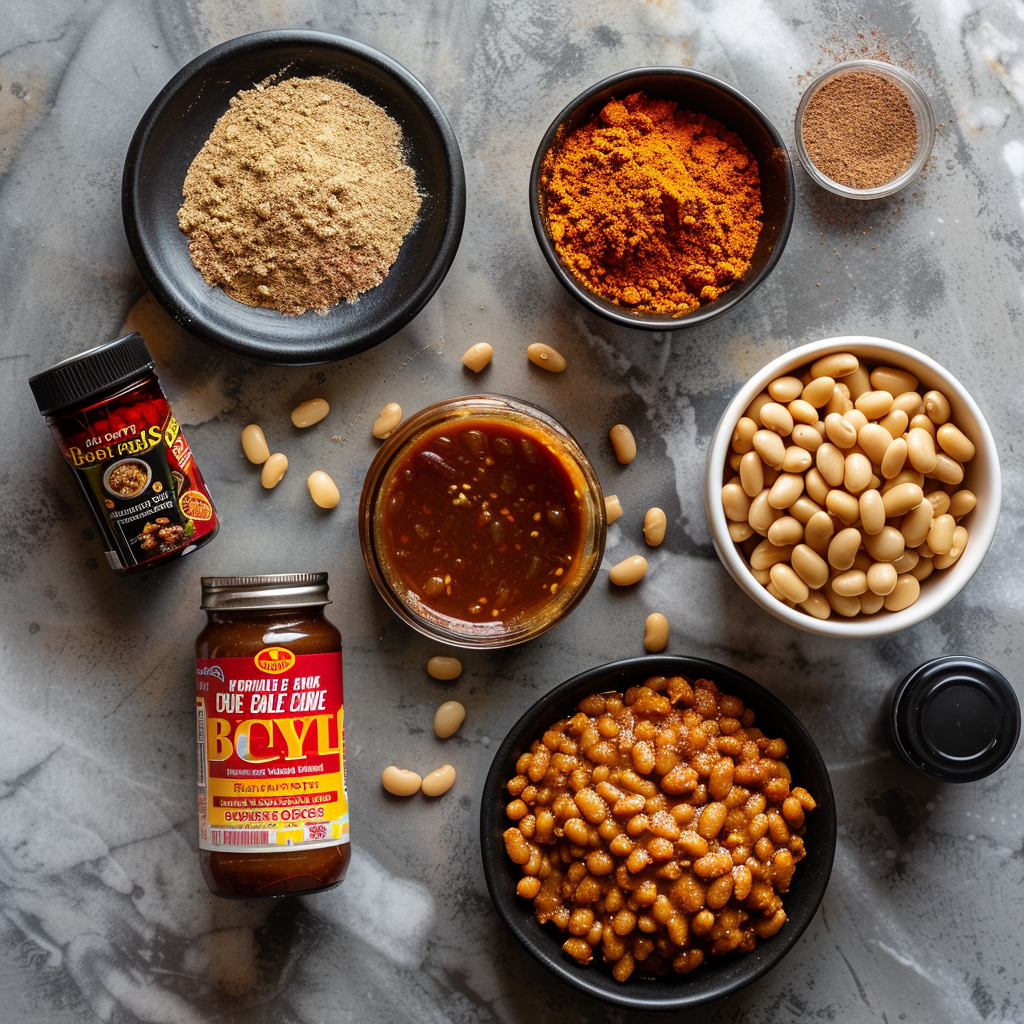
Ingredients
- 1 (16 oz) can of no sugar added apple pie filling
- 1 (55 oz) can of Bush’s Original Baked Beans or Showboat
- ½ cup of your favorite BBQ sauce
- 2 tablespoons of your favorite BBQ rub/seasoning
- Optional for extra flavor: chopped bell pepper, chopped onion, jalapeno slices, bacon on top, minced garlic
Instructions
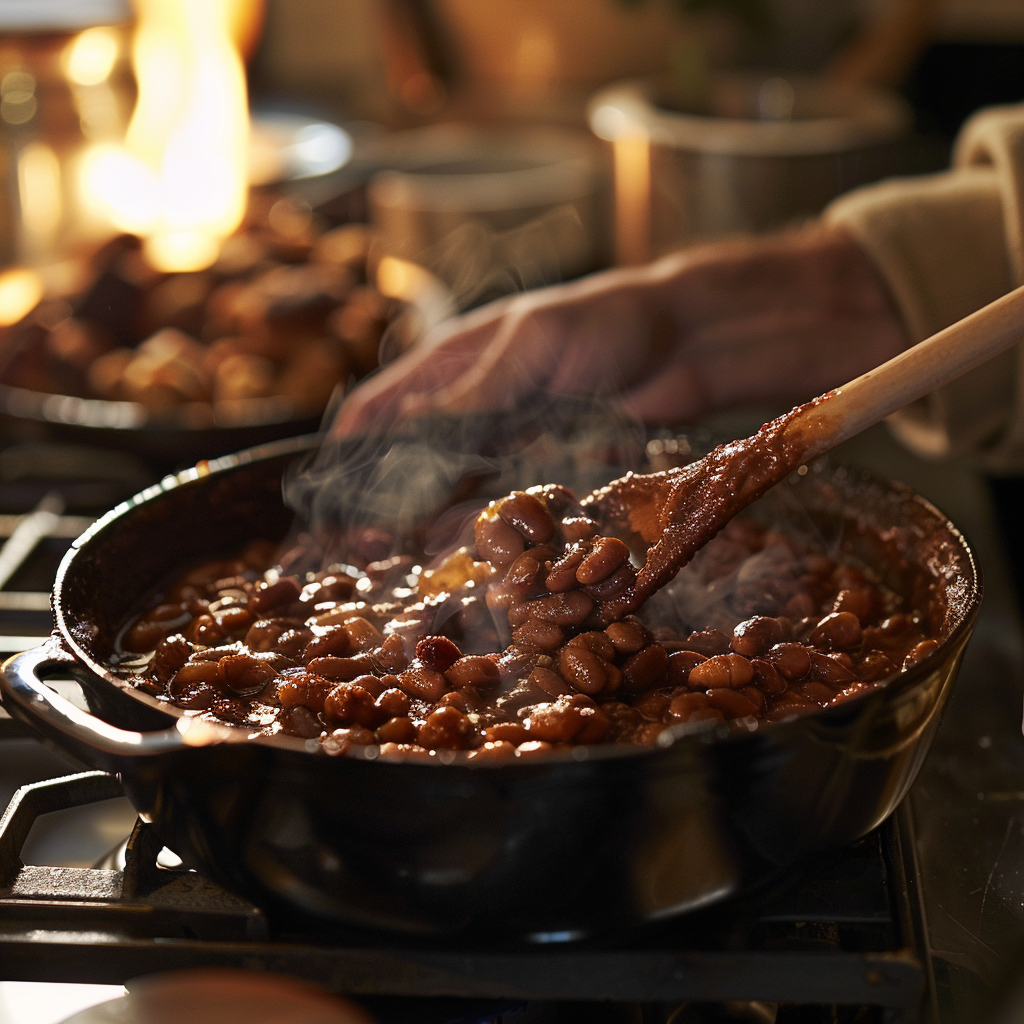
- Preheat your oven to 325°F (163°C).
- In a large baking dish, combine the apple pie filling with the BBQ sauce and BBQ rub/seasoning.
- Gently blend the mixture using an immersion blender or pulse a few times in a food processor to slightly break up the apples.
- Stir in the canned baked beans until well mixed.
- Bake in the preheated oven for 1.5 hours, stirring occasionally to ensure even cooking.
- Serve warm as a side dish at your next BBQ
Notes
- Flavor Variations: Feel free to experiment with different pie fillings like cherry or peach for a unique twist.
- Vegan Option: Omit bacon or use a vegan alternative for a plant-based version.
- Storage: Store leftovers in an airtight container in the fridge for up to 3 days.
Keywords: apple pie baked beans