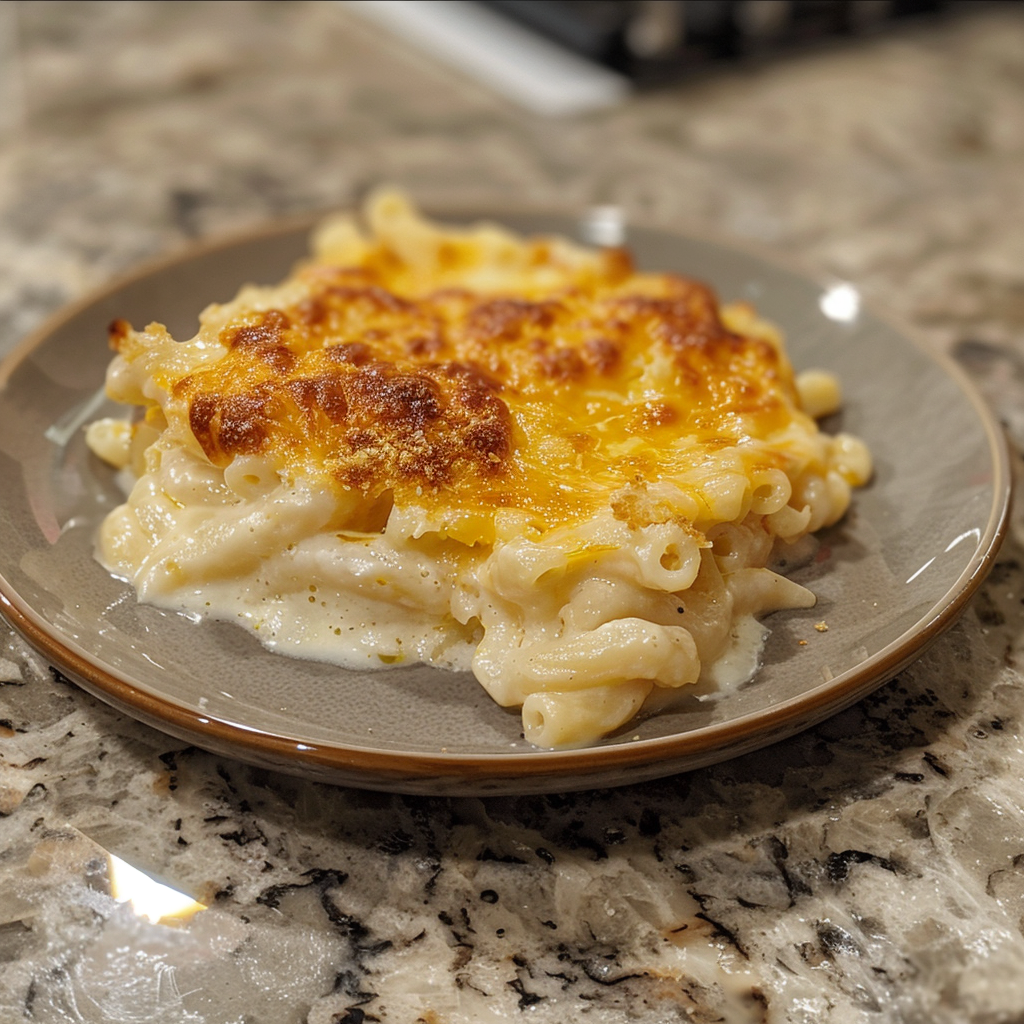
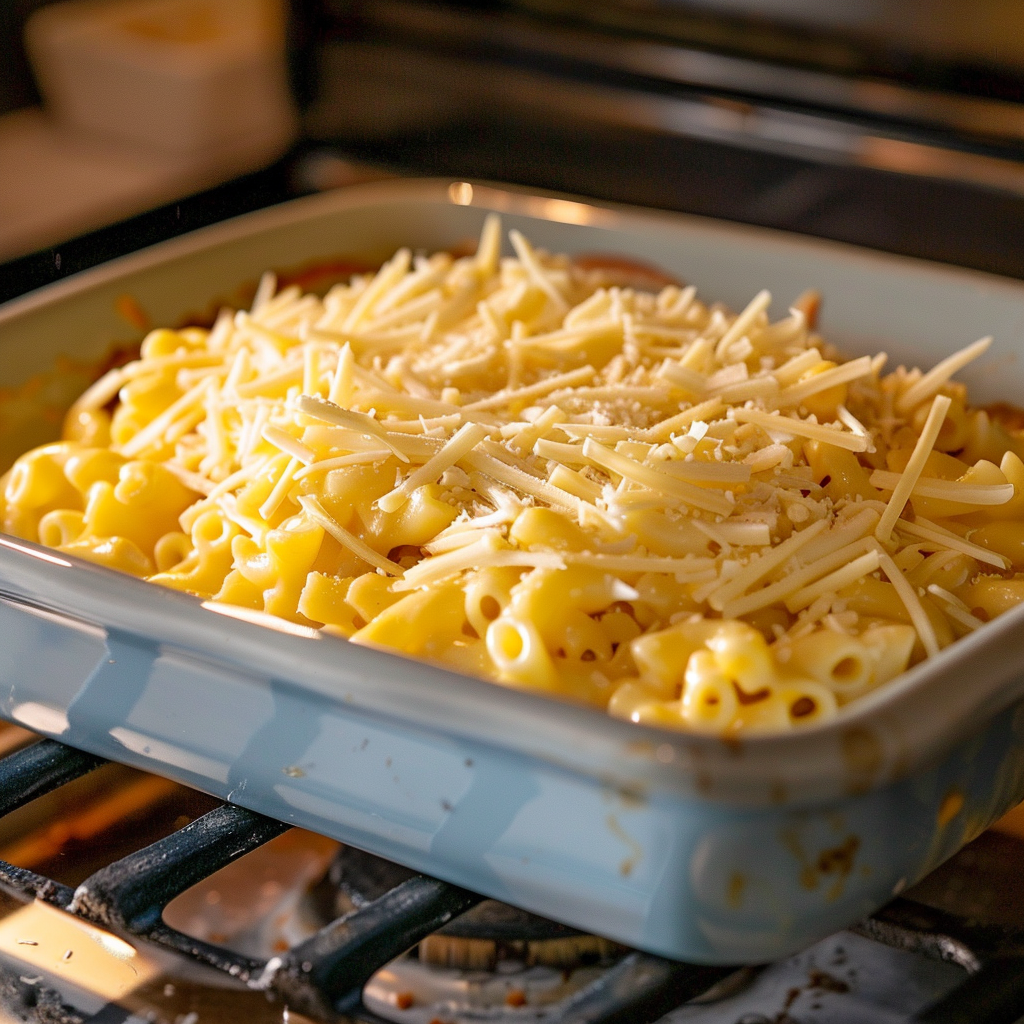
Love Chick-fil-A’s mac and cheese? Recreate it at home! Learn to master the flavors and techniques that make this creamy dish so special with our restaurant-style recipe.
Benefits of Homemade Chick-fil-A Mac and cheese
Making this dish at home not only lets you control the nutrition and enjoy a comforting meal, but also allows you to unleash your creativity. Opt for whole-grain pasta and low-fat cheeses for a healthier version, and add veggies. For more tips on making mac and cheese healthier, check out Everyday Health’s guide.
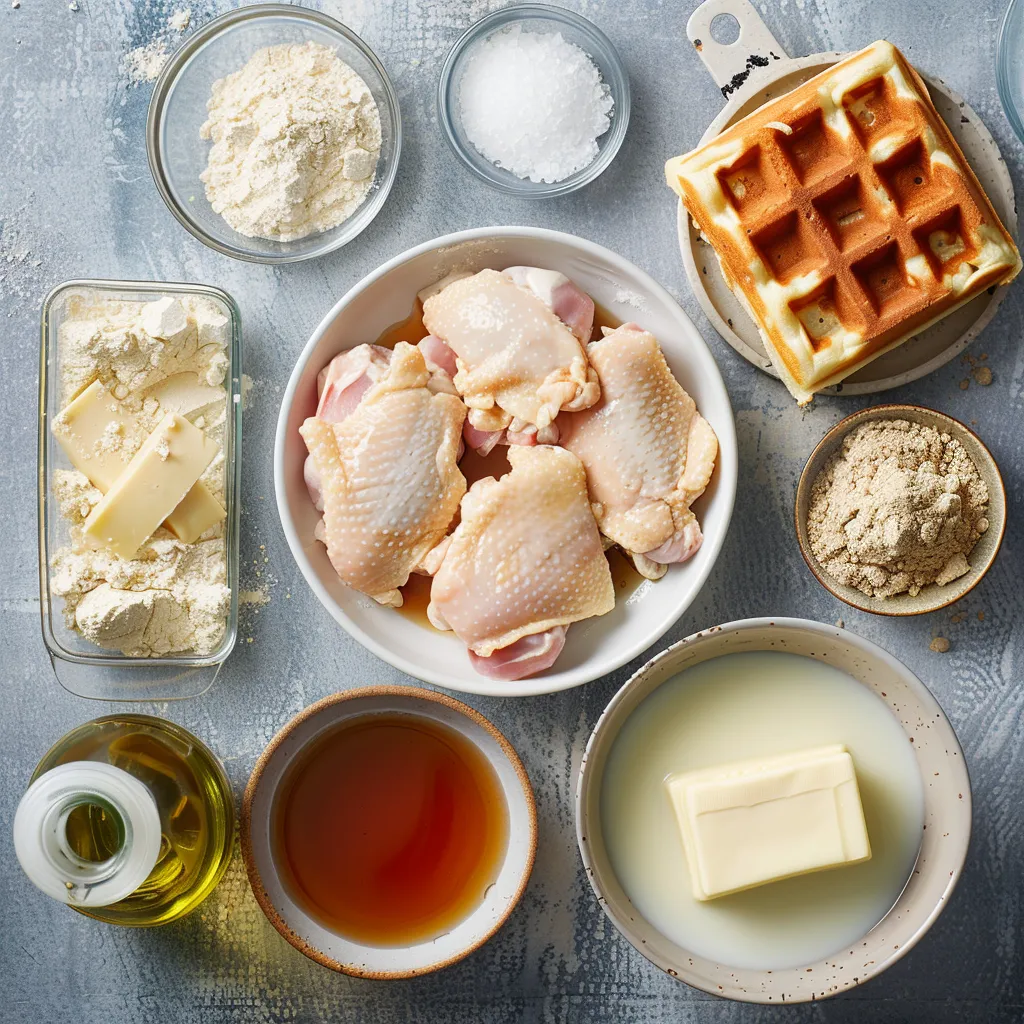
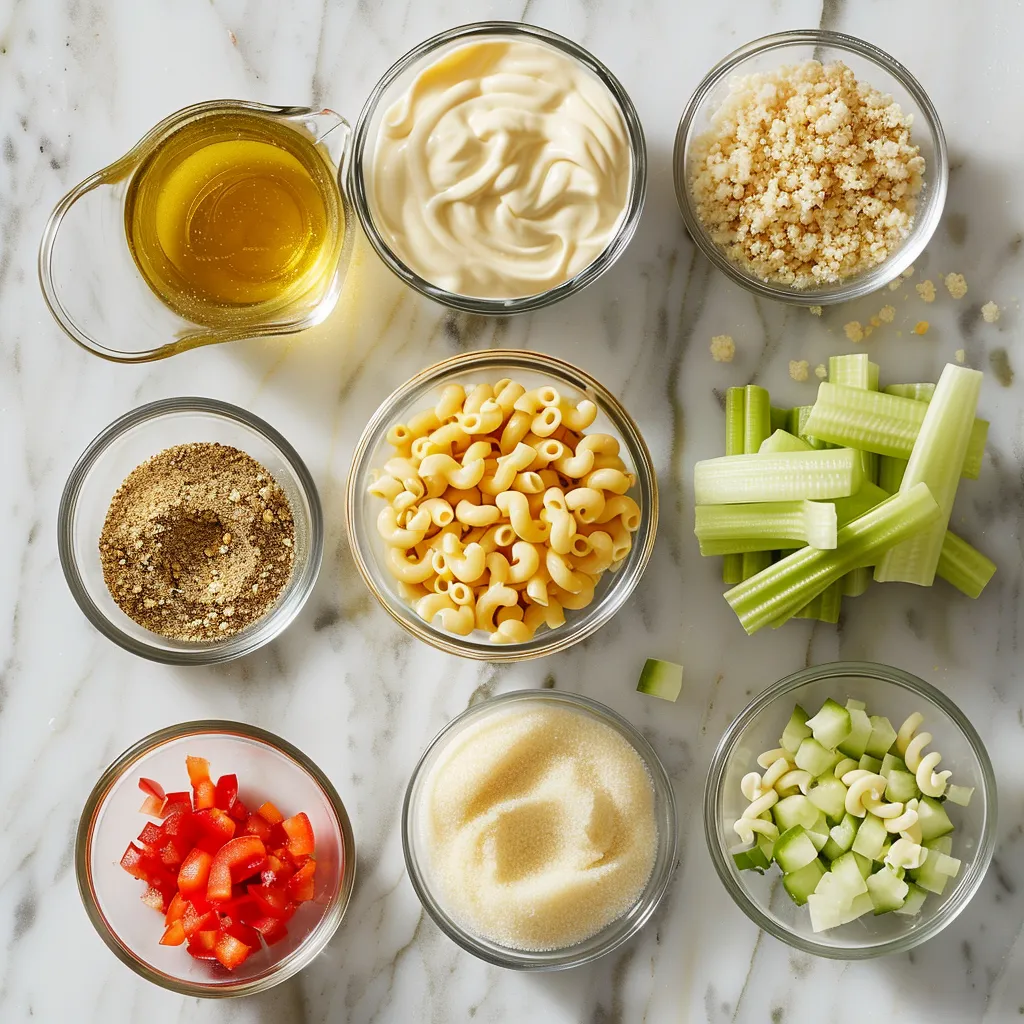
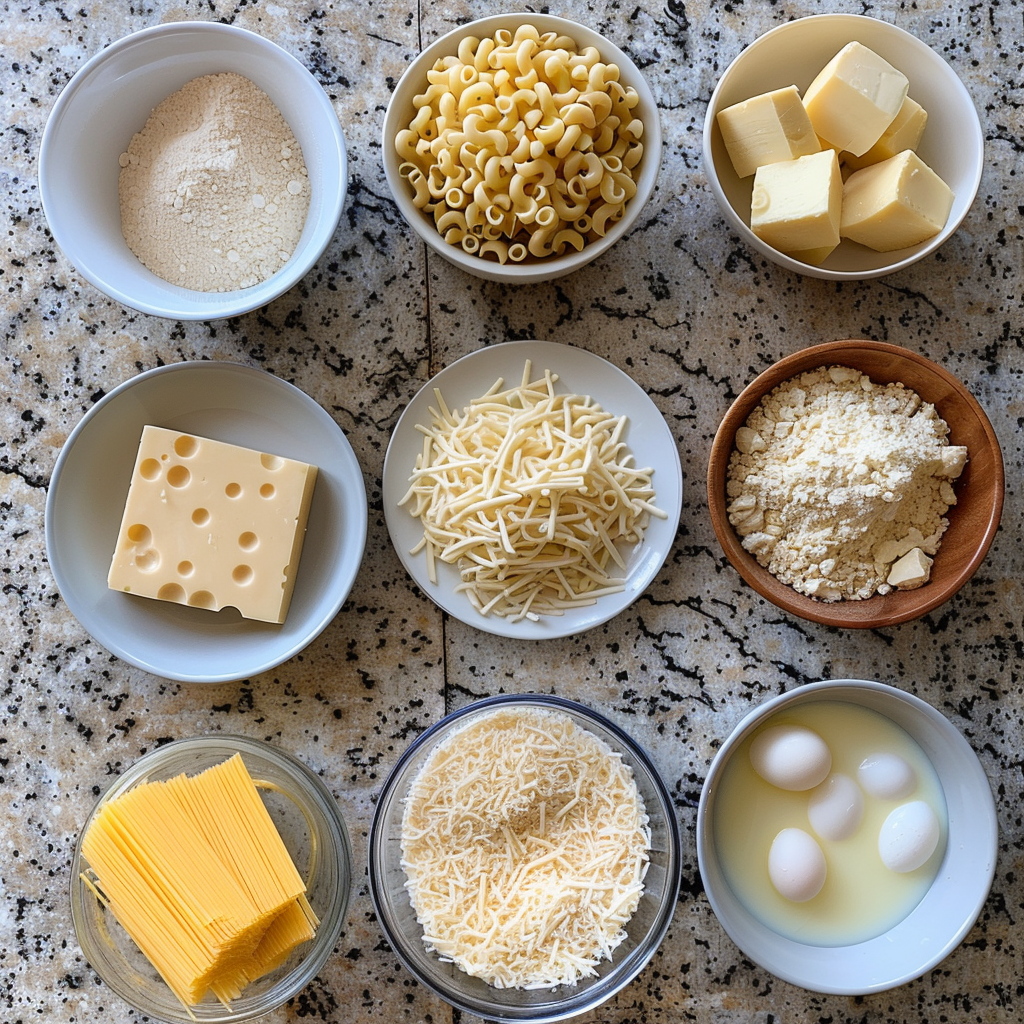
Overview of Ingredients for Homemade Chick-fil-A Mac and Cheese
Cheeses:
Parmesan Cheese: Adds a nutty and salty flavor, contributing to the overall depth of the cheese sauce.
Cheddar Cheese: Provides the classic sharpness and creaminess expected in mac and cheese.
Romano Cheese: Offers a slightly tangy taste, enhancing the dish’s complexity.
American Cheese: Melts beautifully, ensuring a smooth and velvety sauce.
BellaVitano Cheese: An optional addition that brings a unique, award-winning flavor.
Pasta:
Elbow Macaroni is the traditional choice for mac and cheese. Its shape holds the sauce well, ensuring every bite is as flavorful as the last.
Roux Ingredients:
Unsalted Butter is the base of the roux. It combines with flour to thicken the cheese sauce without adding extra salt.
All-Purpose Flour: It works with butter to form the roux, a crucial step in achieving the perfect sauce consistency.
Additional Ingredients:
Whole Milk & Heavy Cream: The liquid base of the cheese sauce provides richness and creaminess.
Egg Yolks: Help thicken the sauce, enrich the flavor, and bind the ingredients together.
Spices: Paprika, turmeric, and annatto can be adjusted to taste, adding color and subtle flavor nuances. Feel free to include garlic powder or other favorites.
Choosing the Right Ingredients
Cheeses: High-quality cheeses make the dish. The unique blend is key.
Macaroni: Standard elbow macaroni is ideal for holding the sauce.
Roux Ingredients: Real butter and all-purpose flour (unless you’re gluten-sensitive) are best for the roux.
FAQs About Chick-fil-A Mac and Cheese Recipe
What cheeses are in Chick-fil-A Mac and Cheese?
It features Parmesan, Cheddar, Romano, American, and BellaVitano, ensuring a gooey texture and rich flavor.
Do I need a roux?
Yes, a roux (flour and butter mix) is crucial. It guarantees a smooth sauce, not grainy or oily.
Why include egg?
Egg yolks are a key ingredient in the sauce. They thicken the sauce, enrich the flavor, and keep the ingredients cohesive. They also add a rich, velvety texture to the sauce.
How to cook the macaroni?
Boil the pasta for about 20 minutes. This way, it absorbs water and doesn’t dry out the sauce. It’s important to cook the pasta until it’s al dente or slightly firm to the bite, as it will continue to cook in the oven.
Can I adjust the spices?
Feel free to tweak the paprika, turmeric, and annatto, or add your favorites like garlic powder.
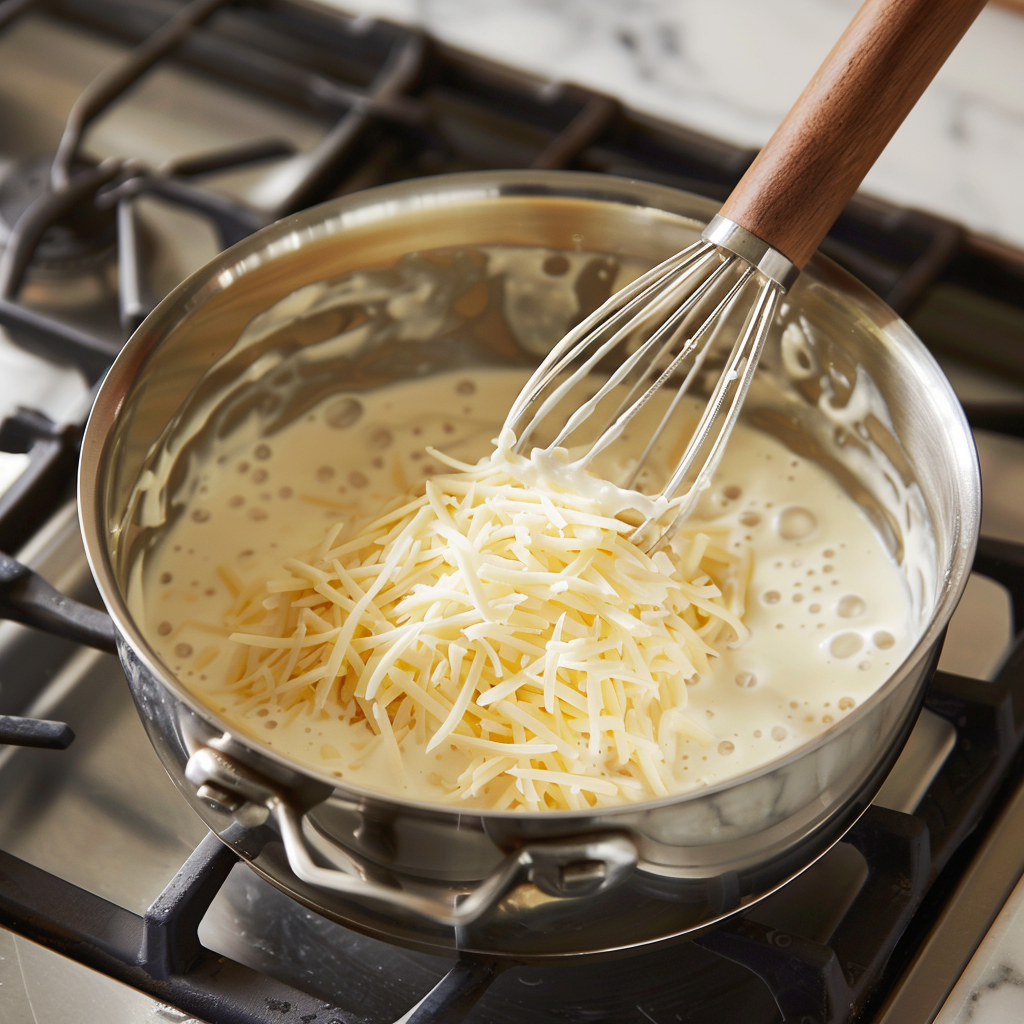
Cooking Tips and Techniques
Master the Roux: Cook it just right for the perfect sauce base.
Cheese Sauce: Gradually add cheese to the sauce, ensuring it melts completely.
Pasta Cooking: Slightly overcook the pasta to mimic Chick-fil-A’s texture.
Perfecting the Dish
Baking: Add extra cheese on top before baking for that crispy layer.
Seasoning: Adjust the spices to your liking.
Serving: Serve it hot to enjoy the creamy texture and crispy top.
Nutritional Information
Estimated Nutritional Information per Serving (Serves 4):
Calories: 750-875 kcal
Total Fat: 37.5-50g
Saturated Fat: 22.5-30g
Trans Fat: 0.6-1.25g
Cholesterol: 125-150mg
Sodium: 625-875mg
Total Carbohydrates: 62.5-75g
Dietary Fiber: 2.5-3.75g
Sugars: 6.25-8.75g
Protein: 31.25-37.5g
Vitamins and Minerals:
Calcium: 25-31.25% of the Daily Value (DV)
Iron: 12.5-18.75% of the DV
Vitamin A: 18.75-25% of the DV
Vitamin D: 12.5-18.75% of the DV
Notes:
Calories and Fat: Most calories come from the high-fat content of the cheeses, butter, and cream. Opting for low-fat cheeses and skim milk can reduce the calorie and fat content.
Sodium: Cheese and added salt contribute to the sodium content. Using low-sodium cheeses and limiting added salt can help manage sodium intake.
Protein: This dish provides a good amount of protein, primarily from the cheese and milk.
Vitamins and Minerals: Cheese and milk contribute calcium and vitamin D, which are important for bone health. The eggs add additional nutrients, including vitamin A. These nutrients are essential for maintaining good health and can be part of a balanced diet when consumed in moderation.
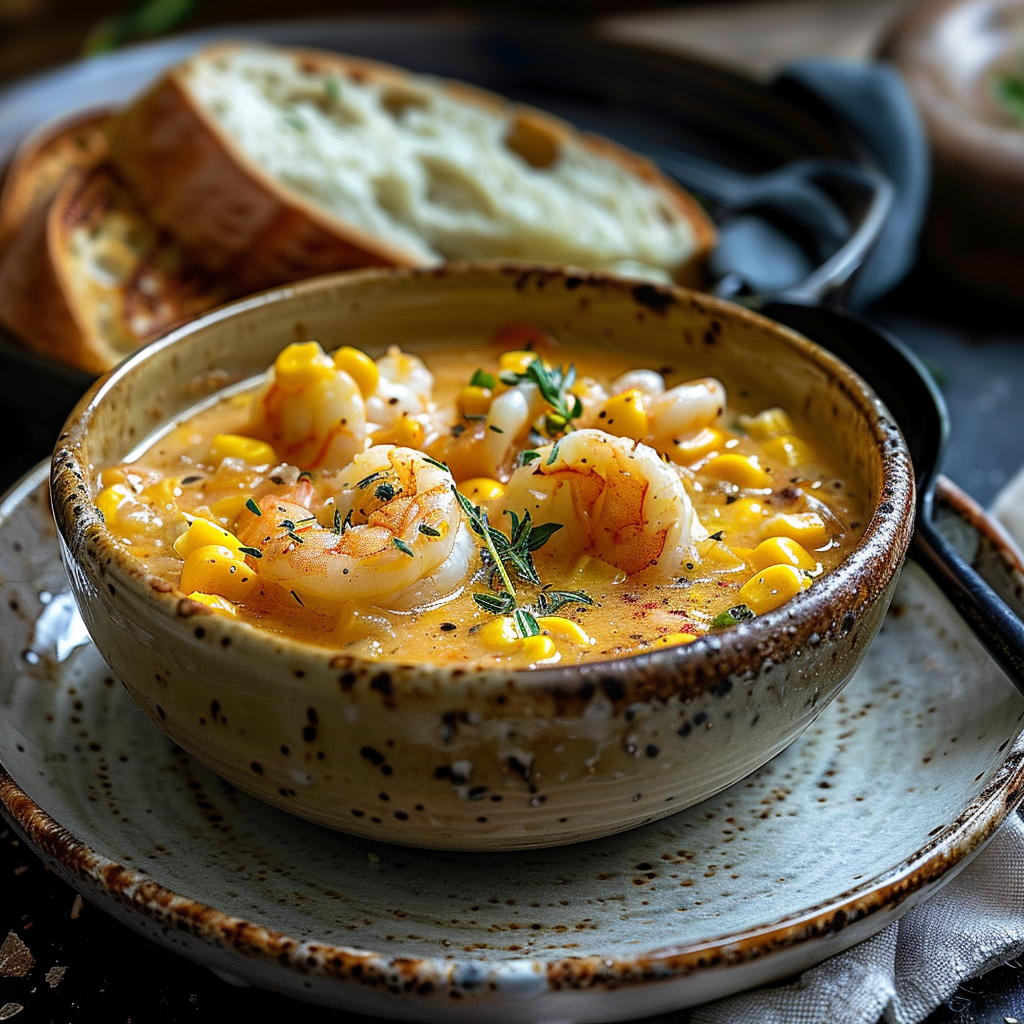
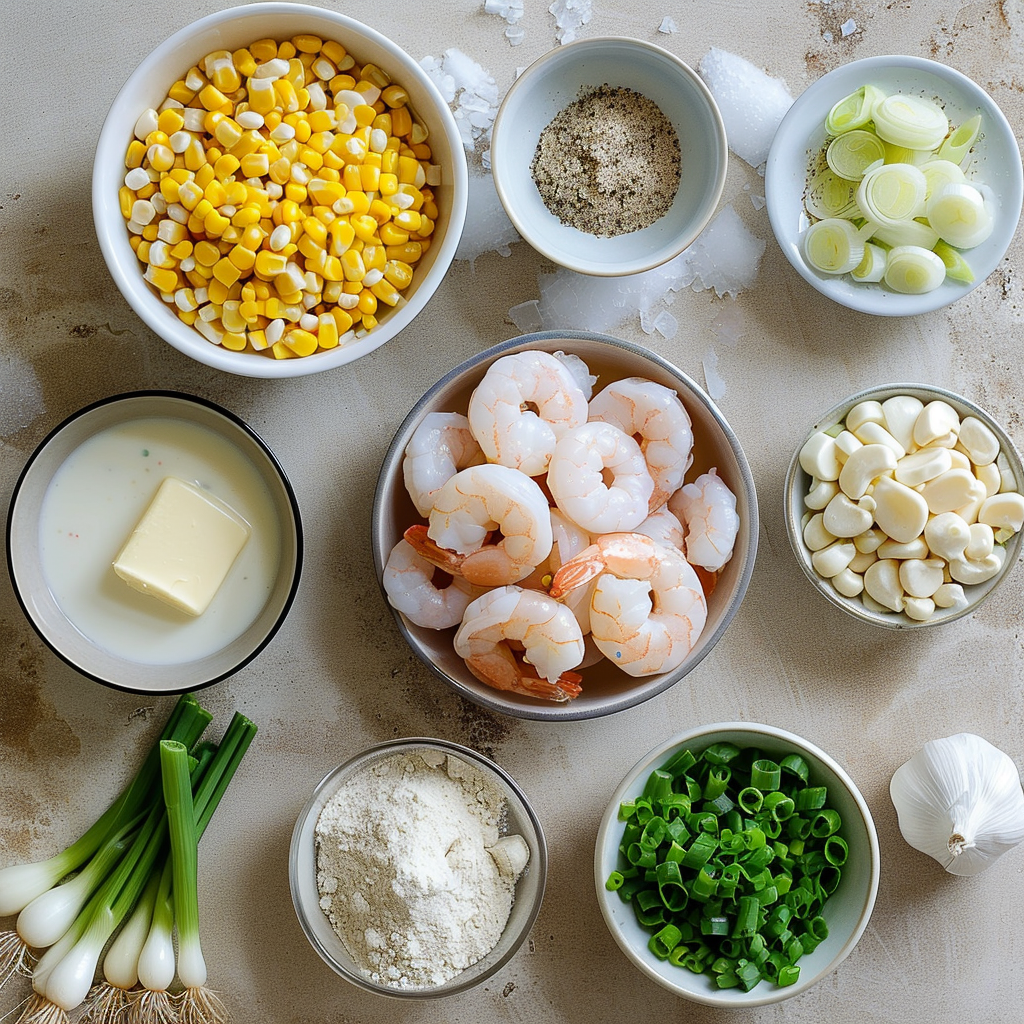
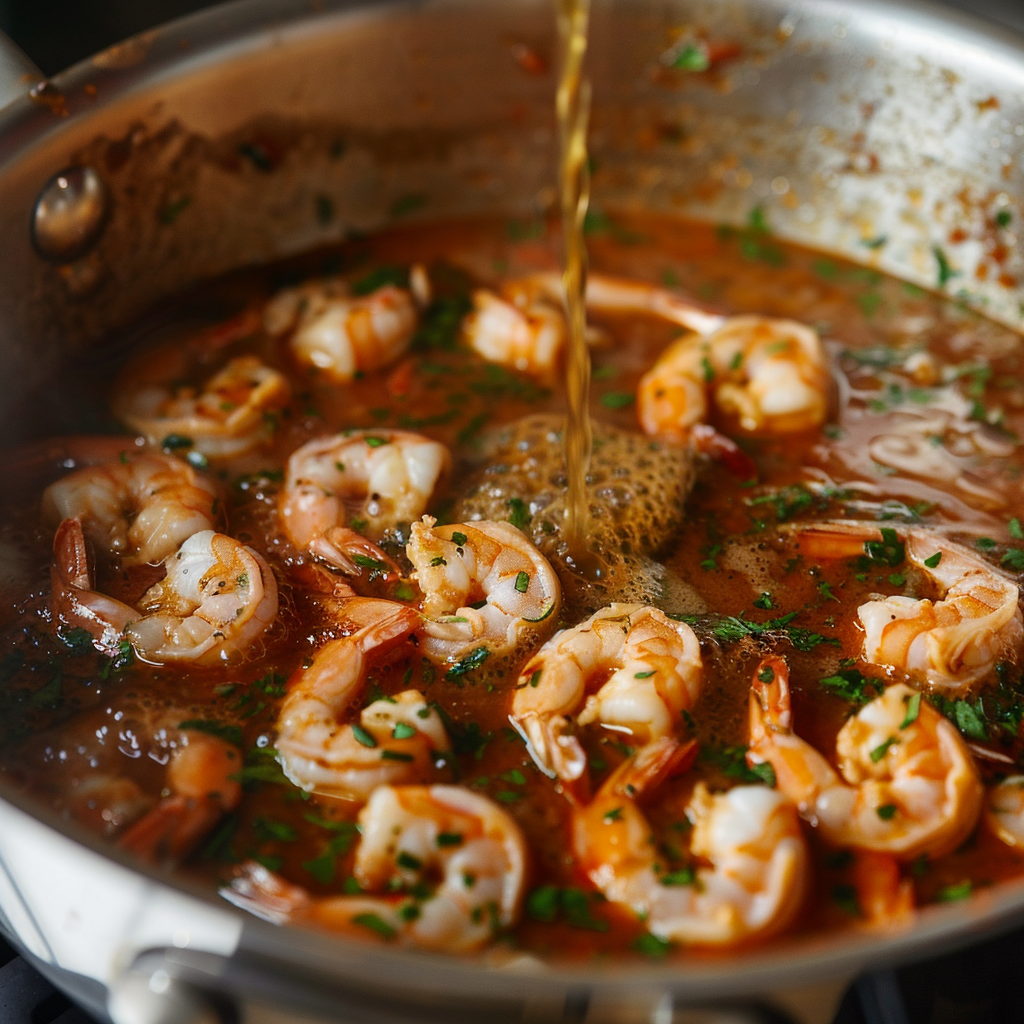
Mastering the Chick-fil-A mac and cheese recipe at home not only satisfies your cravings but also offers a delightful cooking experience. The satisfaction of creating this restaurant-style dish in your own kitchen is unparalleled. For those looking to explore more culinary delights, consider pairing this dish with other recipes from Gabriela’s kitchen. A perfect complement to this creamy, cheesy comfort food could be the light and zesty flavors of Lemon Butter Garlic Shrimp Pasta, which balance the richness of the mac and cheese. Or, for a morning treat, try the unique and savory Sun-Dried Tomato and Feta Stuffed French Toast. Dive into these recipes to enhance your cooking repertoire and enjoy a variety of flavors that cater to every taste and occasion.
Printchick fil a mac and cheese recipe

Recreate the creamy, Chick-fil-A’s mac and cheese recipe at home. Easy steps for a comforting dish perfect for cheese lovers.
- Prep Time: 15 minutes
- Cook Time: 20 minutes
- Total Time: 35 minutes
- Yield: 4
- Category: Side Dish
- Method: Baking
- Cuisine: American
- Diet: Vegetarian
Ingredients
- 16 ounces elbow macaroni
- 1/4 cup unsalted butter
- 1/4 cup all-purpose flour
- 1 cup whole milk
- 1/2 cup heavy cream
- 1 cup shredded sharp cheddar cheese
- 1/2 cup shredded Parmesan cheese
- 1/2 cup shredded Romano cheese
- 1/4 cup shredded American cheese
- 1/4 cup shredded BellaVitano cheese
- 1 teaspoon salt
- 1/2 teaspoon black pepper
- 1 egg yolk (optional for richness)
Instructions
- Preheat oven to 350°F (175°C).
- Cook macaroni in boiling water until al dente, about 8 minutes; drain.
- In a saucepan, melt butter over medium heat. Stir in flour to create a roux.
- Gradually whisk in milk and cream until smooth. Add cheeses gradually until melted. Season with salt and pepper.
- Stir in egg yolk if using, then add cooked macaroni.
- Transfer to a baking dish, top with extra cheese if desired, and bake until bubbly and golden, about 15 minutes.
Notes
- Cheese Selection: For the best flavor, choose high-quality cheeses. You can adjust the types of cheese based on availability or preference.
- Baking: For a crispier top, broil for the last 2-3 minutes.
- Serving Suggestion: Serve as a side dish with grilled chicken or a salad for a balanced meal.
- Storage: Store leftovers in an airtight container in the refrigerator for up to 3 days. Reheat in the oven or microwave.
Keywords: chick fil a mac and cheese recipe Homemade Chick-fil-A Mac and Cheese, Copycat Chick-fil-A Mac and Cheese


 h Benefits