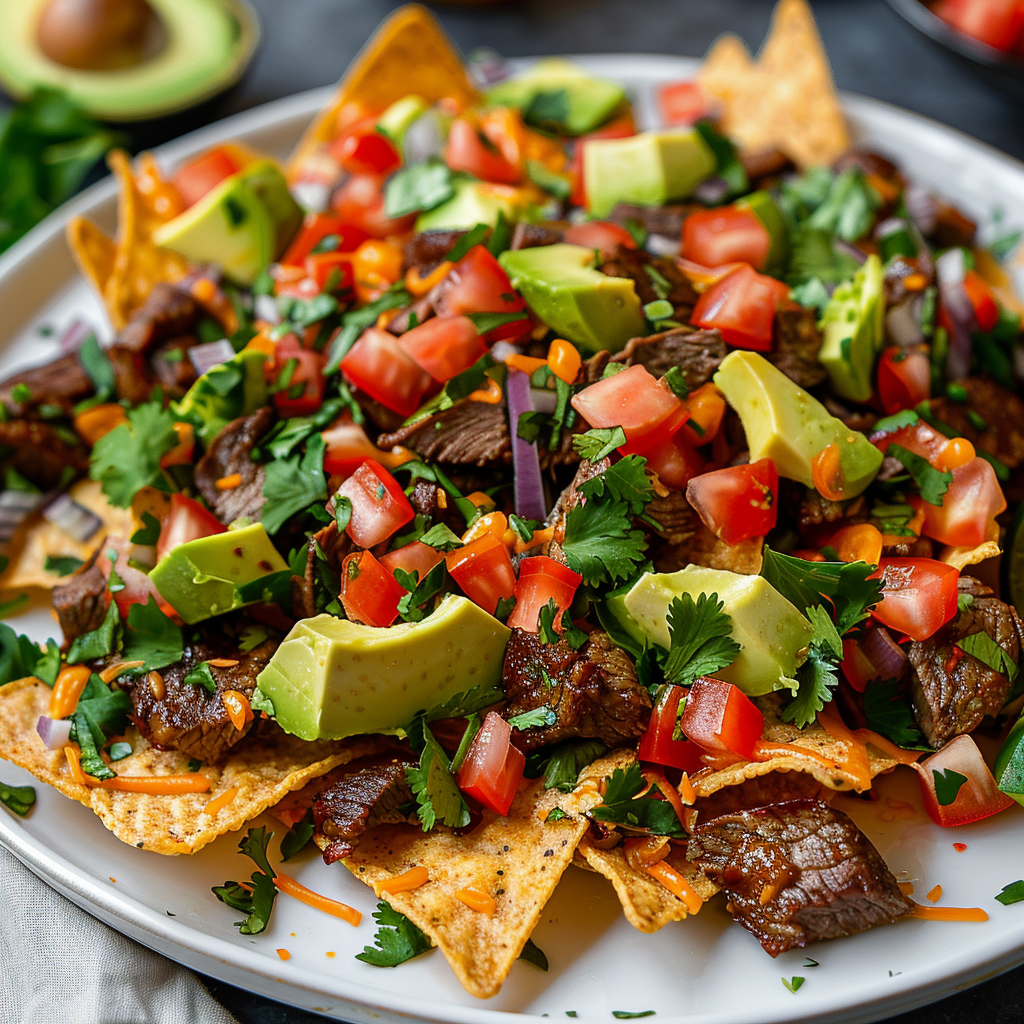
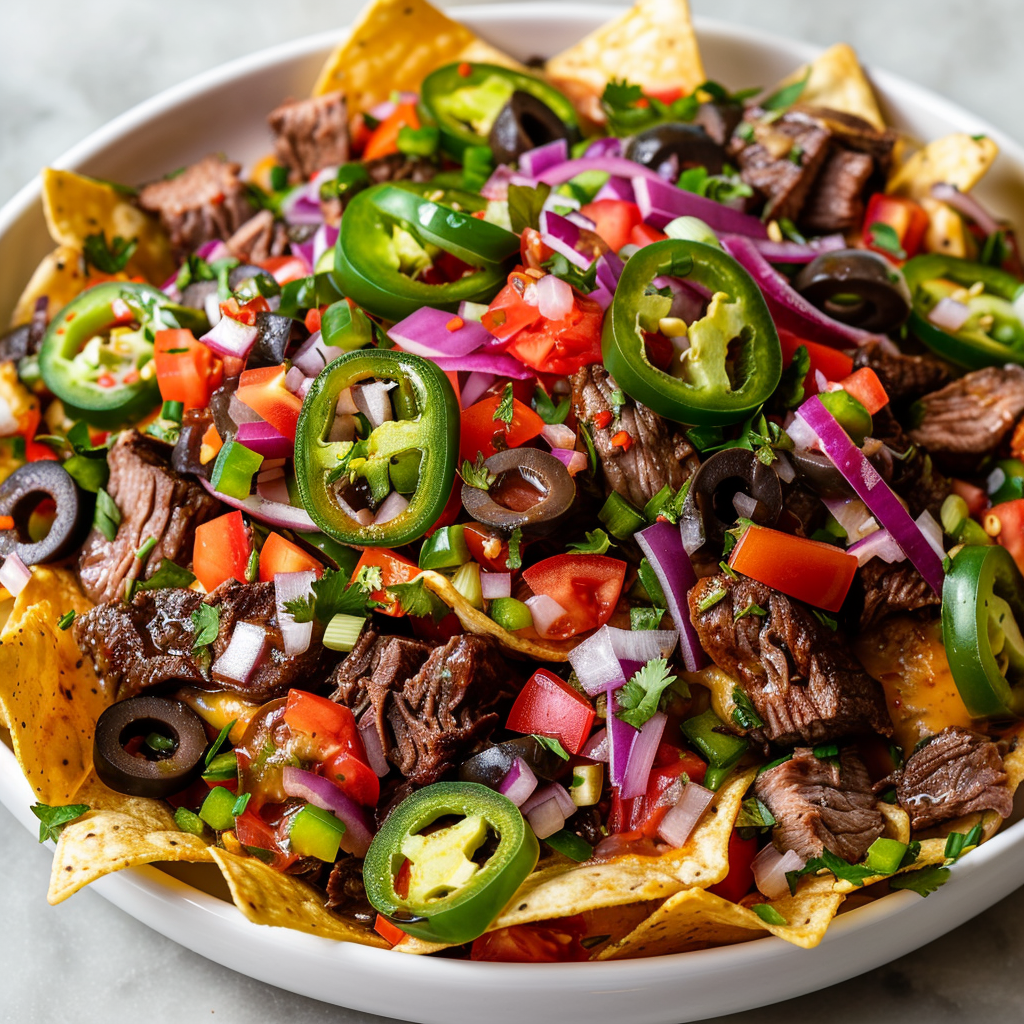
Why Are Steak Nachos an Excellent Recipe?
A great steak nachos recipe hinges on a few key elements:
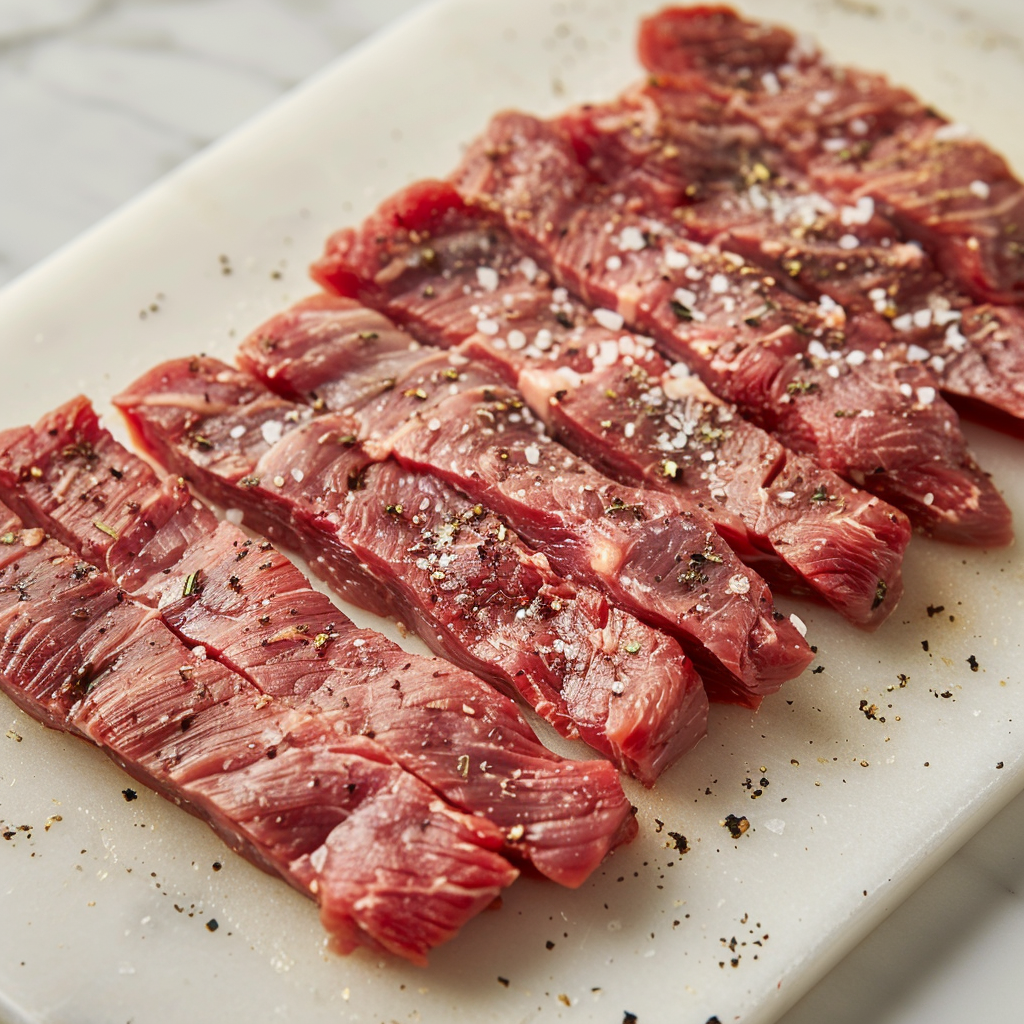
- Quality of Steak: Your selection of steak has the potential to make or ruin your nachos. Select flank sirloin or skirt steak for optimal flavor and tenderness.
- Proper Cooking: Achieving perfectly cooked, tender steak with a flavorful marinade enhances the overall dish.
- Balance of Ingredients: The right ratio of chips, steak, cheese, and toppings ensures every bite is as good as the last.
Take our instructions for making the greatest steak fries sauce to enhance your steak cooking.
Frequently Asked Questions about Steak Nachos
How do I adjust the spice level in steak nachos?
To reduce the spice level, you can omit ingredients like Hatch chiles in the queso and sliced jalapeños in the toppings. Alternatively, offer jalapeños on the side for those who prefer a spicier dish.
Can I prepare steak nachos ahead of time?
While nachos are best served fresh, you can prepare the steak and queso ahead of time. Reheat these components just before serving to ensure the nachos are fresh and crispy.
What are the best cheeses for steak nachos?
A mix of cheddar and Monterey Jack cheese is recommended because they melt well and provide a creamy texture and rich flavor.
What type of steak is best for nachos?
Skirt steak or flank steak are preferred for their flavor and texture. Make sure to marinate the steak to enhance its tenderness and flavor.
How long should I marinate the steak?
Marinate the steak for at least 4 hours, but ideally overnight, to infuse it with flavor and improve its texture.
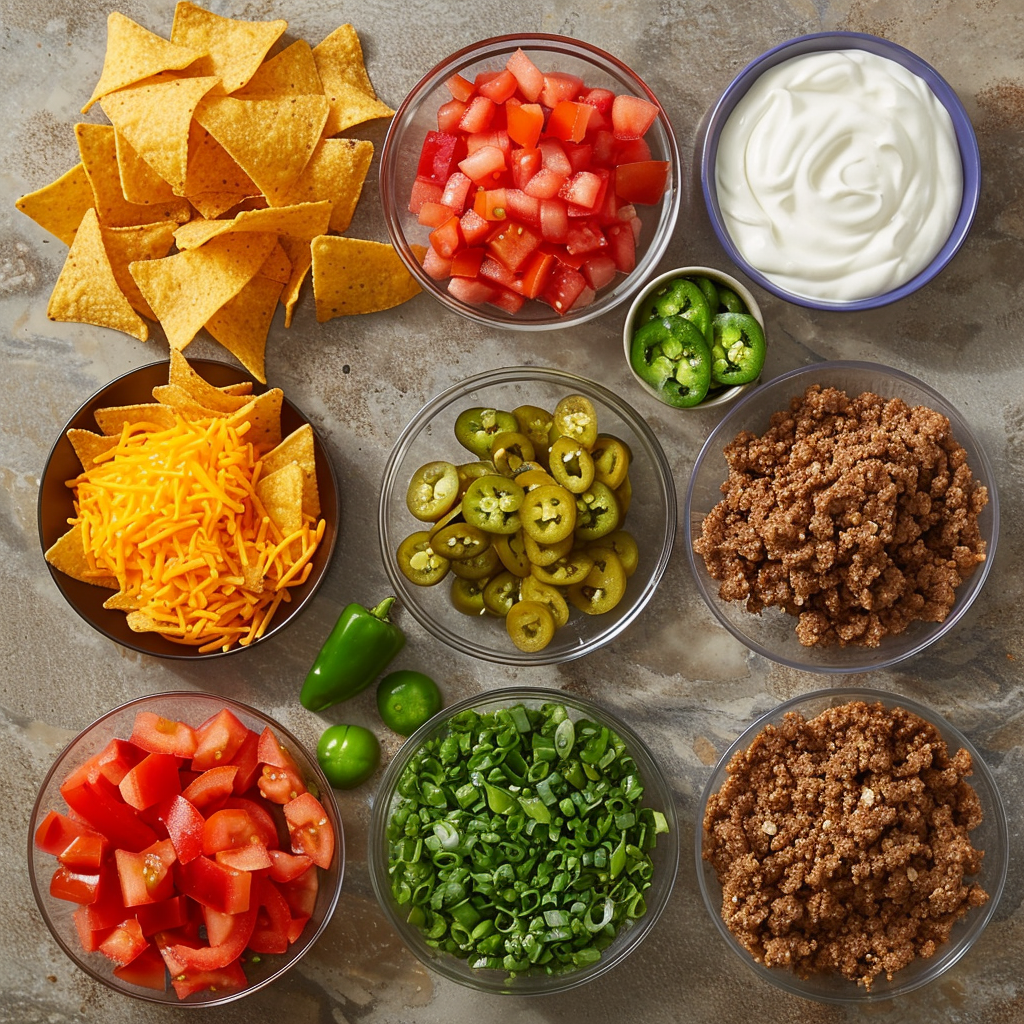
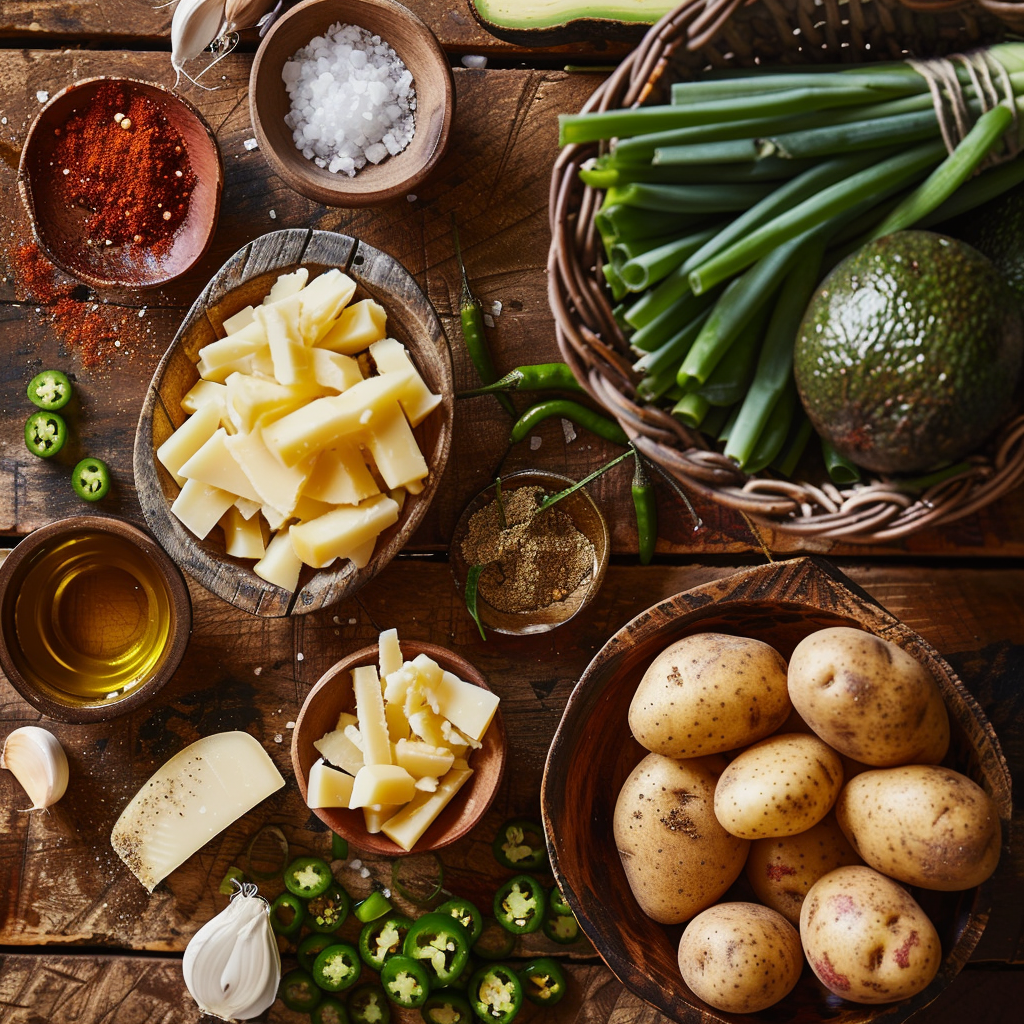
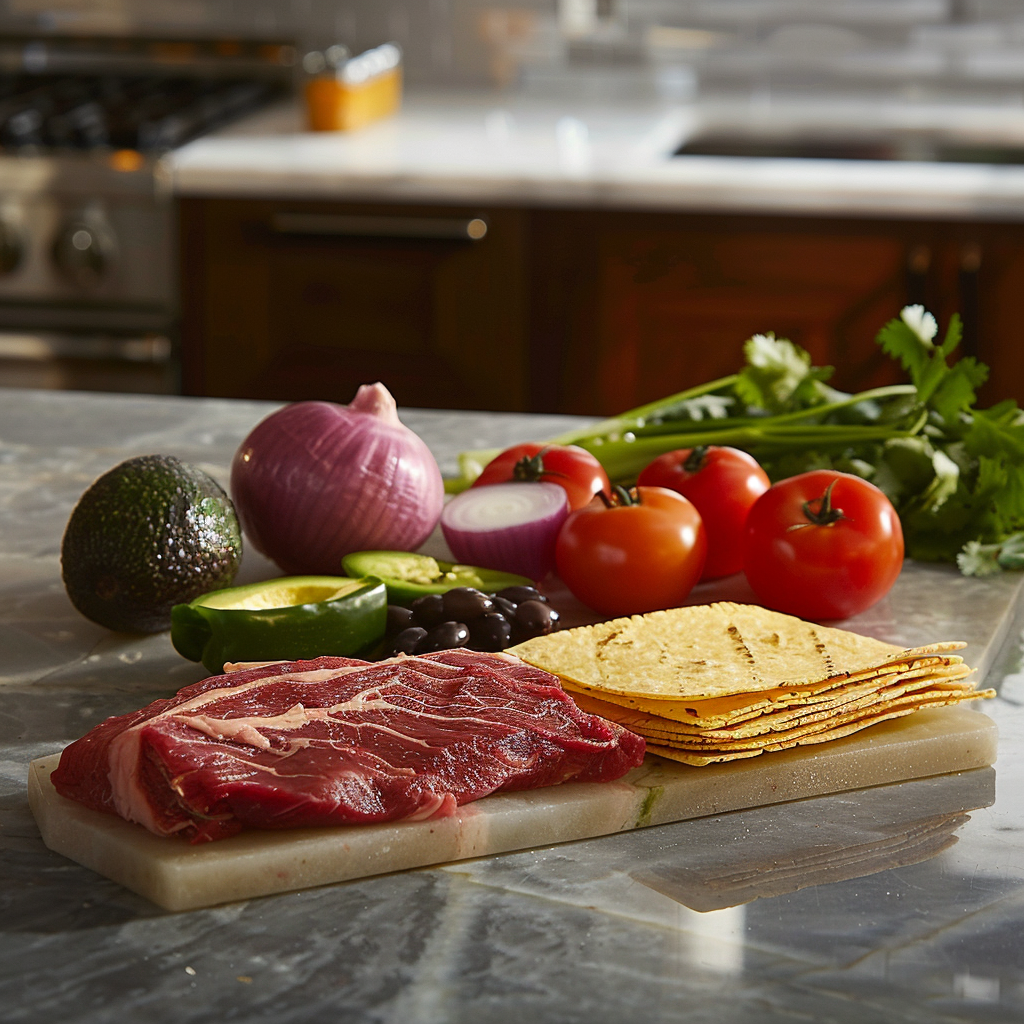
Overview of Ingredients
The best steak nachos require a variety of high-quality ingredients. Here’s what you’ll need:
Thinly sliced steak—skirt or flank steak—are excellent choices.
Corn tortillas: For making homemade chips, store-bought can work in a pinch.
Cheese: a mix of melted Colby Jack and cheddar cheeses.
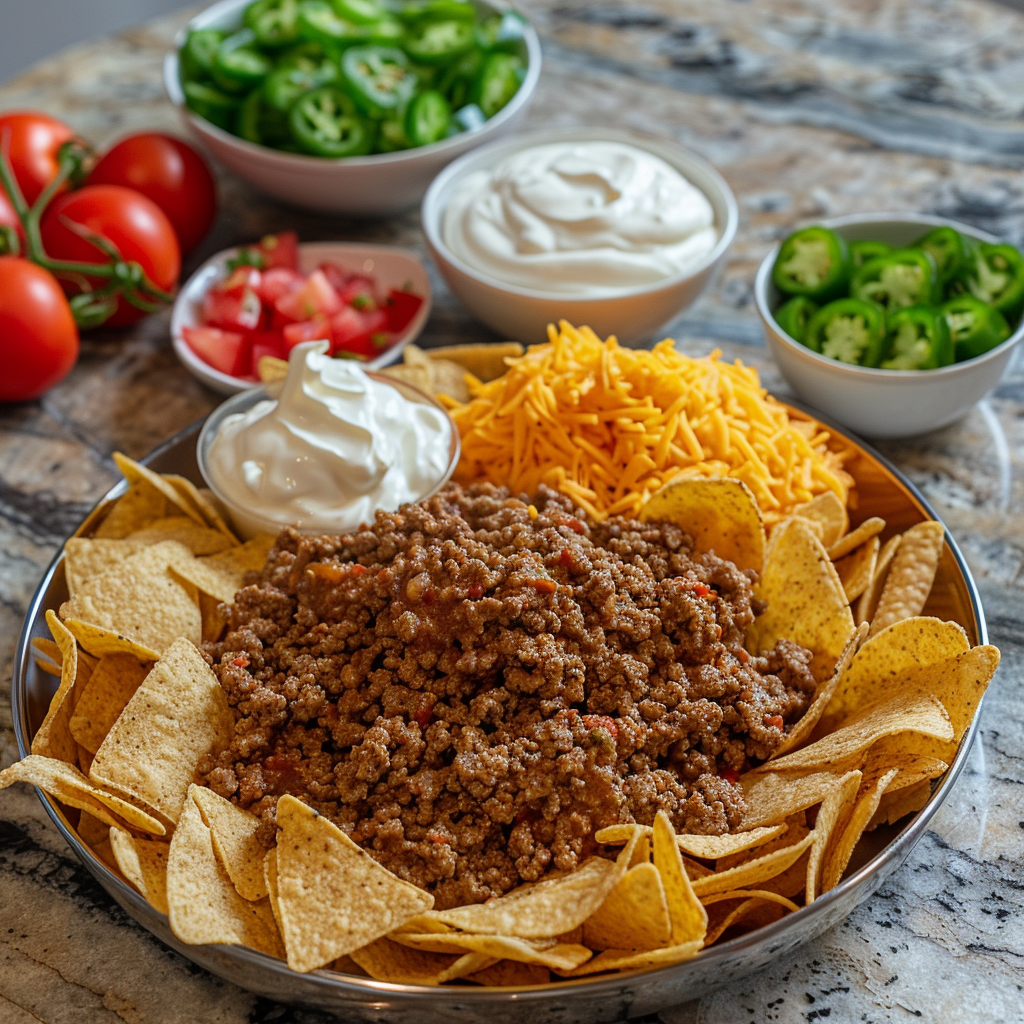
Toppings: jalapeños, sour cream, salsa, and guacamole.
Chef’s Tips for Perfect Steak Nachos
Here are some tips from experts on how to make your nachos a hit:
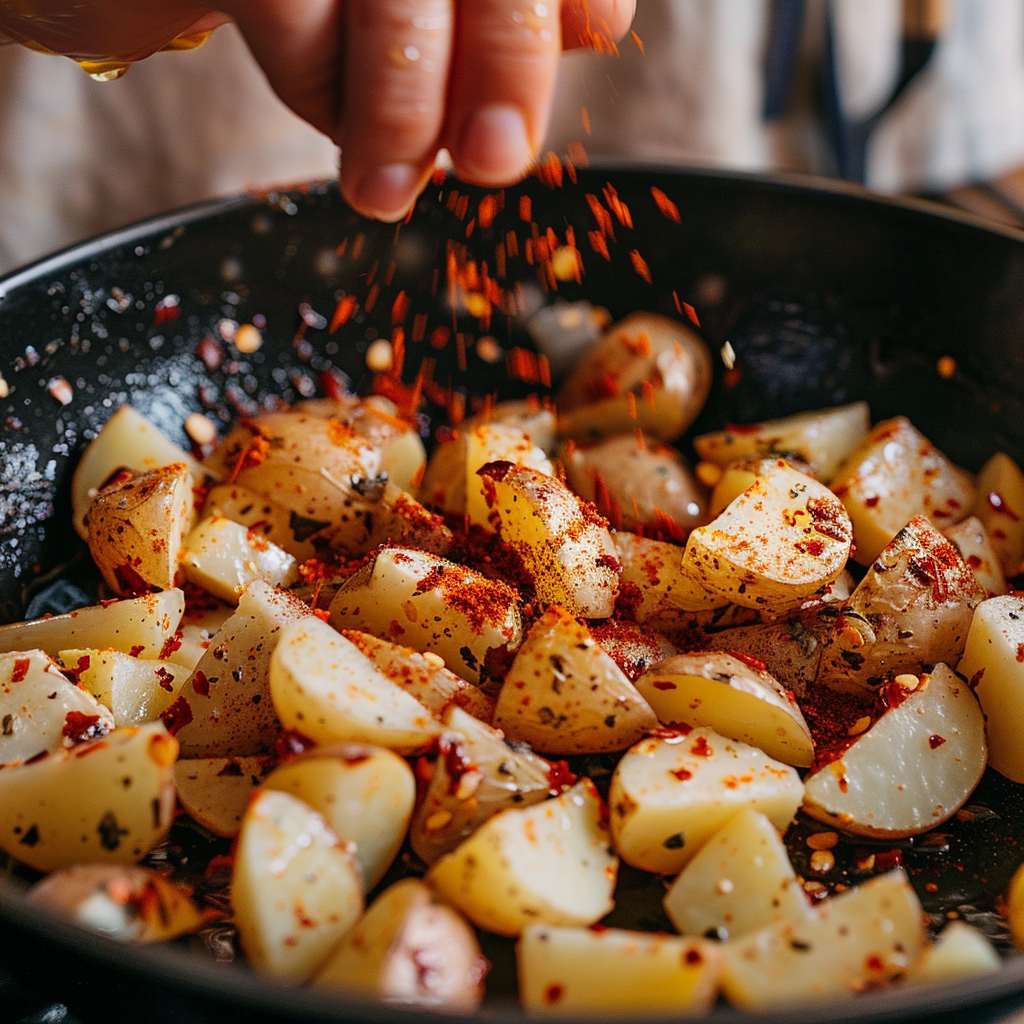
- Marinate the Steak: Enhance the flavor with a mix of lime juice, garlic, and spices.
- Cook Steak Properly: Sear on high heat for a tender, juicy finish.
- Layering: Build your nachos in layers to ensure every chip has a bit of topping.
Customizing Your Dish
Steak nachos are wonderfully versatile. Here are a few ways to make them your own:
- Vegetarian Version: Swap steak for mushrooms or black beans.
- Spicy Kick: Add chipotle peppers or extra jalapeños if you like it hot.
- Kid-Friendly: Keep it simple with mild cheese and plain beef.
Health Benefits & Nutrition Information
While nachos are often viewed as a guilty pleasure, they can also provide nutritional benefits.
Protein-rich steak helps in muscle repair and growth.
Adding beans and veggies increases fiber and nutrient intake.
Opt for low-fat cheese and lean cuts of meat to reduce calorie intake.

What to Serve with Steak Nachos
To round out your meal, consider these pairings:
- Drinks: Margaritas or chilled beer complement the flavors well.
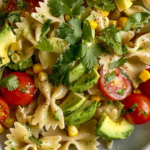
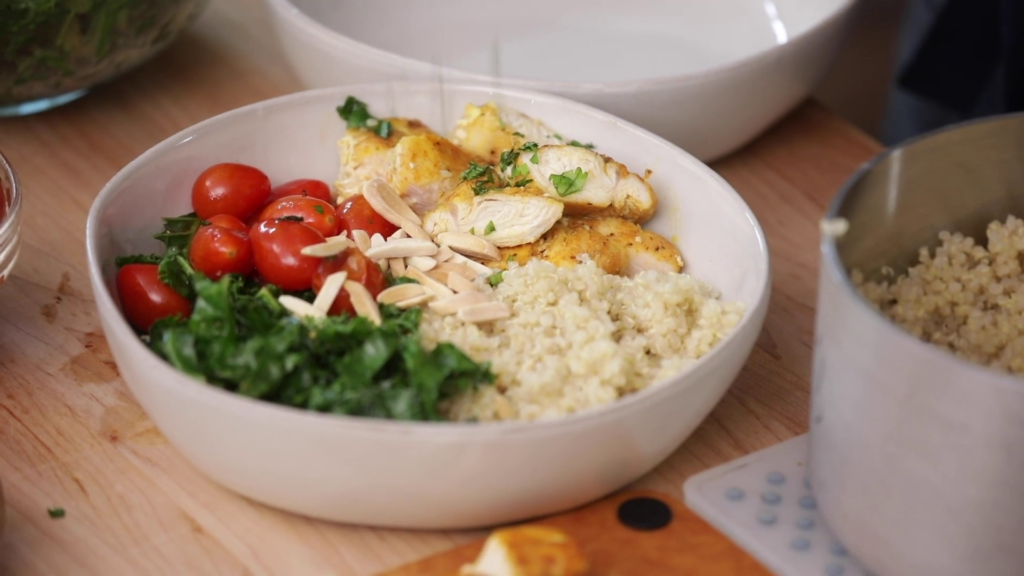
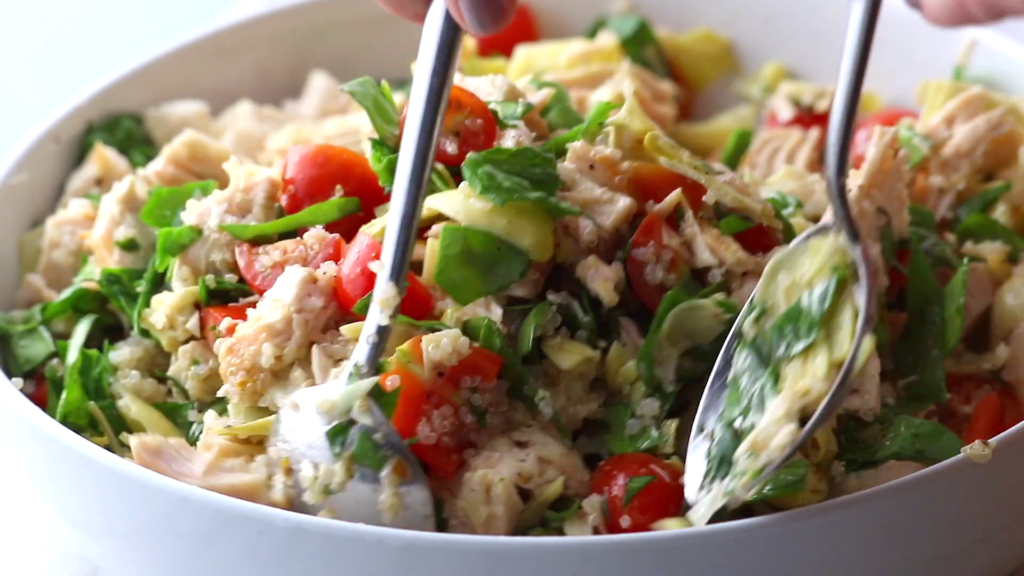
- Sides: a fresh corn salad or a 4-Ingredient Chicken Salad.
Try this meal tonight, now that you have all the information and advice. Comment with your steak nacho recipe or inquiries.
Happy cooking!
PrintSteak Nachos Recipe – Easy and Delicious

Make the best steak nachos with this simple recipe. Perfect for family meals and gatherings!
- Prep Time: 20 minutes
- Cook Time: 15 minutes
- Total Time: 35 minutes
- Yield: 4
- Category: Main Course
- Method: Baking
- Cuisine: Tex-Mex
- Diet: Gluten Free
Ingredients
- 1 lb skirt steak, thinly sliced
- 1 bag (about 8 oz) of tortilla chips
- 1 cup cheddar cheese, shredded
- 1 cup Monterey Jack cheese, shredded
- 1 large tomato, diced
- 1/2 red onion, finely chopped
- 1 jalapeño, thinly sliced
- 1/2 cup black olives, sliced
- 1/4 cup cilantro, chopped
- 1 avocado, diced
- 1 lime, cut into wedges
- 1/2 cup sour cream
- Salt and pepper to taste
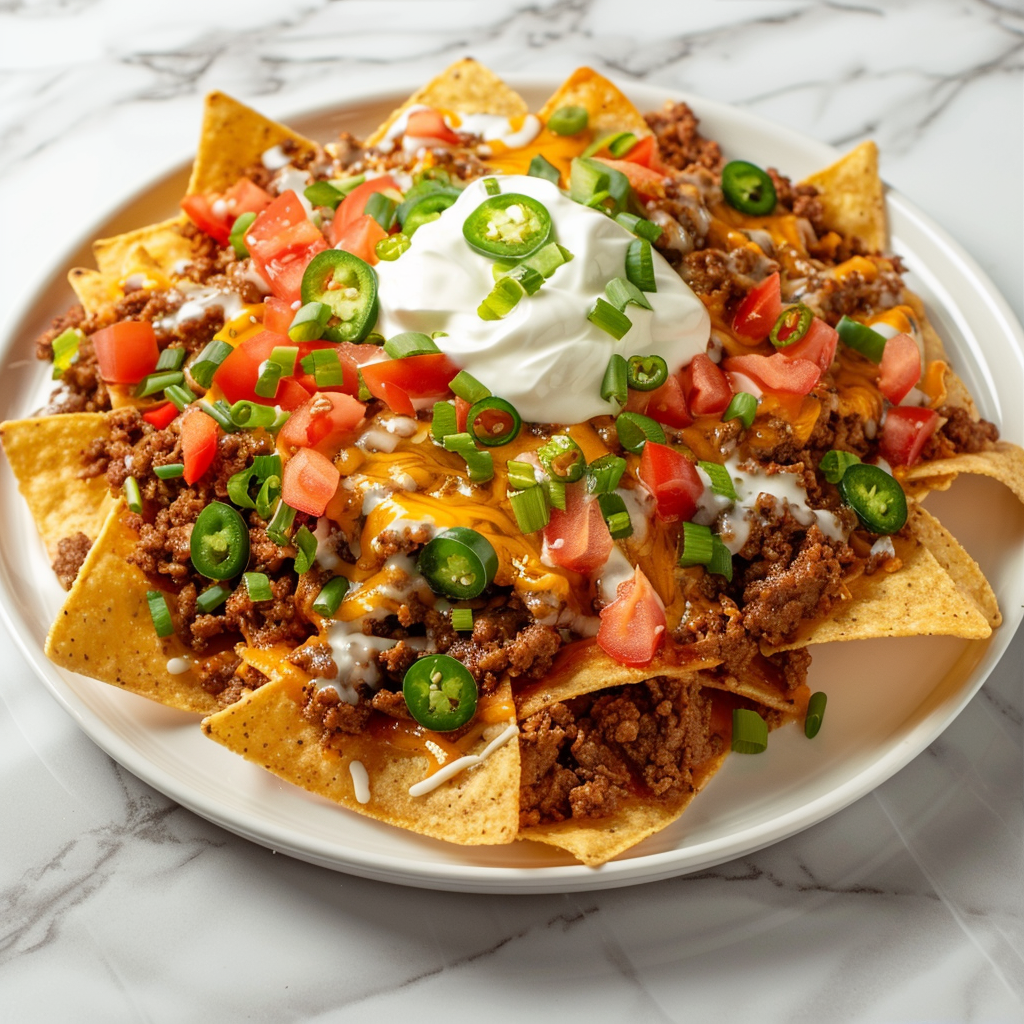
Instructions
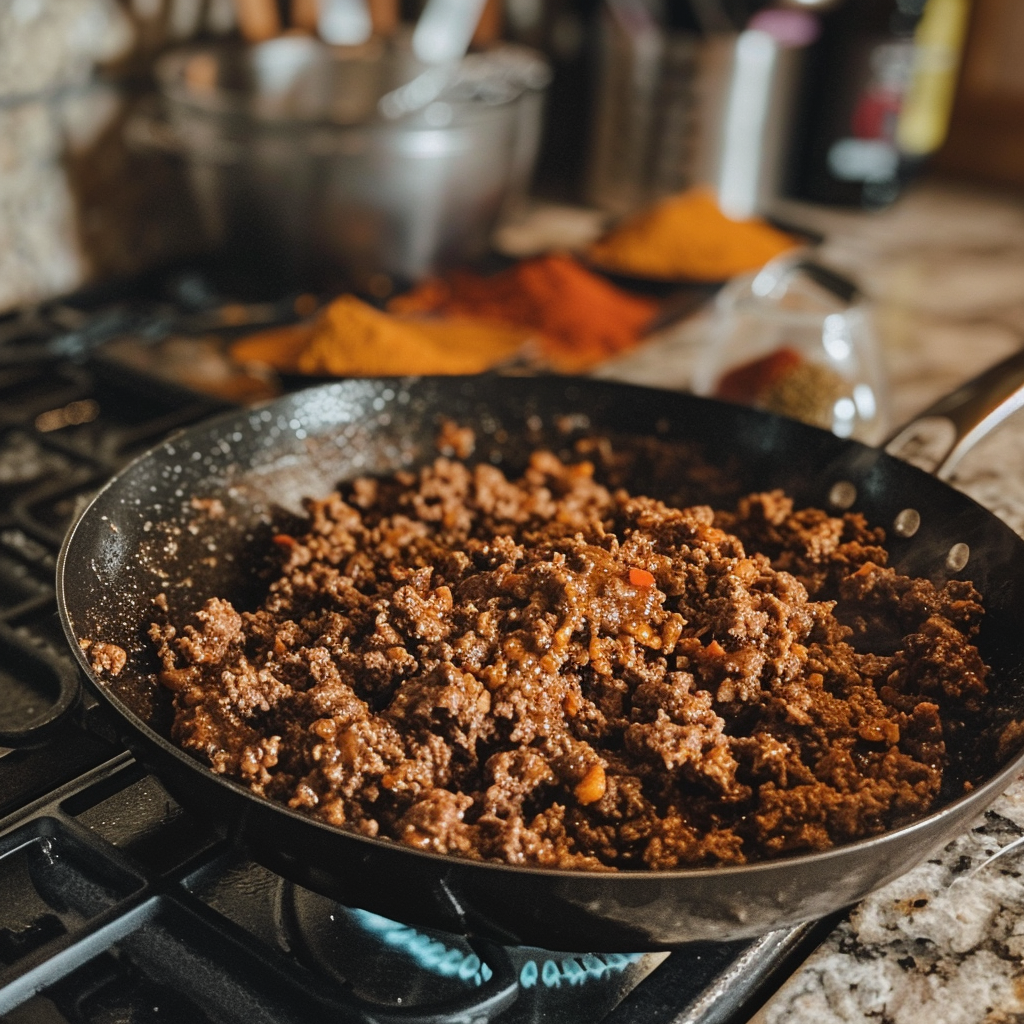
- Prep the Steak: Season the steak slices with salt and pepper. In a skillet over medium-high heat, cook the steak until browned and cooked through, about 3-4 minutes per side. Set aside and let rest.
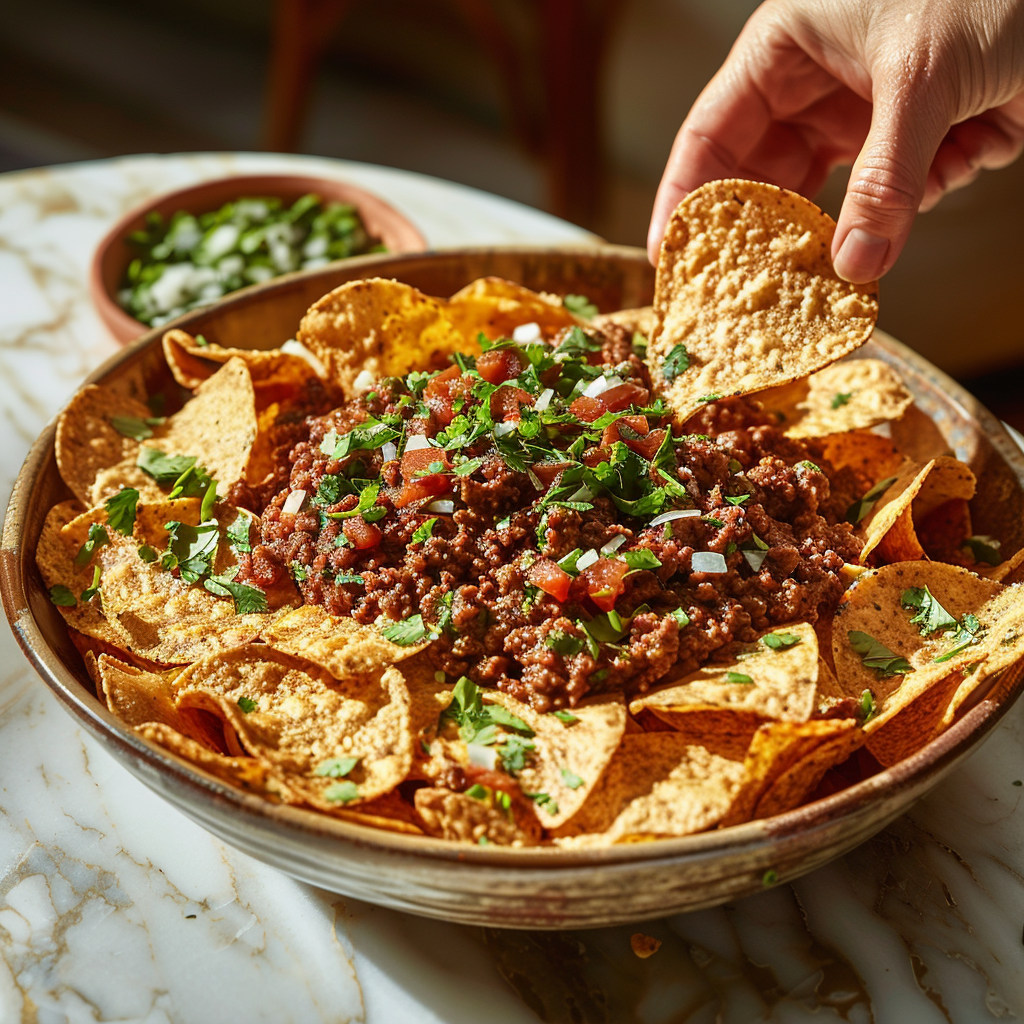
- Assemble the Nachos: Preheat your oven to 375°F (190°C). Spread tortilla chips in a single layer on a baking sheet. Evenly distribute half of the cheeses over the chips.
- Add Toppings: Layer the cooked steak, tomato, onion, jalapeño, and olives. Sprinkle the remaining cheese over the top.
- Bake: Place the nachos in the oven and bake until the cheese is melted and bubbly, about 5-7 minutes.
- Final Touches: Remove from oven and top with diced avocado and chopped cilantro. Serve with lime wedges and sour cream on the side.
Notes
- Cheese Variations: Experiment with different types of cheese like pepper jack for a spicier flavor or a smoked gouda for a deeper taste.
- Meat Options: Replace skirt steak with flank steak or even leftover grilled steak to make use of any extras from a barbecue.
- Serving Suggestion: For a complete meal, serve the nachos with a side of homemade salsa and a refreshing cilantro-lime rice.
Keywords: Beef Nachos, Loaded Steak Nachos,steak nachos recipe