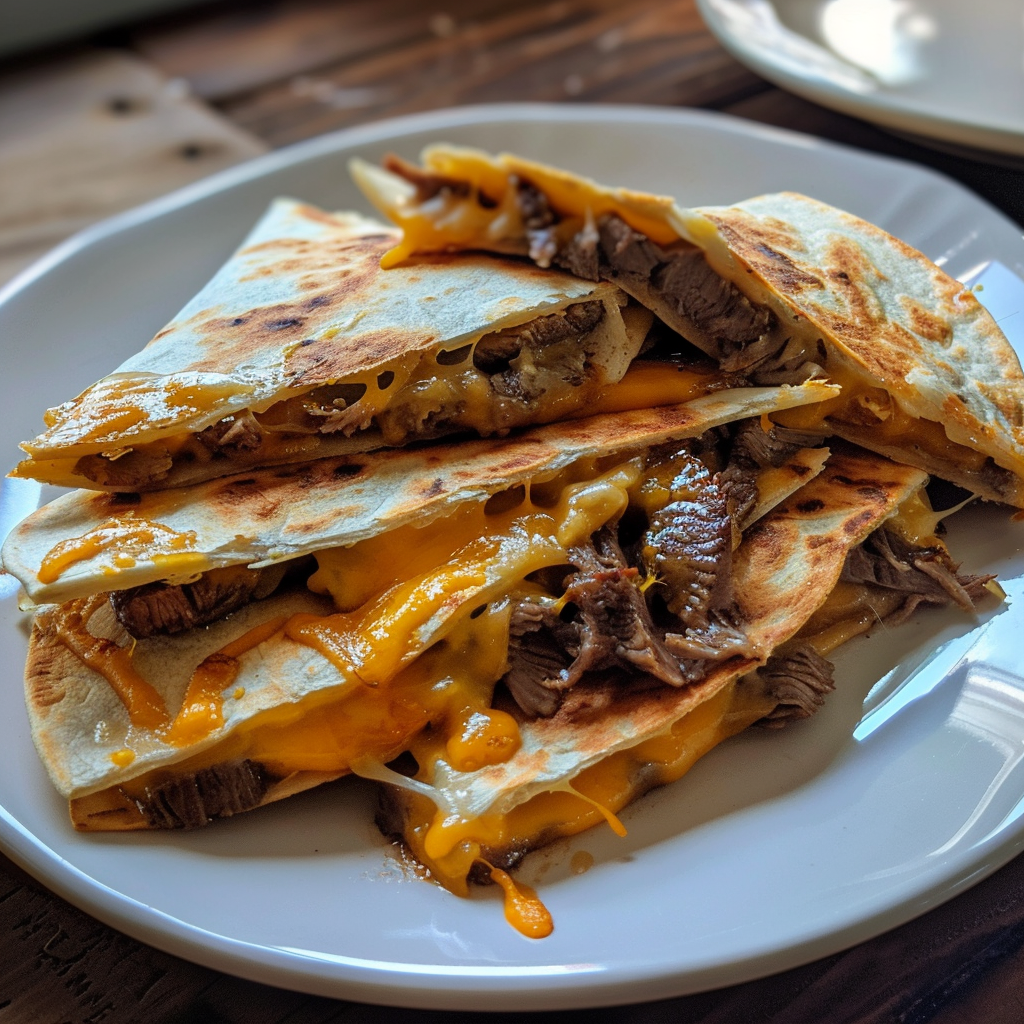
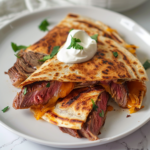
Many families rely on quesadillas for a quick and tasty lunch. Juicy, delicious beef, melty cheese, and a crunchy tortilla elevate steak quesadillas. How to make the ultimate steak quesadilla, with chef recommendations, nutritional information, and adjustable alternatives for any palette.
Overview of Ingredients
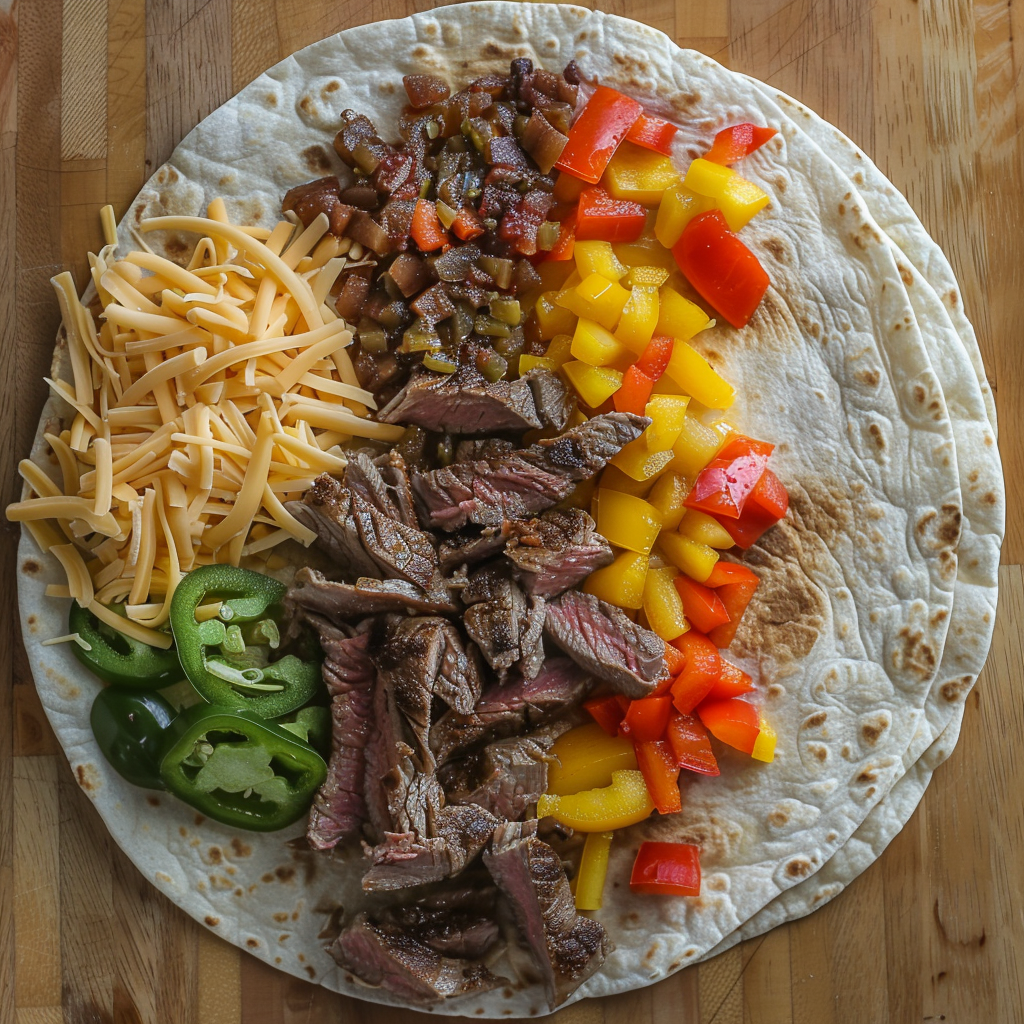
Delicious steak quesadillas depend on their components. The essentials:
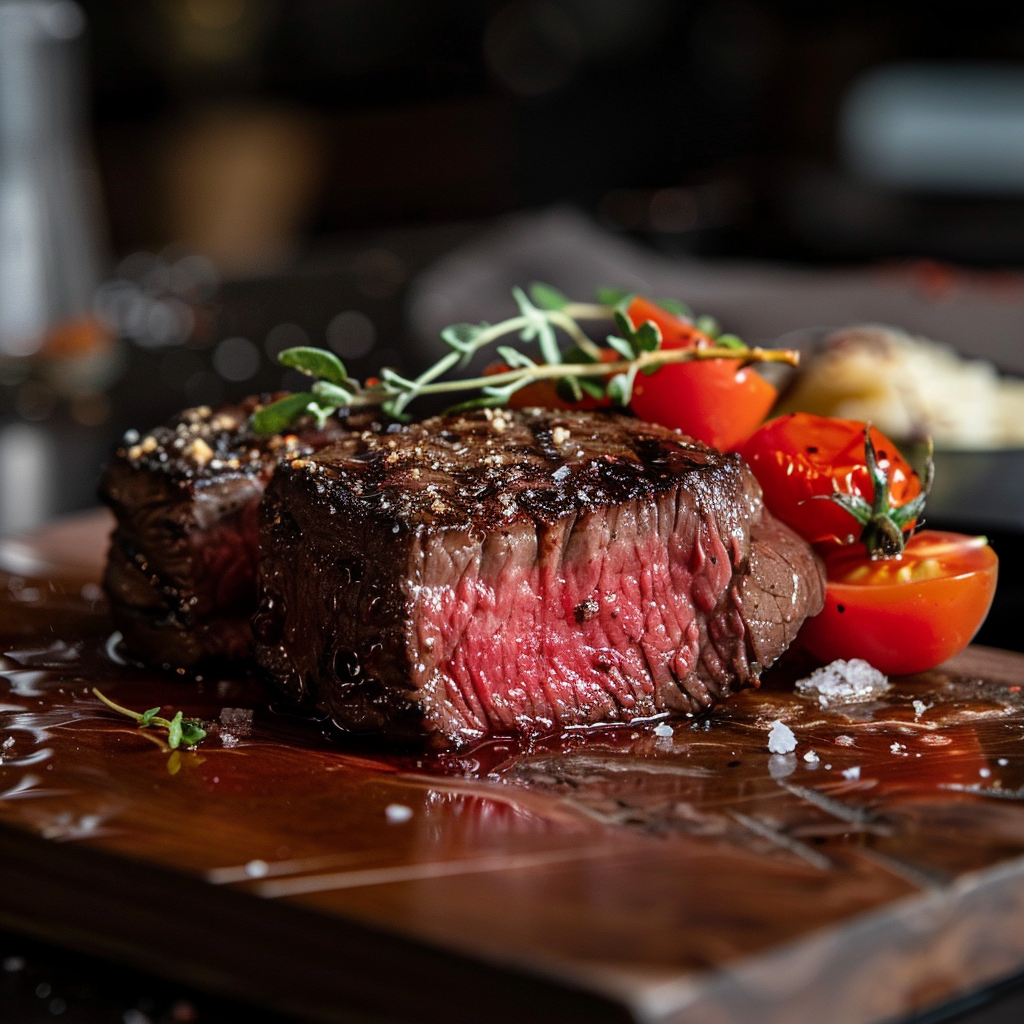
For the finest flavor and texture, use flank or skirt steak.
Cheese: Queso asadero or a Mexican mix melts well.
Large, burrito-sized flour tortillas are used, although gluten-free corn tortillas are great.
Spices: Mix garlic powder, cumin, paprika, and a pinch of cayenne for the seasoning.
FAQs
What kind of meat is best for quesadillas?
It is often recommended to cook skirt steak because it can be heated quickly and easily cut into thin slices. Flanc steak is another great choice. It has a strong flavor and a firm texture. Ribeye and sirloin steaks are also good choices because they are known for being flavorful and versatile.
What kind of cheese melts well in a quesadilla?
When making quesadillas, the best cheeses are those that melt easily and go well with the other ingredients. The best cheese is oaxaca, which has a smooth texture and melts easily. Monterey Jack, Cheddar, and Pepper Jack cheese are also great options if you like your food with a little more kick.
How do I keep steak quesadillas fresh and ready to eat?
Before putting each sirloin quesadilla on its own piece of plastic wrap or foil, let it cool to room temperature. Keep it in the fridge in a safe container for three to four days. Put it in the oven at 350°F (175°C) for 10 to 15 minutes, or heat it up in a skillet until the cheese melts and the tortilla turns brown.
Gabriela’s Secrets to Perfect Steak Quesadillas
Perfect steak quesadillas require mastering a few techniques. What I’ve learned over time:
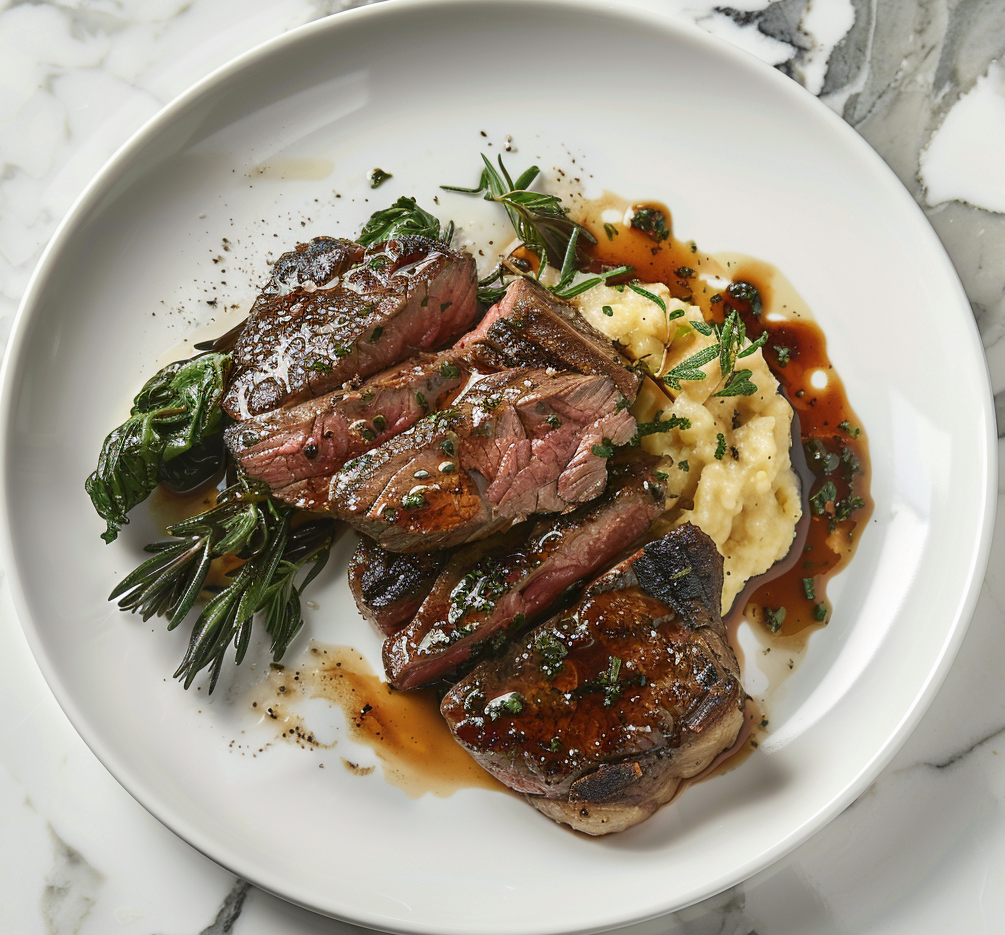
Steak Perfection: Use a good flank or skirt steak. Juicy, medium-rare to medium doneness is the goal. Let it rest before slicing to seal in the juices.
Precision: Cut steak thinly against the grain. This easy method tenderizes. Every mouthful is melt-in-your-mouth wonderful.
Taste Harmony: I adore enhancing flavors with spices. Infused with garlic powder, cumin, paprika, and a dash of cayenne, the steak is rich and flavorful.
Making layers for a quesadilla is a skill: carefully and uniformly layer the meat, cheese, and toppings. The result is just the proper amount of taste and texture in every bite.
Flip with finesse. Cook slowly. Sizzle the quesadillas, flipping halfway for golden-brown crispiness. Small details matter most.
Attention to Detail: Focus on the details. From selecting the proper meat to organizing the components, these simple details make quesadillas great.
Customizing Your Steak Quesadilla
Just by making a few small adjustments, you can make this steak quesadilla exactly how you want it:
For Gluten-Free Needs: Opt for corn tortillas instead of flour.
Vegan Options: Use plant-based cheese and meat substitutes.
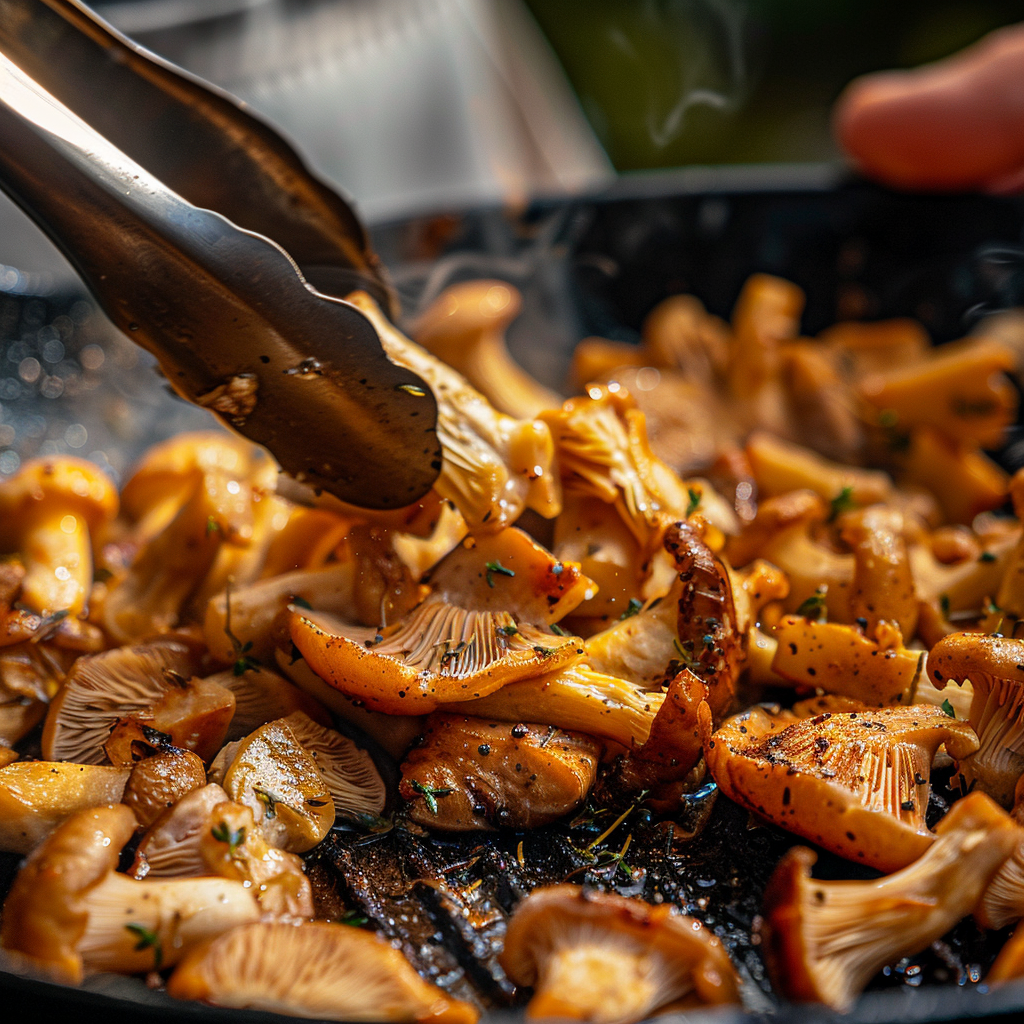
Add-Ins: Consider incorporating sautéed onions, bell peppers, or mushrooms for extra flavor and texture.
A Healthier Way to Enjoy Steak Quesadillas
Here are some tips to make sure your steak quesadillas are as nutritious as possible:
Select lean cuts of meat, such as flank or sirloin steak, and trim off excess fat before cooking to reduce saturated fat.
Opt for whole-grain tortillas instead of refined-flour tortillas to enhance the fiber content of your quesadillas.
Add Vegetables: Add bell peppers, onions, spinach, or mushrooms to boost fiber and nutrients without adding calories.
Choose a melting cheese, but use it sparingly to save fat and calories. Cheese substitutes with less fat may be healthier
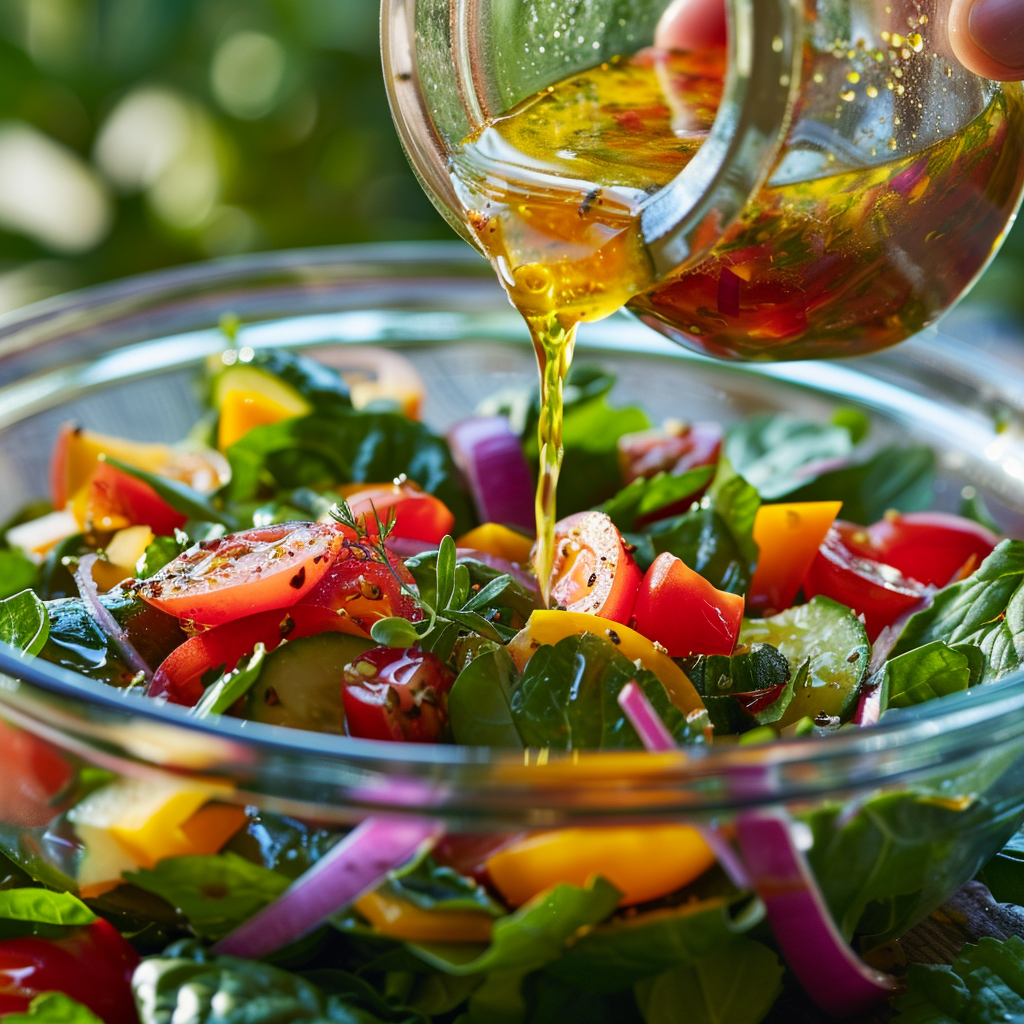
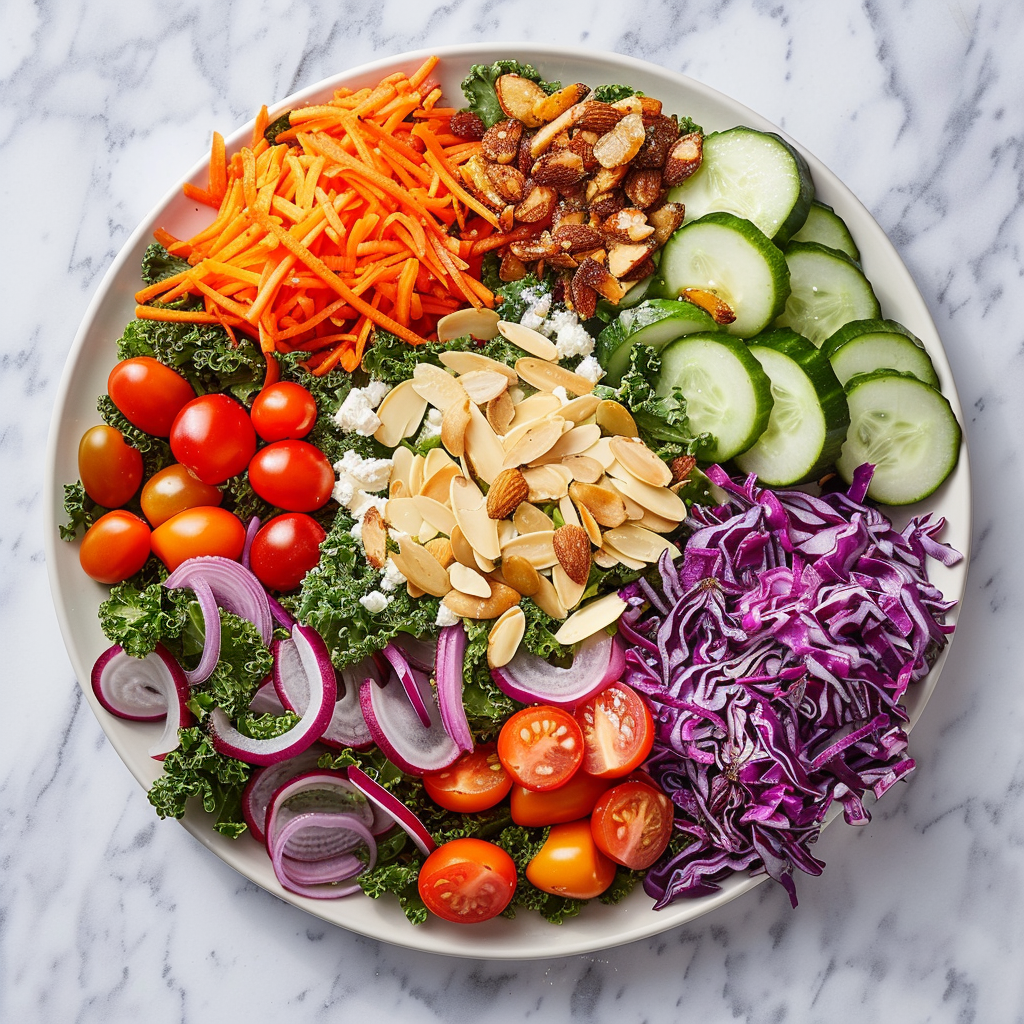
What to Serve with Steak Quesadillas
A quesadilla supper can be a feast with the appropriate sides. Some excellent options:
Salads: A light, crisp salad balances the richness of the quesadillas.
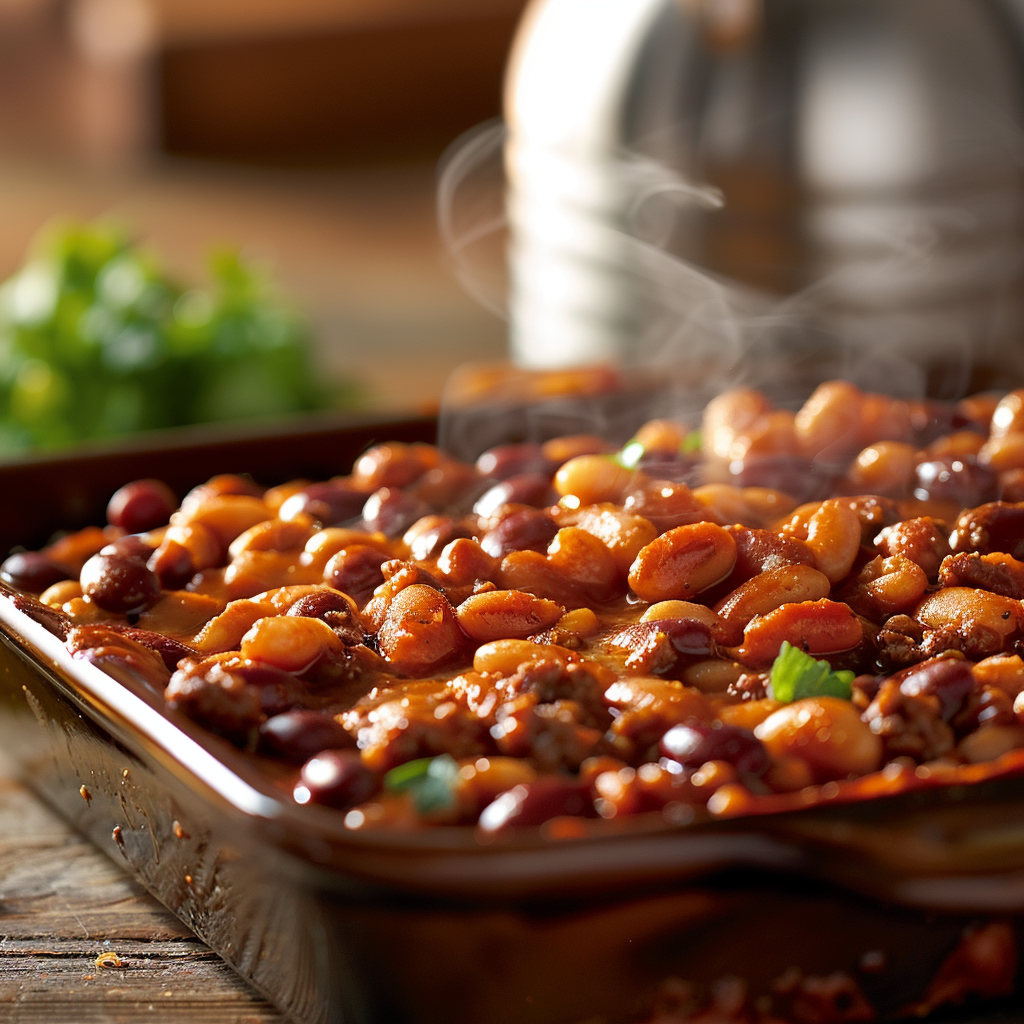
Beans: A side of black or refried beans complements the flavors well.
Rice: A bowl of cilantro-lime rice or Mexican rice makes a hearty addition.
For a different take on sauces that could elevate your quesadilla, check out the Steak Frites Sauce.
Printsteak quesadillas
Discover how to make the perfect steak quesadillas with melty cheese and flavorful steak. Quick prep and cook time for a delicious meal!
- Prep Time: 15 minutes
- Cook Time: 10 minutes
- Total Time: 25 minutes
- Yield: 4
- Category: Main Course
- Method: Pan-frying
- Cuisine: Mexican
- Diet: Gluten Free
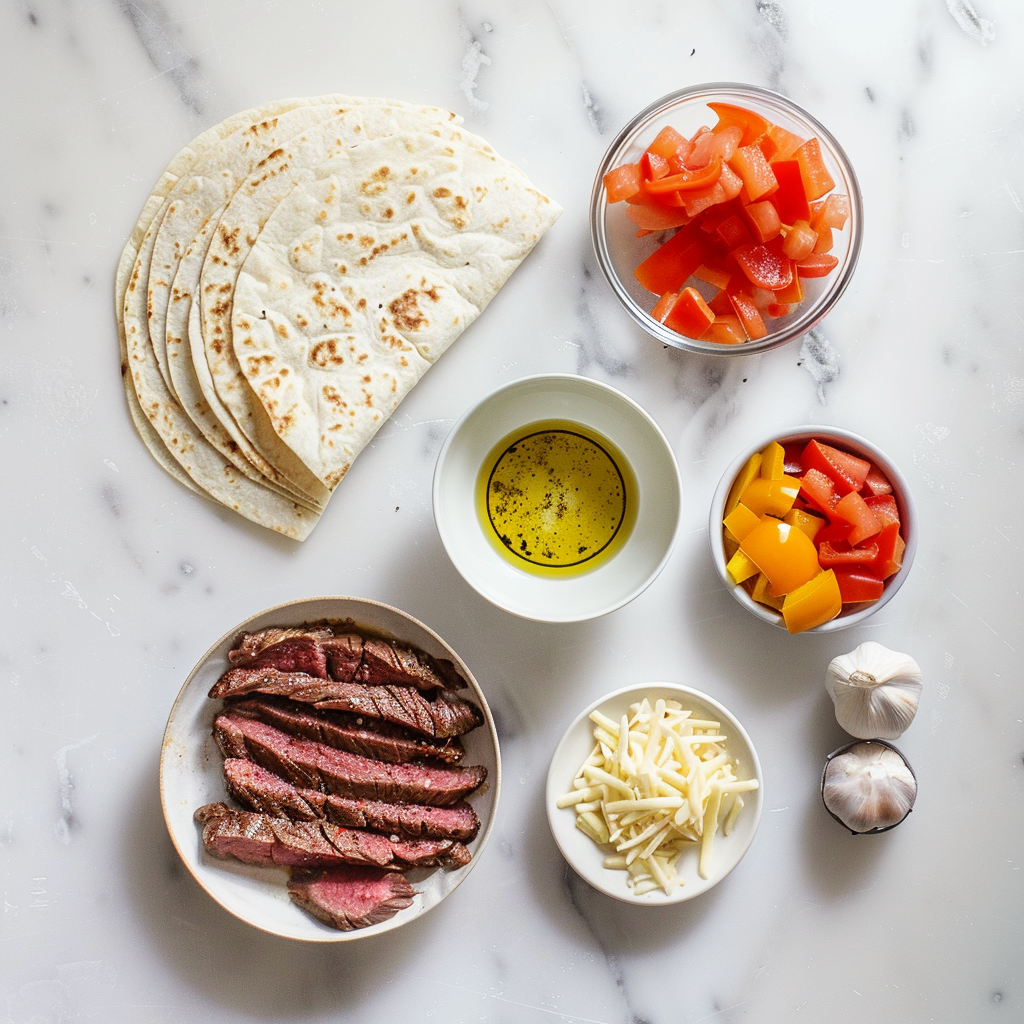
Ingredients
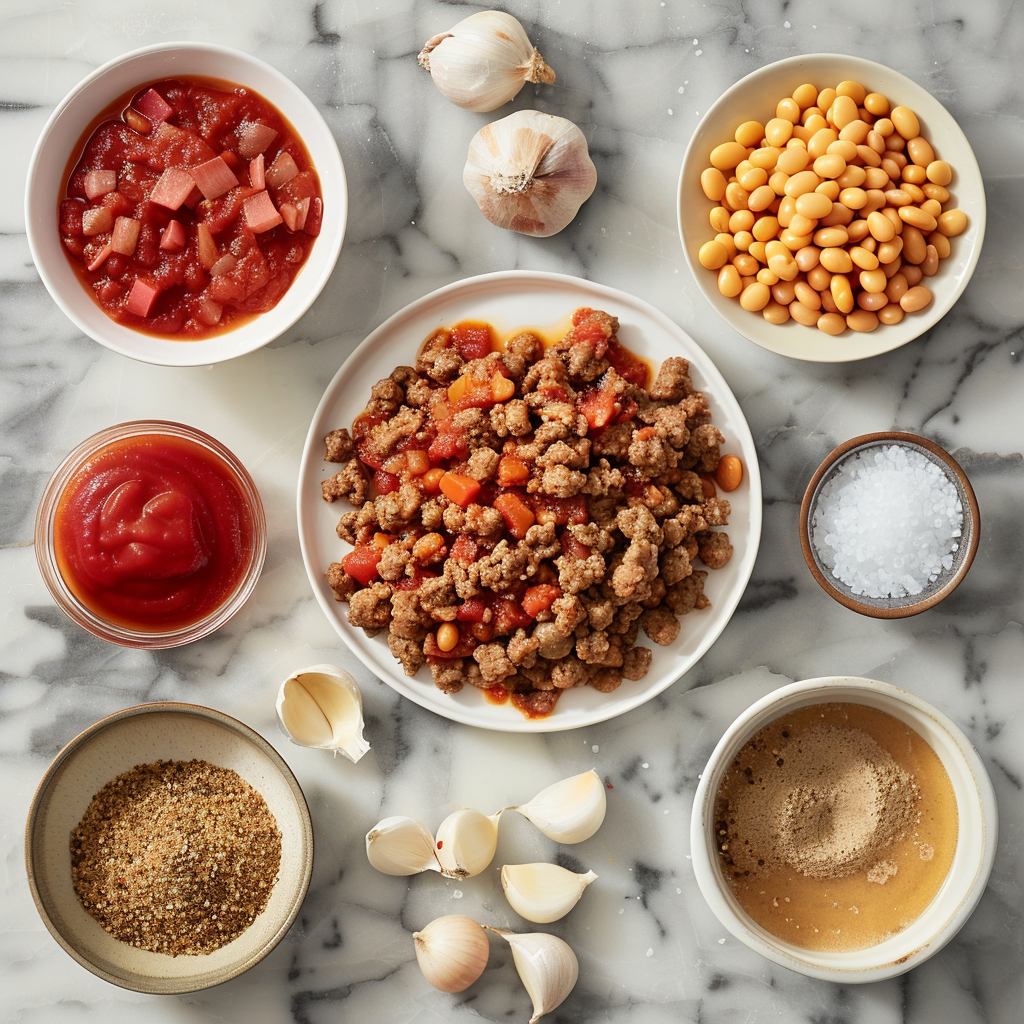
- 1 lb. flank or skirt steak, thinly sliced
- 1 tbsp. olive oil
- 1 tsp. garlic powder
- 1 tsp. ground cumin
- Salt and pepper to taste
- 8 large flour tortillas
- 2 cups shredded Oaxaca or Monterey Jack cheese
- Optional: 1/2 cup diced bell peppers
- Optional: 1/4 cup chopped onions
Instructions
- Preparation: Season the steak slices with garlic powder, cumin, salt, and pepper.
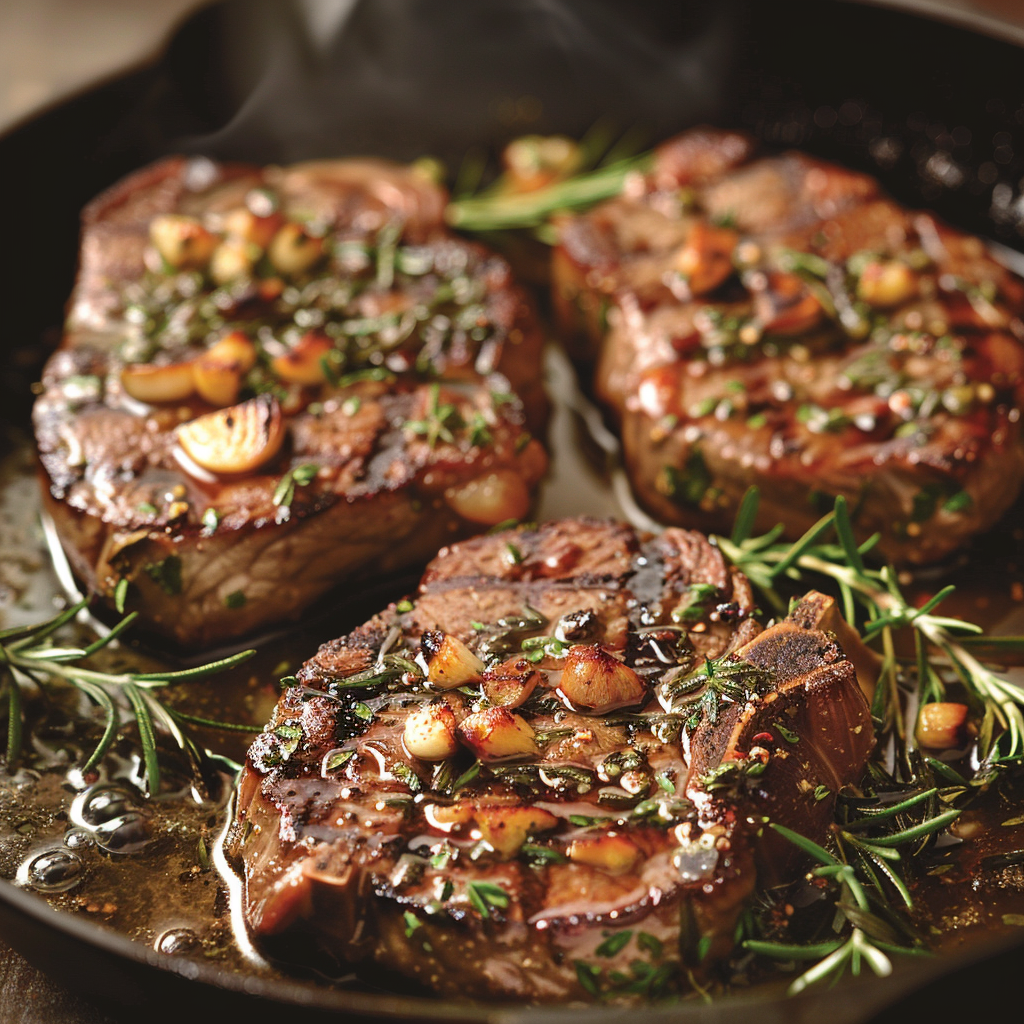
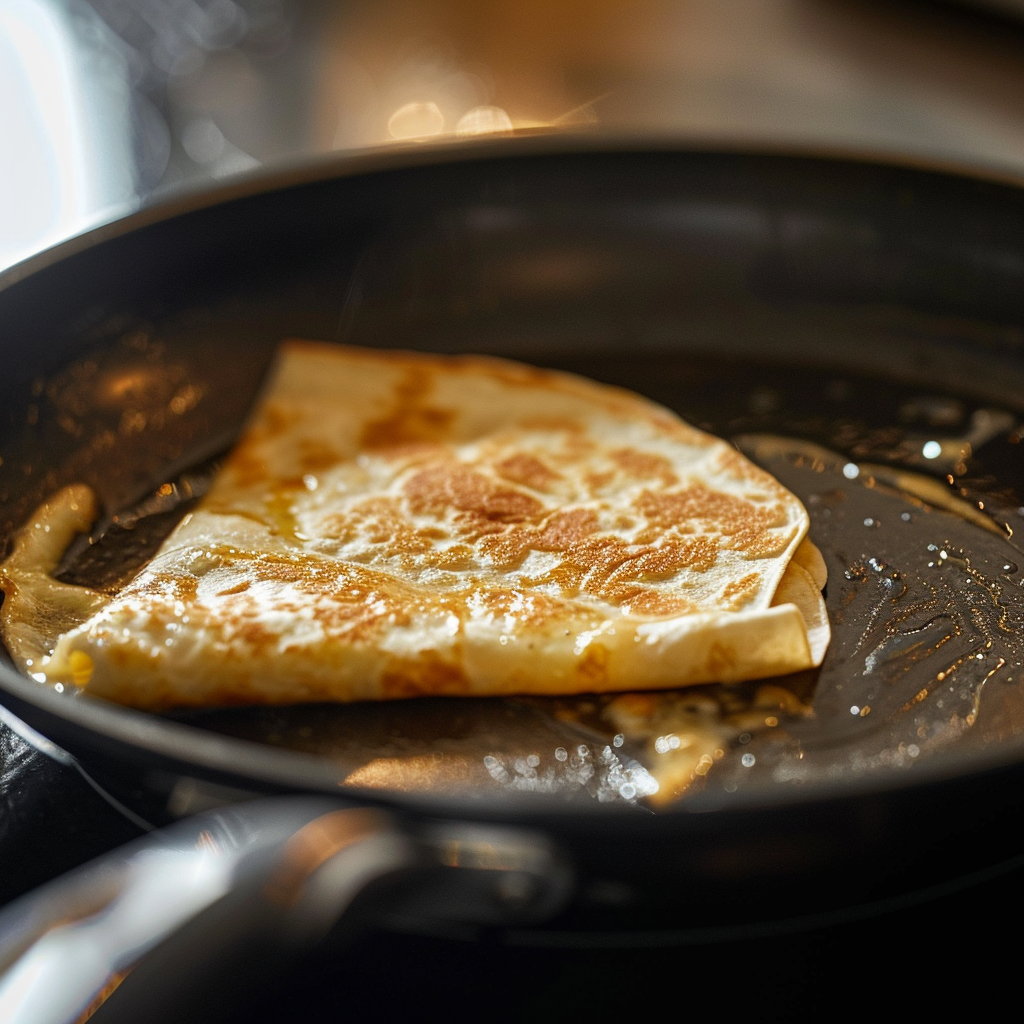
- Cook the Steak: Heat olive oil in a skillet over medium-high heat. Add steak and cook until browned, about 3-4 minutes per side. Remove from heat and set aside.
- Assemble Quesadillas: Lay out the tortillas on a flat surface. Sprinkle cheese on half of each tortilla, add cooked steak, bell peppers, and onions (if using).
- Cook Quesadillas: Fold the tortillas over and press gently. Heat a clean skillet over medium heat. Cook each quesadilla until golden brown on both sides and the cheese is melted, about 2-3 minutes per side.
- Serve: Cut into wedges and serve hot.
Notes
- Cheese Choices: For the best melt, choose Oaxaca or Monterey Jack cheese, but feel free to experiment with different types of cheese like cheddar or mozzarella.
- Adding Vegetables: Incorporating vegetables like bell peppers and onions not only adds flavor but also increases the nutritional value of the quesadillas.
- Serving Suggestions: Serve with salsa, sour cream, or guacamole on the side for added flavor.
Keywords: steak quesadilla recipe, beef quesadilla, cheese quesadilla, Mexican quesadilla