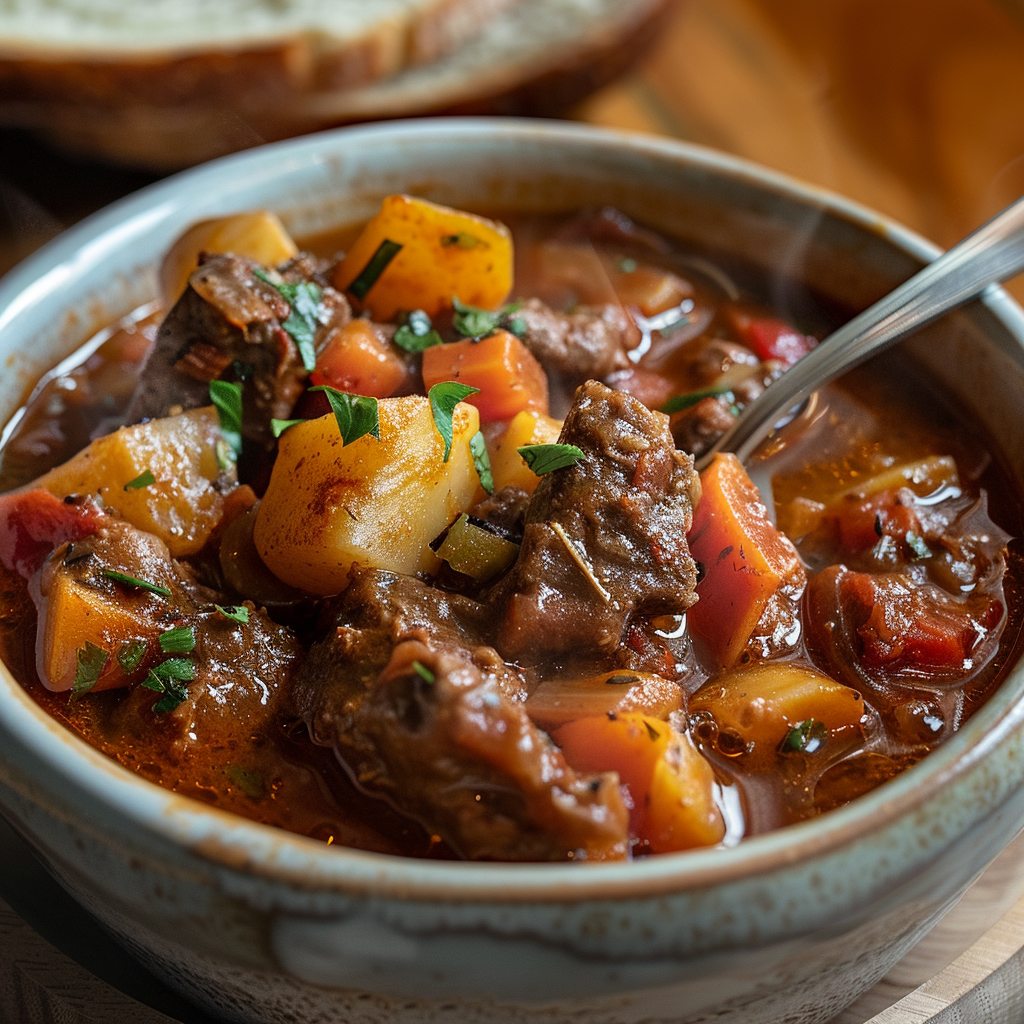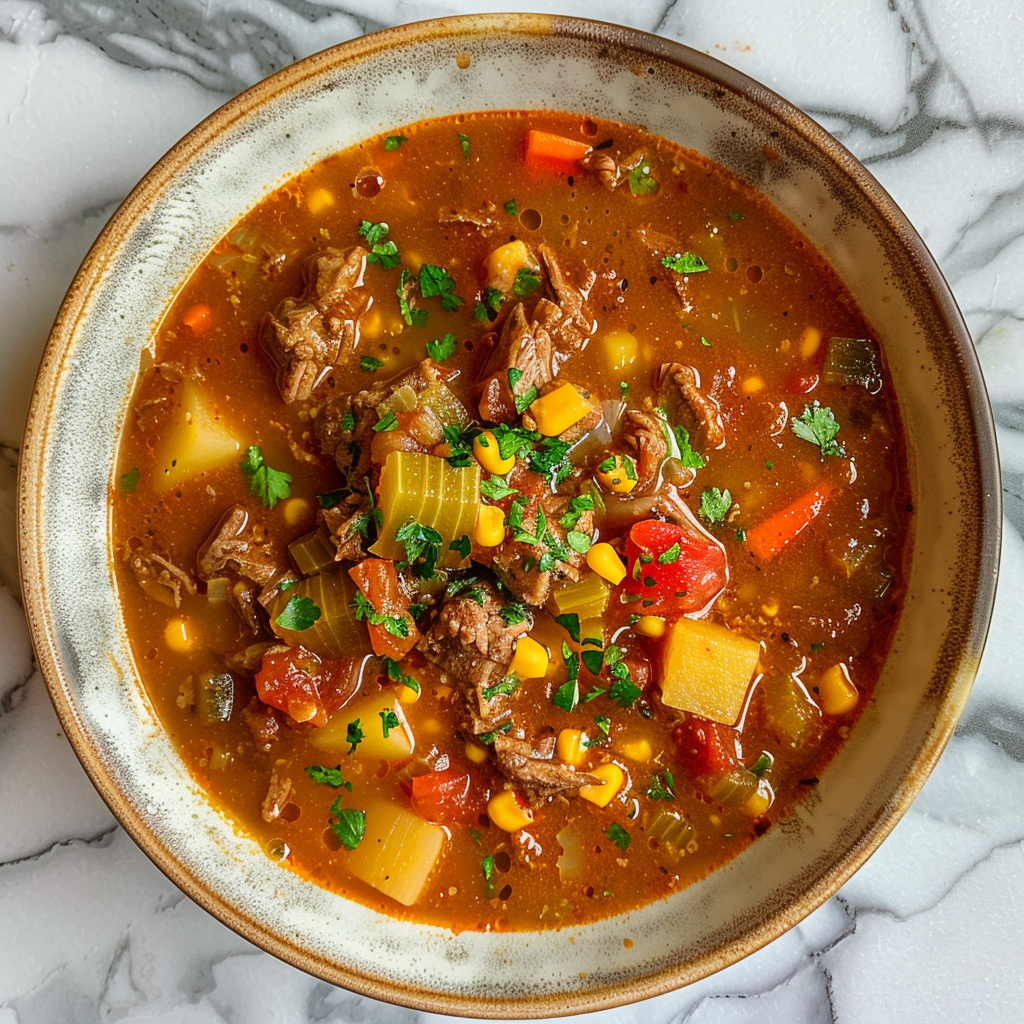
With this one-pot Cowboy Soup, sample the rich, smokey tastes of the Wild West. Not only is this cheap and simple meal satisfying, but it also adds a classic cowboy culinary experience to your dinner table. For those cold nights, our Cowboy Soup offers a filling, easy-to-make dinner.
Also, check out this hearty recipe for Texas Cowboy Stew.
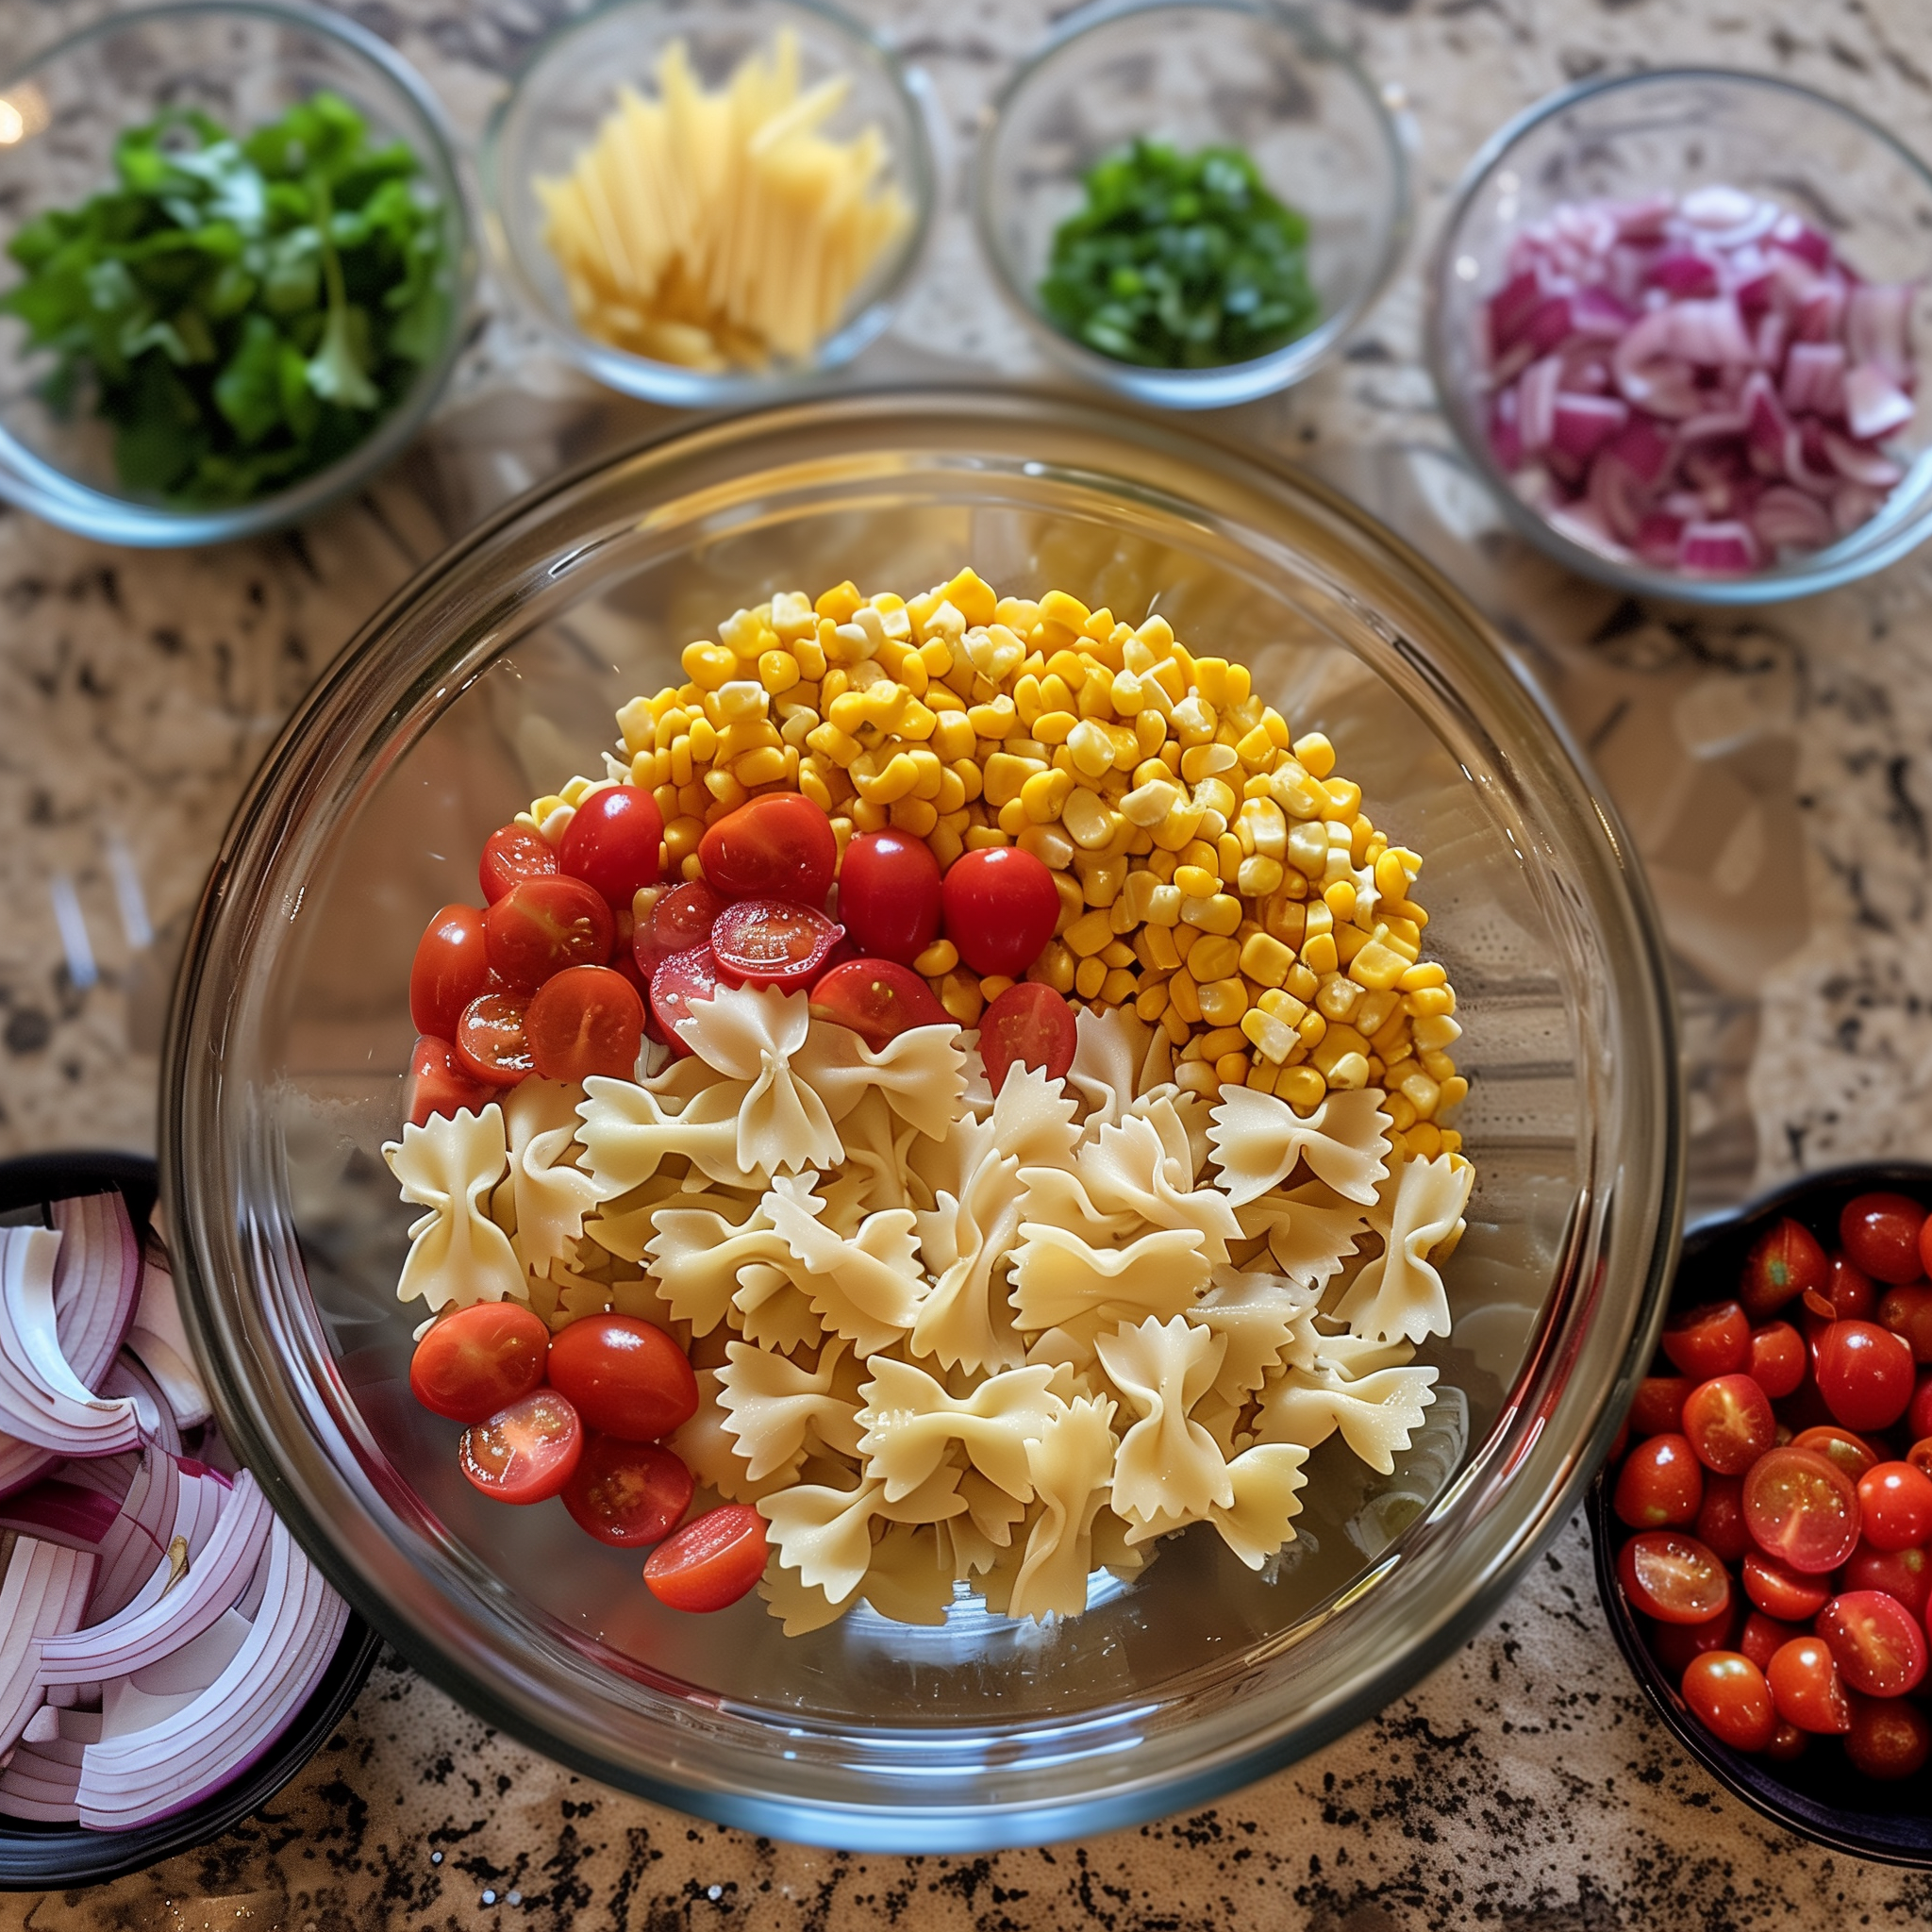
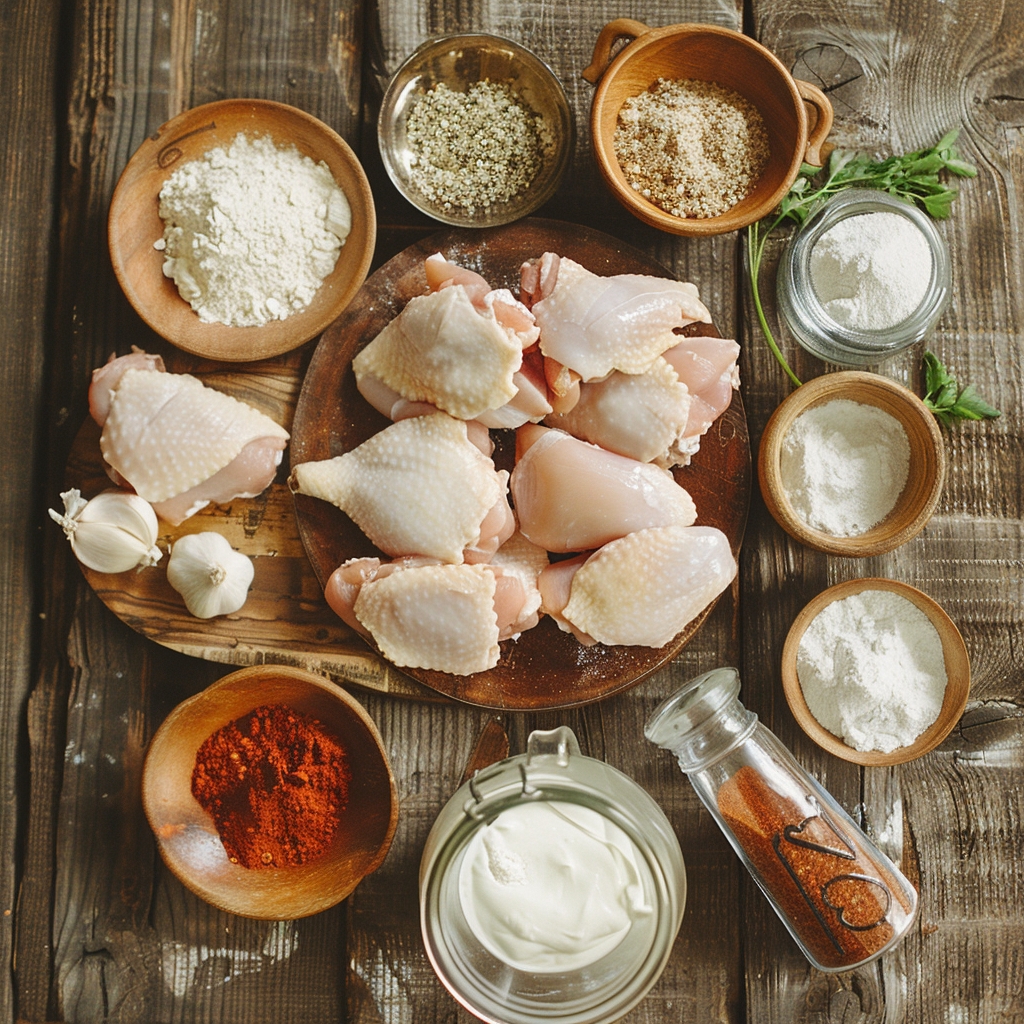
Overview of Ingredients
- Proteins: ground beef, chicken, or turkey—rich in iron and perfect for muscle repair.
- Vegetables: onions, garlic, potatoes, bell peppers, and corn—packed with vitamins and fiber for immune health.
- Beans and Tomatoes: Add depth, texture, and additional protein.
- Spices and herbs: cumin, chili powder, cayenne, cilantro, or parsley—for antioxidants and a burst of fresh flavor.
- Broth: the hydrating base of the soup, rich in minerals.
- Cheese (optional) adds creaminess and calcium.

FAQs
Can I make cowboy soup in a slow cooker?
Absolutely, cowboy soup is ideal for slow cooking.
How can I thicken my cowboy soup?
A roux or a slurry of cornstarch and water can add body to your soup.
Is cowboy soup freezer-friendly?
Yes, it freezes and reheats well.
Chef’s Tips for Perfect Cowboy Soup
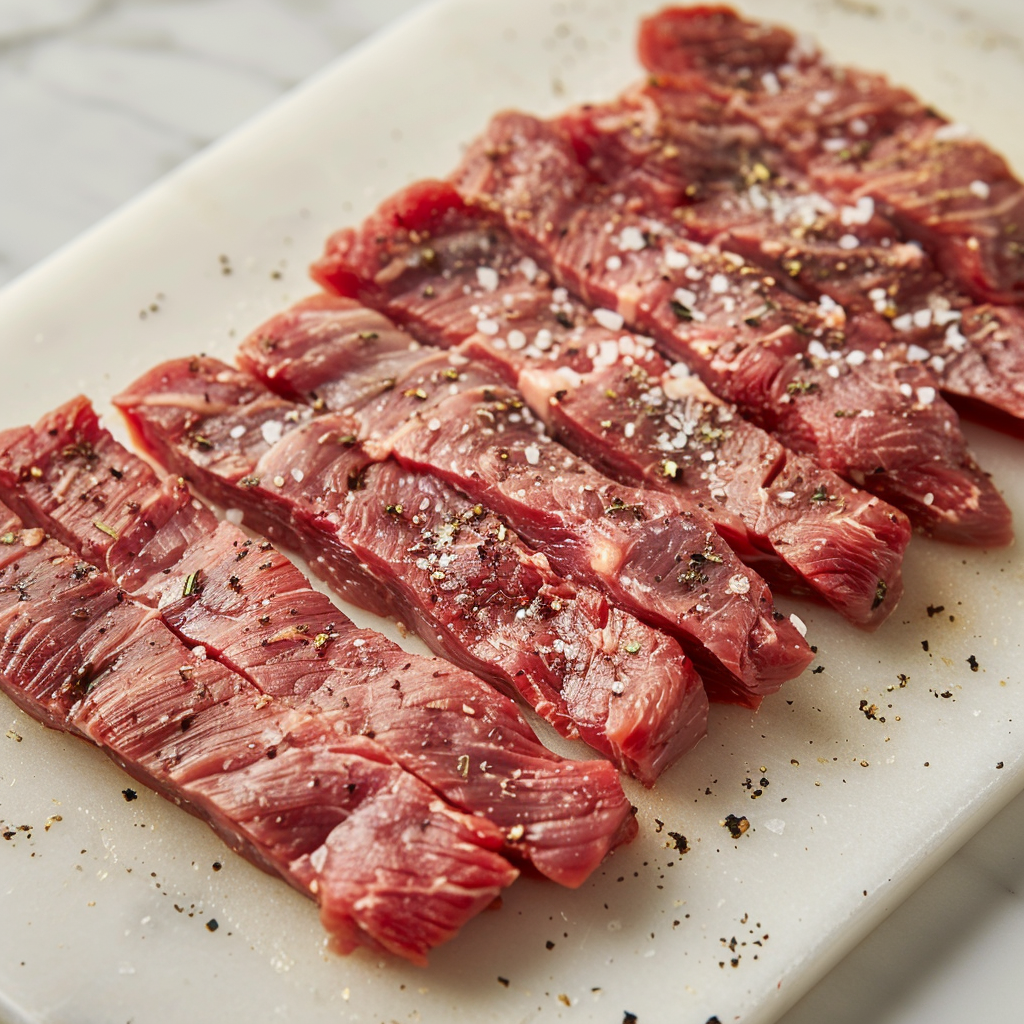
Choose the Right Cut of Meat
Opt for chuck roast or stew meat over leaner cuts. The fat marbling contributes to a richer broth and tender meat. Consider browning the meat in batches to ensure a deep, caramelized flavor foundation.
Deglaze the Pot
After browning the meat, use a bit of broth or beer to deglaze the pot. This step helps to lift the browned bits off the bottom, which are packed with umami and deep flavors.
Slow Cooking is Key
Allow your cowboy soup to simmer on low heat for several hours. Slow cooking melds the flavors together and tenderizes the meat, making the soup richer and more cohesive.
Balance Your Spices
Cowboy soup benefits from a robust spice profile. Don’t shy away from cumin, chili powder, smoked paprika, and even a pinch of cayenne for heat. Start with small amounts and adjust as you go, tasting frequently.
Incorporate Fresh Herbs at the End
Fresh cilantro or parsley can add a burst of freshness to the hearty soup. Stir in these herbs right before serving to preserve their vibrant color and flavor.
Thicken with Purpose
If you prefer a thicker soup, consider mashing some of the beans or vegetables directly in the pot. Alternatively, a cornstarch slurry or a roux can thicken the broth without altering the flavor significantly.
Don’t Rush the Roux
If using a roux to thicken your soup, cook it until it’s a deep golden brown. This not only thickens the soup but also adds a layer of nutty flavor.
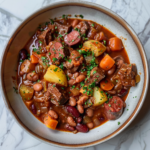
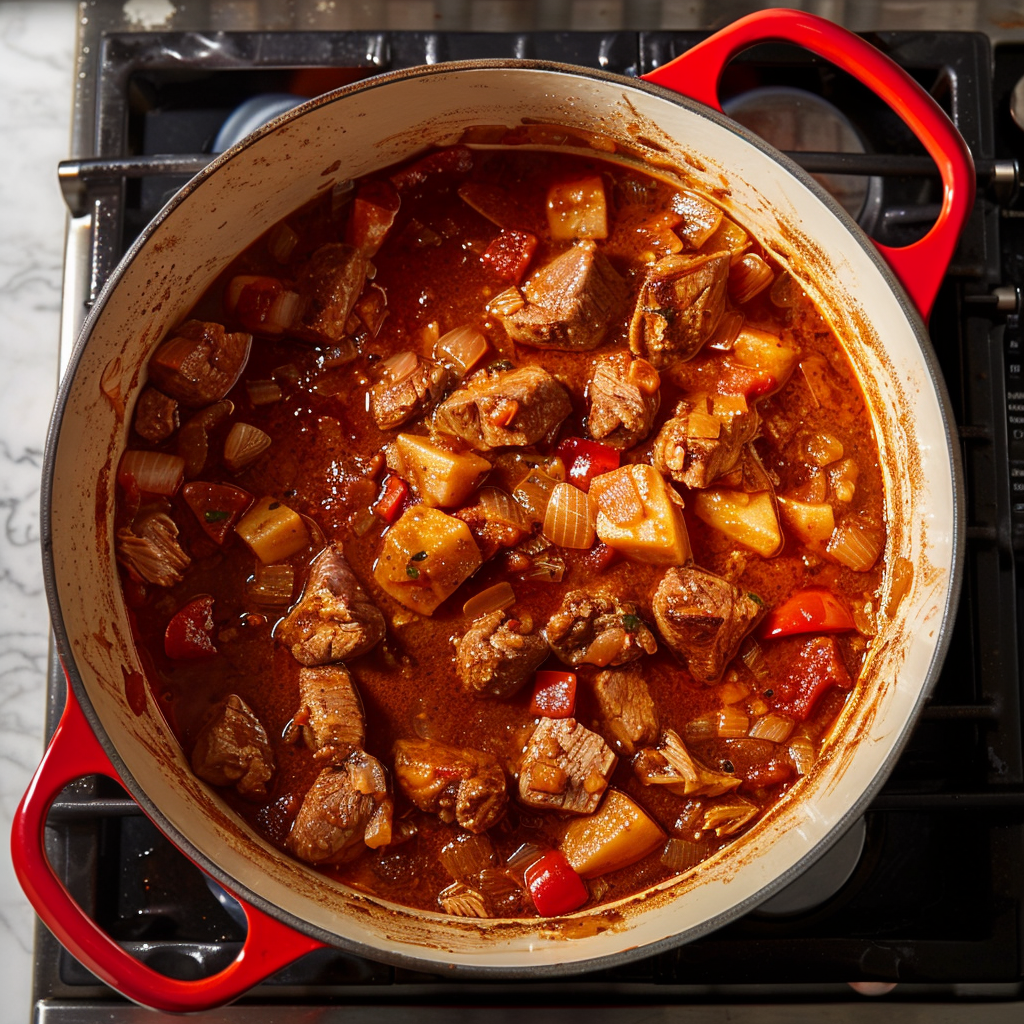
Making Cowboy Soup in a Crockpot
Deep flavors are easiest to achieve with hearty crockpot cowboy soup. The ingredients blend beautifully over extended cooking to provide a thick, comforting soup. Do it this way:
Preparation
Begin by browning the meat (beef, chicken, or turkey) in a skillet over medium heat. This step is crucial, as it adds a rich flavor to the soup. Once browned, transfer the meat to the crockpot.
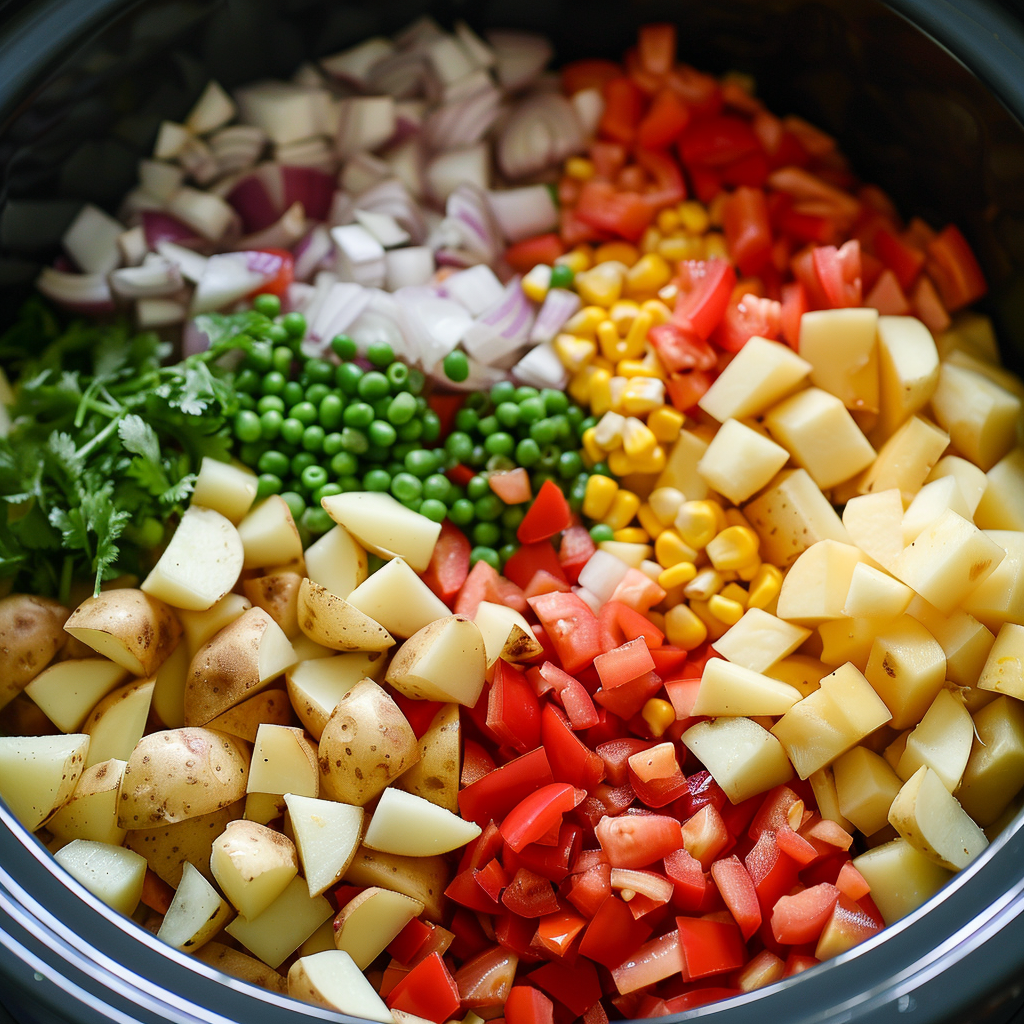
Layering Ingredients
Add the chopped onions, garlic, potatoes, bell peppers, and any other vegetables you are using to the crockpot. Top these with the cooked meat. Then, add the beans and tomatoes. Sprinkle the chili powder, cumin, cayenne, and other spices over the ingredients.
Adding Liquids
Pour enough beef or vegetable stock into the crockpot to cover the ingredients. If you like your soup a bit thinner, you can add more stock or some water.
Cooking
Set your crockpot to low and let the soup cook for 6–8 hours. This slow cooking process helps tenderize the meat and integrate the flavors of the spices and vegetables.
Final Touches
About 30 minutes before serving, check the seasoning and adjust if necessary. If the soup is too thin for your liking, you can thicken it with a cornstarch slurry or by mashing some of the beans and vegetables directly in the pot. Add freshly chopped cilantro or parsley for a burst of color and freshness.
Serving
Serve the soup hot, with optional toppings like shredded cheese, sour cream, or sliced jalapeños. Cowboy soup made in a crockpot is especially comforting on cold days and usually tastes even better the next day.
Customizing Your Cowboy Soup
One of the beauties of cowboy soup is its versatility. Here are a few ideas to make it your own:
Swap out ground beef for chicken or pork for a different flavor profile.
Add in whatever vegetables you have on hand—the more, the merrier.
Adjust the spice level to suit your taste, from mild to fiery.
What to Serve with Cowboy Soup
To round out your meal, consider these accompaniments:
Cornbread or crusty bread for dipping
A simple green salad
A dollop of sour cream or shredded cheese on top
PrintCowboy Soup
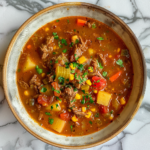
Our simple Cowboy Soup recipe makes a warm one-pot supper. Rich tastes, quick prep!
- Prep Time: 15 minutes
- Cook Time: 2 hours (slow cooking for deeper flavor)
- Total Time: 2 hours 15 minutes
- Yield: 6
- Category: Soup
- Method: Slow Cooking
- Cuisine: American
Ingredients
- 1 lb ground beef, chicken, or turkey
- 1 onion, chopped
- 2 cloves garlic, minced
- 2 large potatoes, diced
- 1 bell pepper, chopped
- 1 cup corn
- 1 can (15 oz) pinto or kidney beans, drained
- 1 can (15 oz) diced tomatoes
- 4 cups beef or vegetable broth
- 1 teaspoon cumin
- 1 teaspoon chili powder
- 1/2 teaspoon cayenne pepper
- Optional: shredded cheese for topping
- Salt and pepper to taste
Instructions
Directions for Stovetop Cowboy Soup
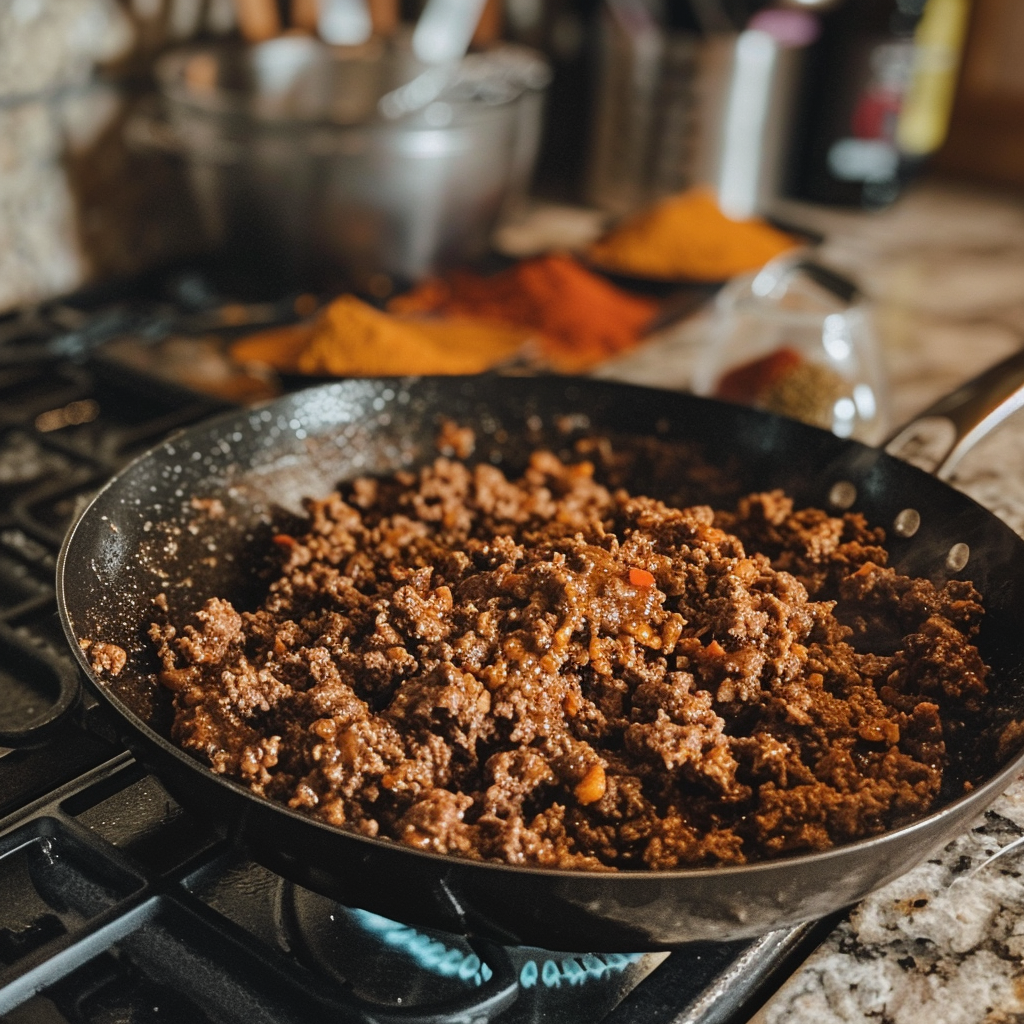
1. Brown the Meat:
- In a large pot over medium heat, cook the meat (beef, chicken, or turkey) until it’s browned thoroughly.
2. Sauté Vegetables:
- To the same pot, add onions and garlic. Sauté until they are translucent. Then add potatoes, bell peppers, and corn, cooking until slightly softened.
3. Add Dry Ingredients:
- Stir in the beans, tomatoes, cumin, chili powder, cayenne pepper, salt, and pepper.
4. Pour in the Broth:
- Add enough broth to cover all the ingredients. Increase the heat and bring the mixture to a boil.
5. Simmer:
- Once boiling, reduce heat to low and let the soup simmer for about 1-2 hours, stirring occasionally until the vegetables are tender and the flavors have melded together.
6. Thicken and Adjust Seasonings:
- If the soup is too thin, thicken it with a roux or cornstarch slurry. Adjust the salt, pepper, and spices according to taste.
7. Serve:
- Garnish with optional shredded cheese, sour cream, or fresh herbs like cilantro or parsley. Serve hot with a side of cornbread or crusty bread.
Directions for Crockpot Cowboy Soup
1. Brown the Meat:
- In a skillet over medium heat, cook the meat until it’s fully browned. This enhances the flavor of the soup.
2. Transfer to Crockpot:
- Place the browned meat into the crockpot.
3. Add Vegetables and Spices:
- Add the chopped onions, garlic, potatoes, bell peppers, and corn to the crockpot. Include the beans and tomatoes.
4. Season:
- Sprinkle the cumin, chili powder, cayenne, salt, and pepper over the ingredients in the crockpot.
5. Add Liquids:
- Pour in the broth until all ingredients are well covered.
6. Slow Cook:
- Set the crockpot on low and cook for 6-8 hours. The long cooking time allows for deep flavor development and tender vegetables.
7. Thicken and Final Adjustments:
- About 30 minutes before serving, check the consistency and flavor. Thicken if necessary using a cornstarch slurry or by mashing some of the beans or vegetables. Adjust seasoning as needed.
8. Serve:
- Ladle the soup into bowls, topping with optional garnishes such as cheese or fresh herbs. Serve warm, perfect for a cozy meal.
Notes
- Enhancing Flavor: For an added flavor boost, try deglazing the skillet with a splash of broth or beer after browning the meat and add these juices to the crockpot.
- Freshness: Add a handful of chopped cilantro or parsley before serving to infuse a fresh taste.
- Storage: Cowboy Soup can be stored in the refrigerator for up to 4 days or frozen for up to 3 months.
Keywords: Cowboy Soup Recipe,cowboy stew, wild west soup, one-pot cowboy soup,crockpot cowboy soup.hearty crockpot cowboy soup,cowboy crockpot soup