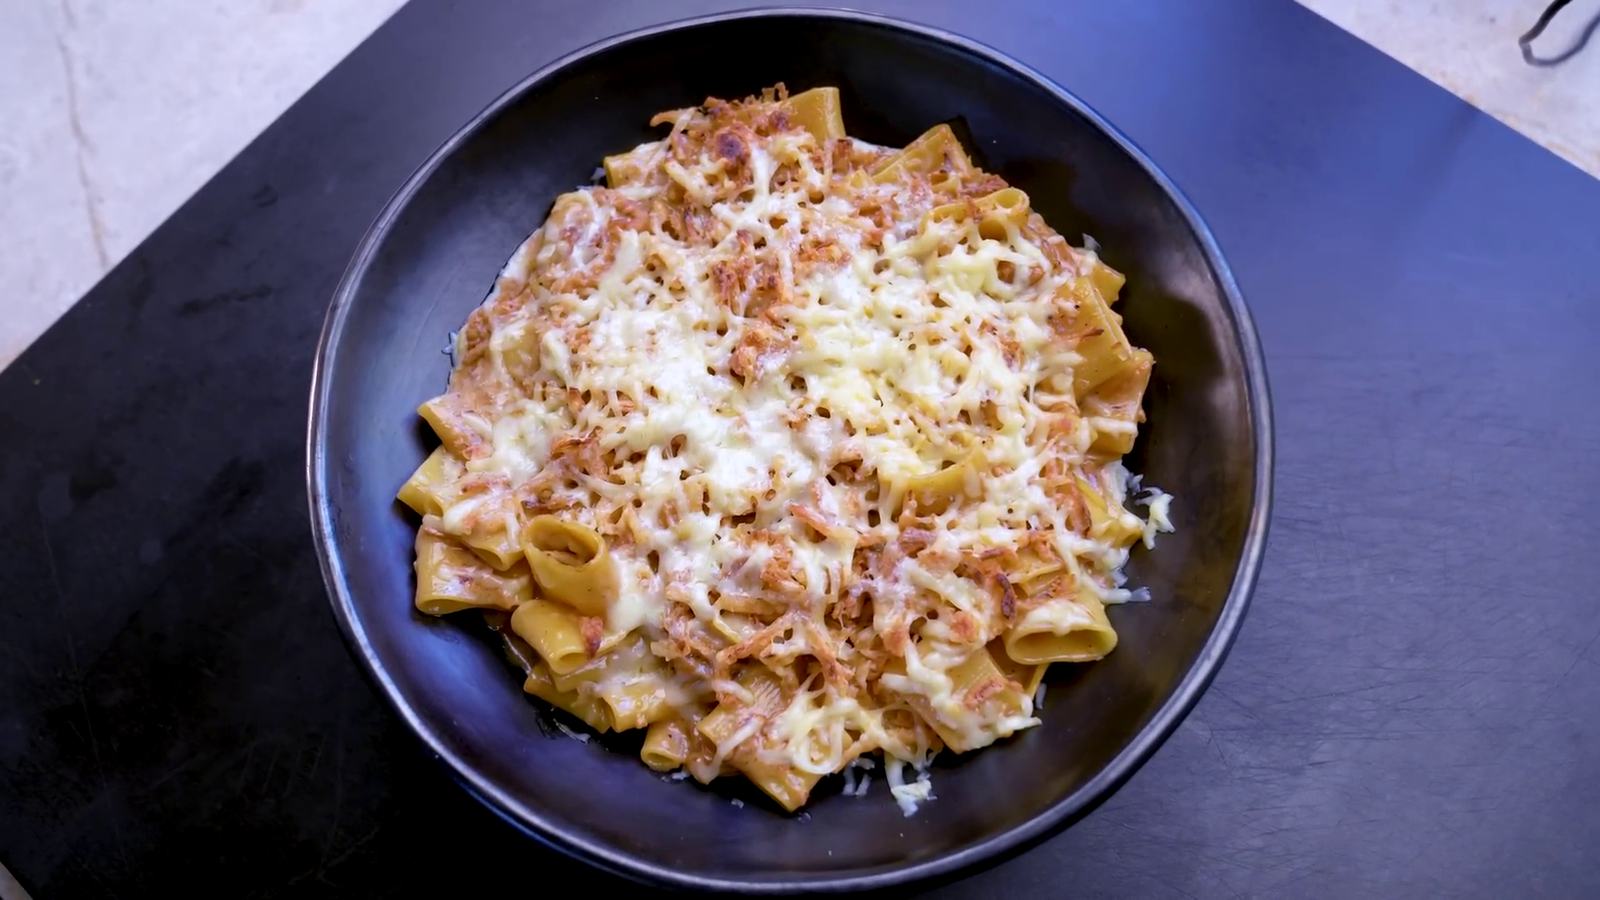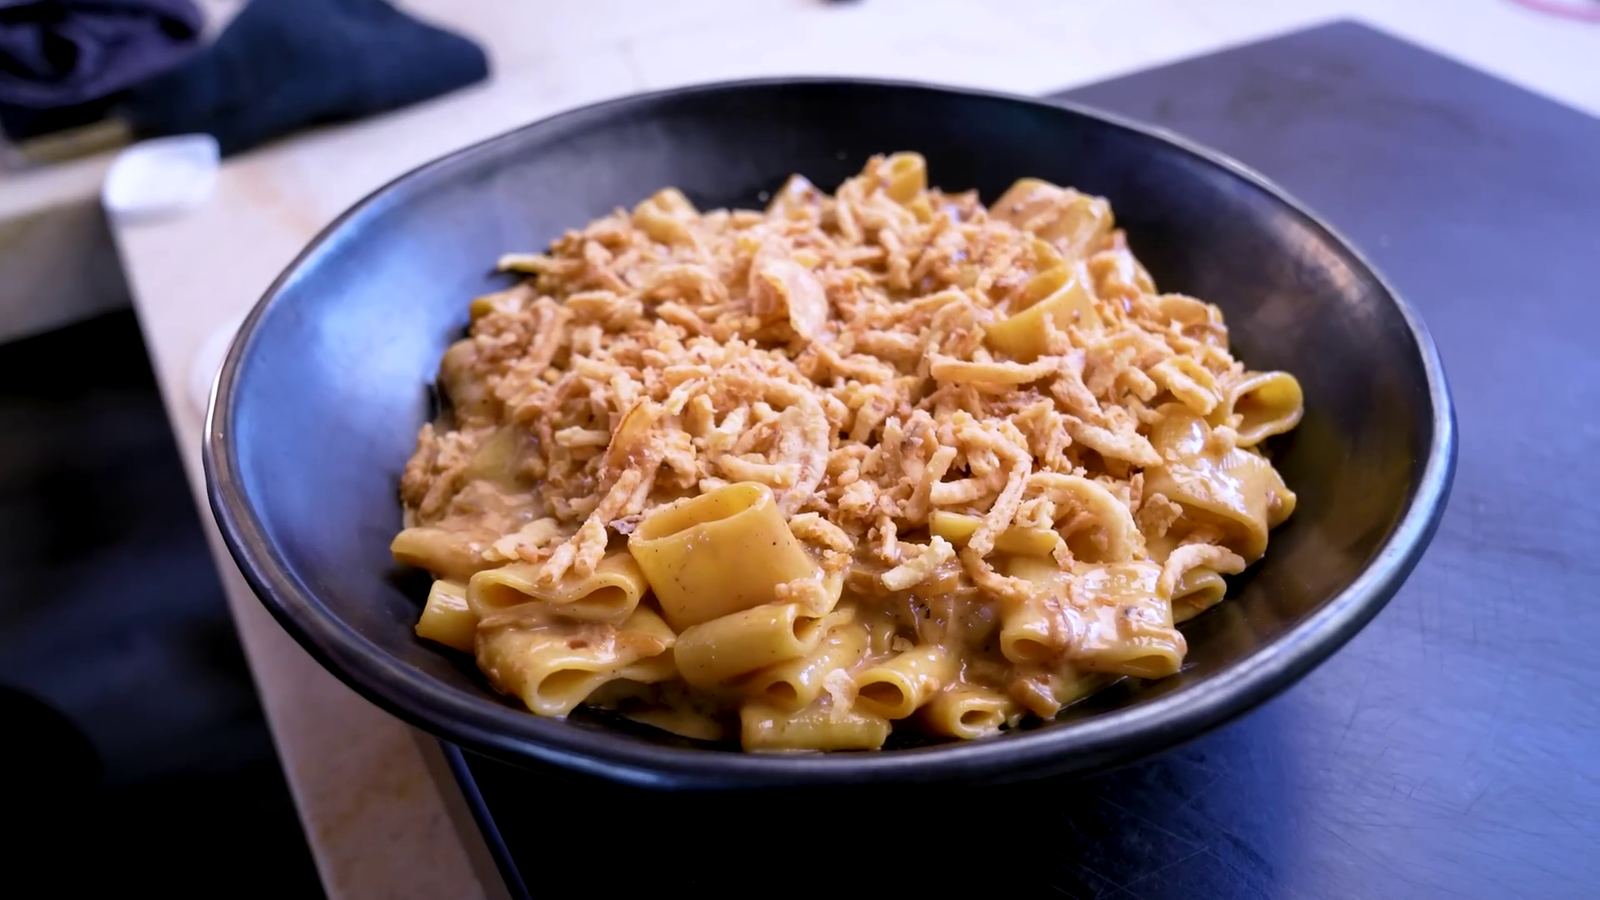
Big bowls of noodle soup are soothing. But adding chicken, bacon, ranch dressing, and cheddar cheese makes Crack Chicken Noodle Soup remarkable. A cheesy, savory touch makes this soup a comforting treat and a comfort food hit.
What makes Crack Chicken Noodle Soup good?
This chicken noodle soup is heartier, richer, and tastier. Its enticing combination is:
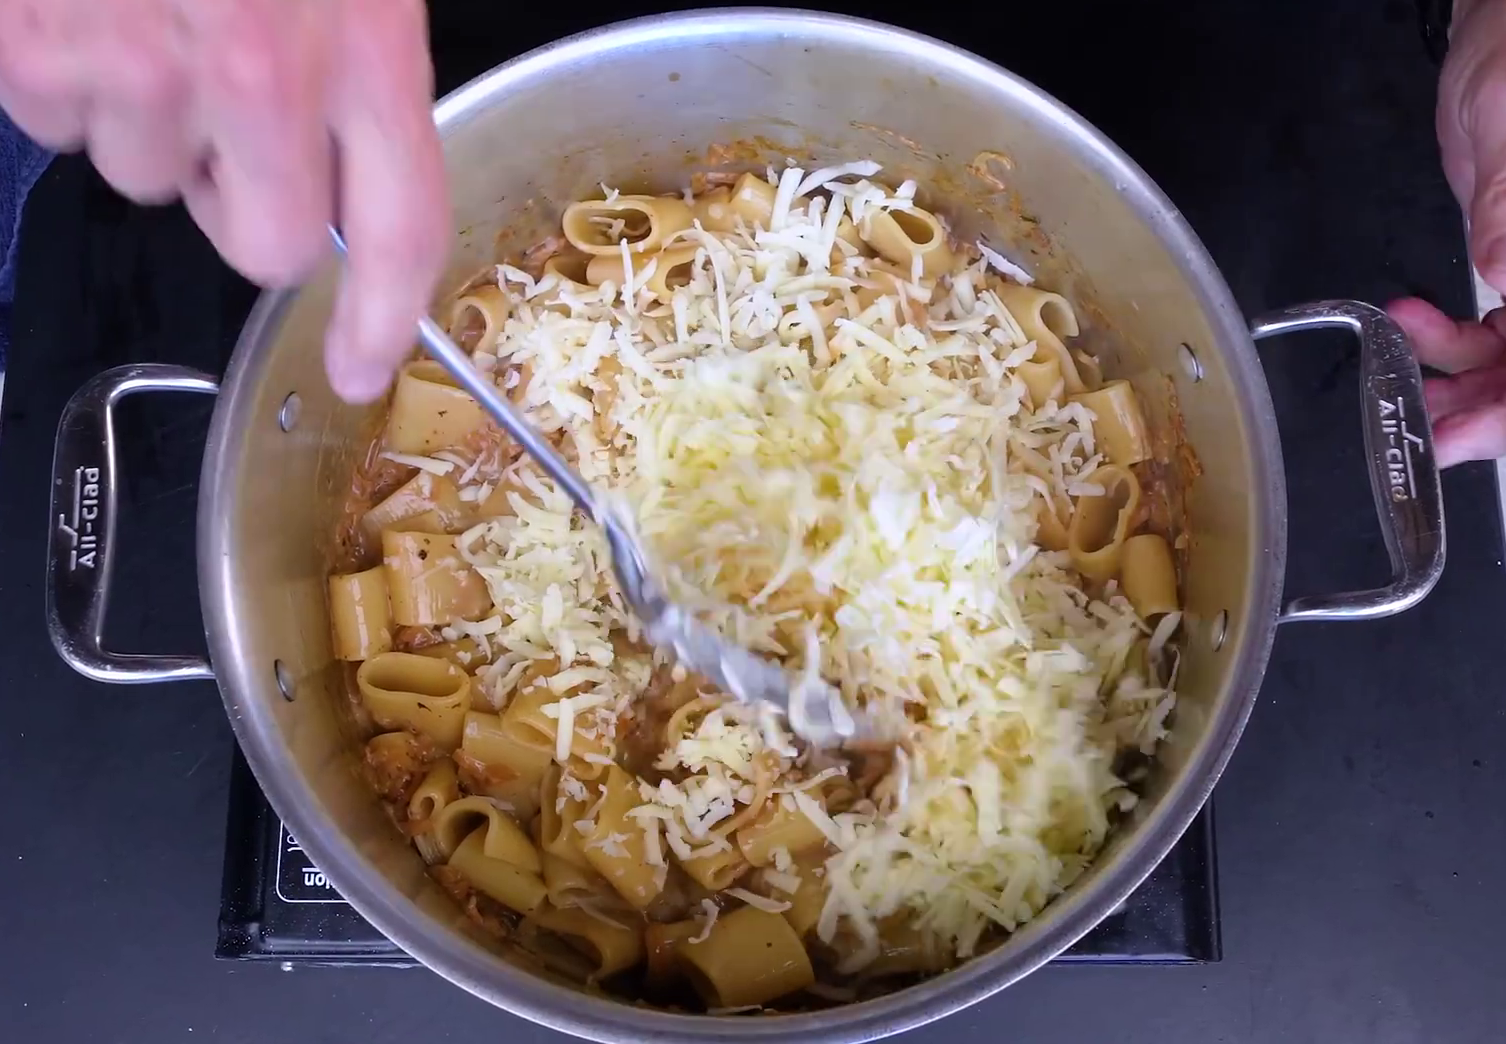
- Cheddar cheese melts perfectly into the broth, creating a rich, creamy texture.
- Bacon, which adds a smoky, savory depth.
- The tangy kick of the ranch dressing mix enhances the overall flavor profile.
It isn’t just soup; it’s a full experience in a bowl. Check out our Hawaiian Chicken in a Crock-Pot for more delicious chicken recipes.
Frequently Asked Questions
Can I make this soup ahead of time?
You can prepare it in advance, but add the noodles when you reheat the soup to avoid soaking up too much broth.
Is Crack Chicken Noodle Soup freezable?
Freeze without the noodles and add fresh ones when reheating for the best texture.
How can I make my soup less salty?
Use low-sodium broth and homemade ranch seasoning to reduce the salt content.
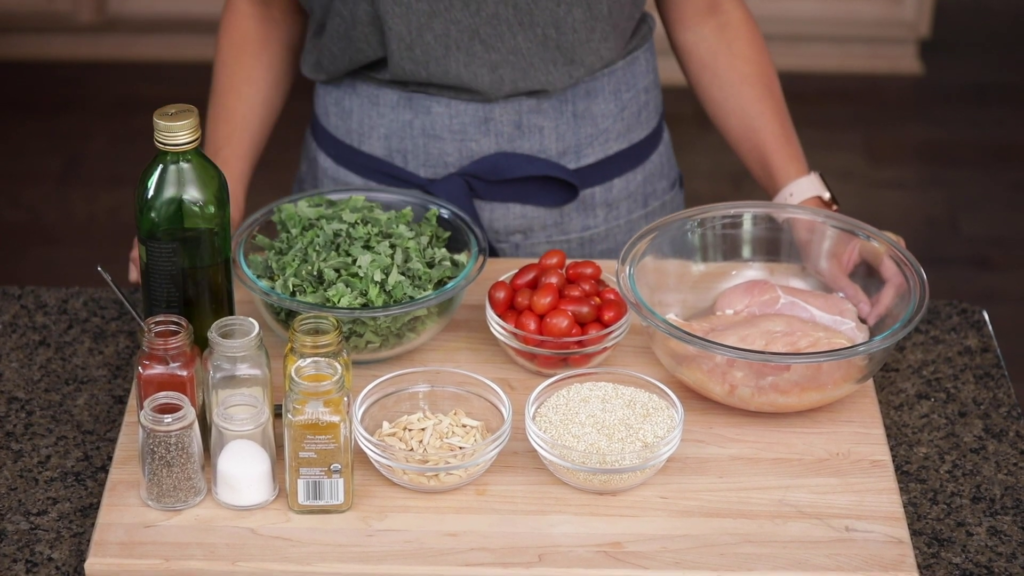
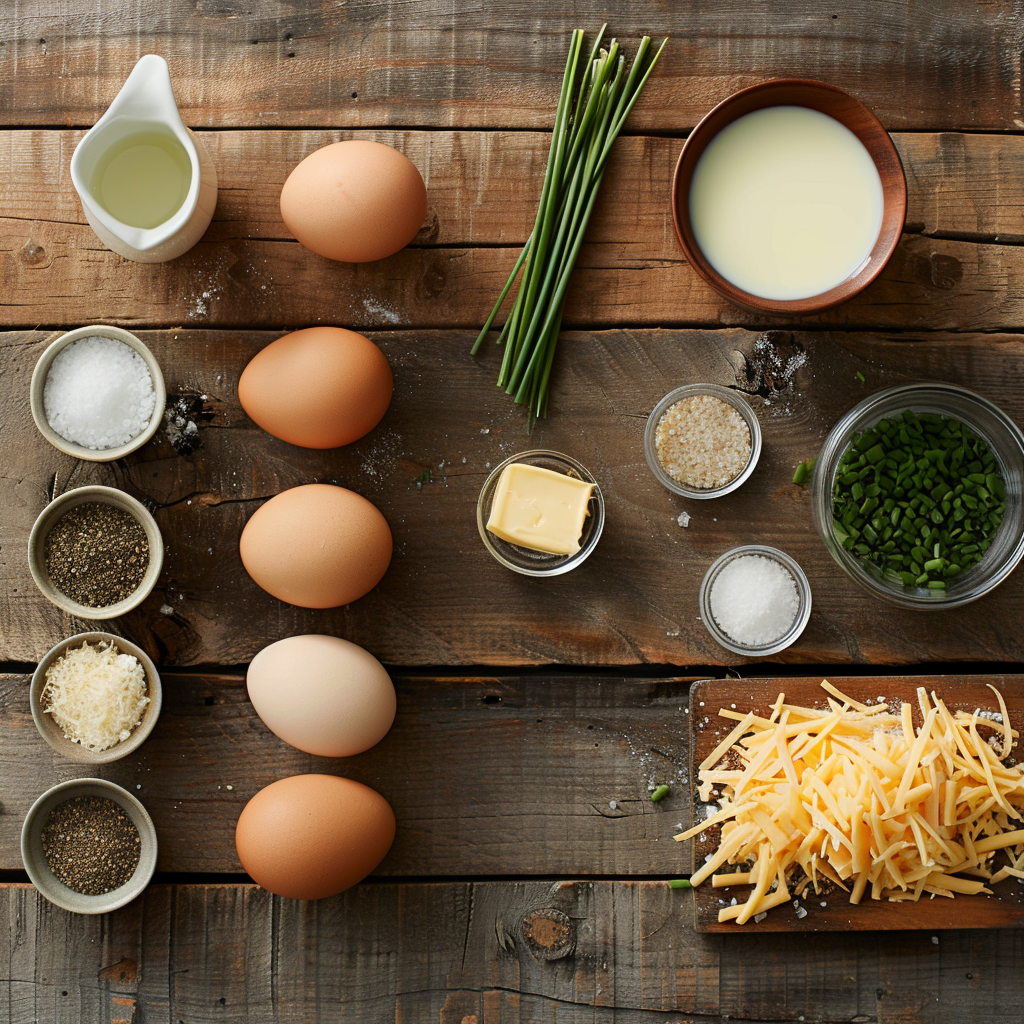
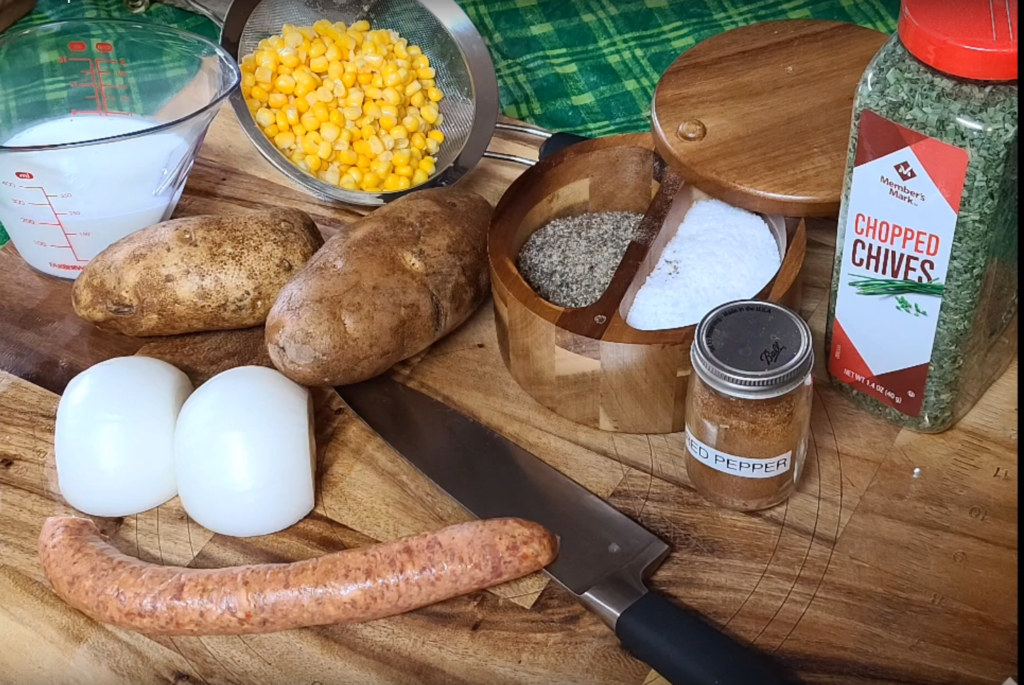
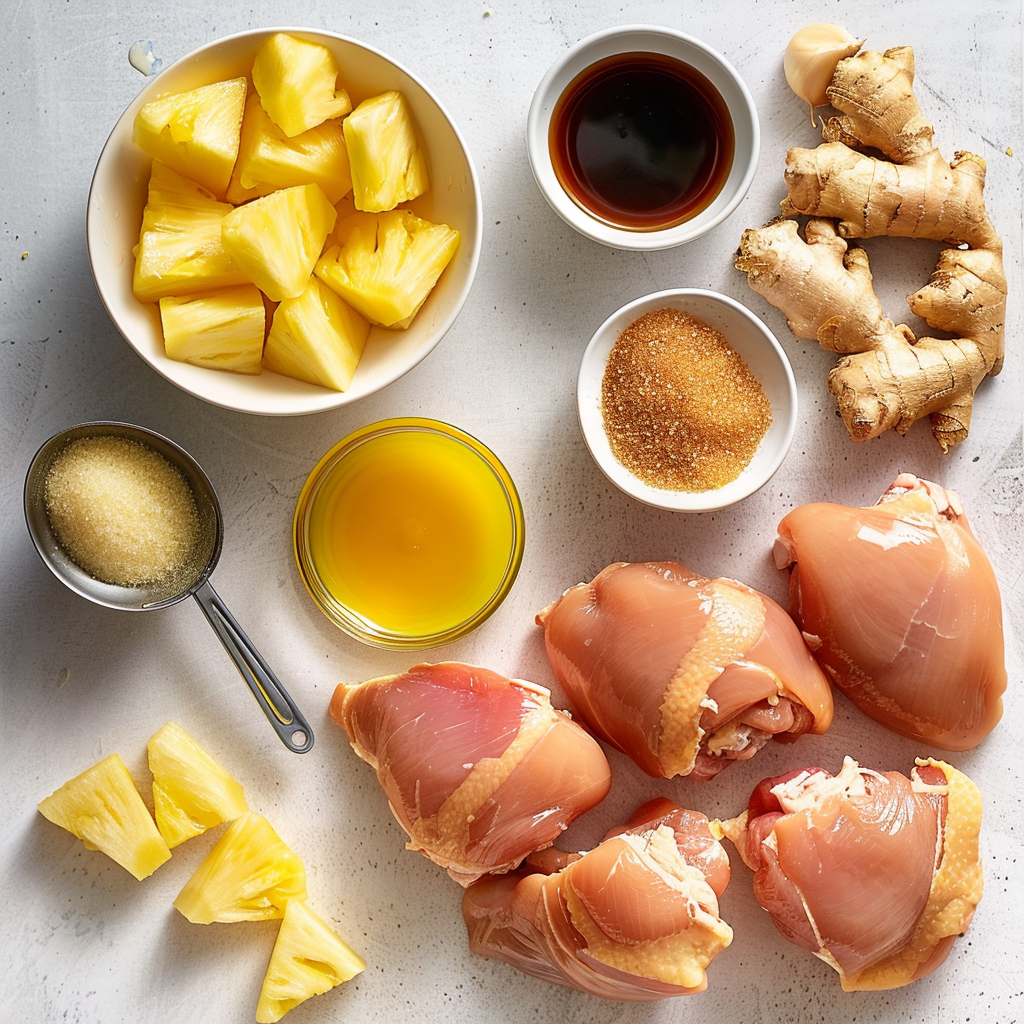
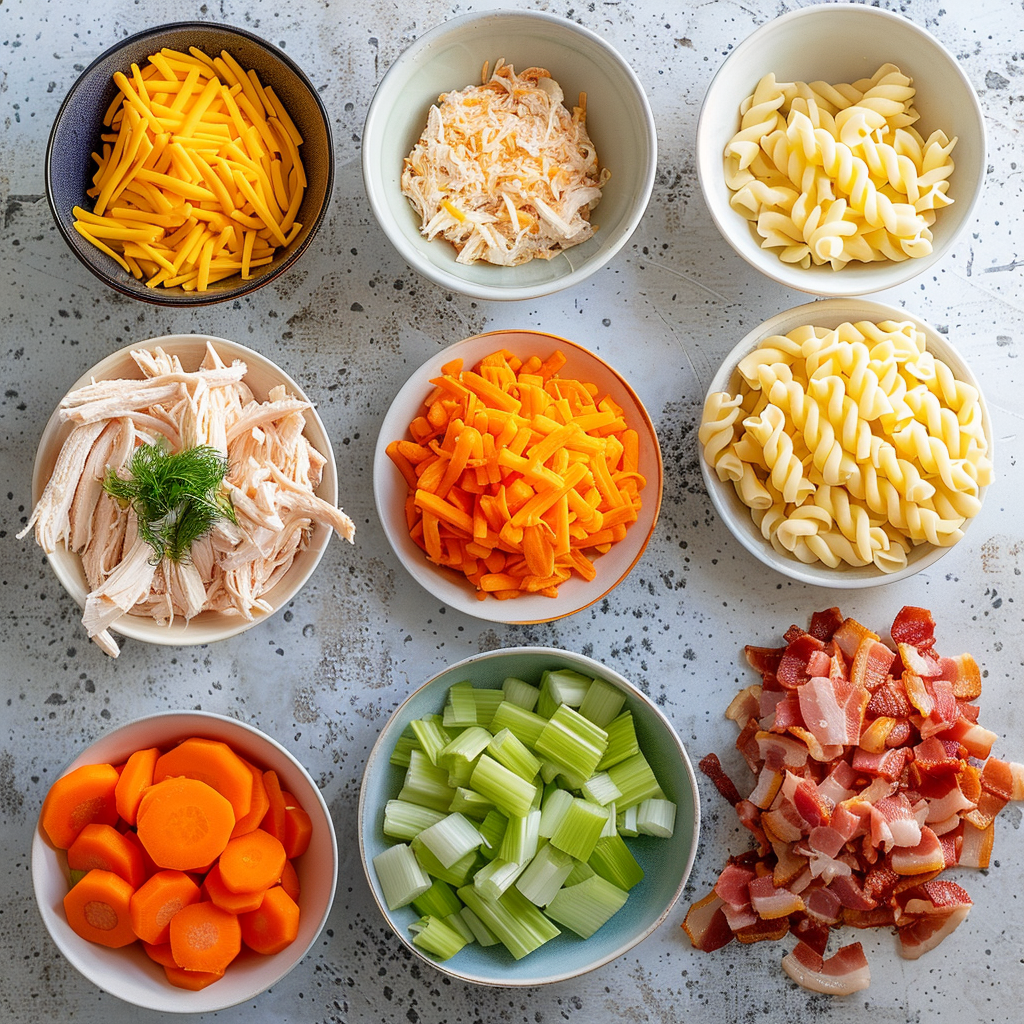
Overview of Ingredients
Crack Chicken Noodle Soup’s basic, savory ingredients make it magical. What you need:
- Chicken: cooked and shredded, rotisserie chicken is perfect for convenience and flavor.
- Cheese soup and shredded cheddar cheese: for that creamy, cheesy goodness.
- Bacon: cooked and chopped, adding a touch of smokiness.
- The ranch dressing mix combines all the flavors with its herby and tangy profile.
- Vegetables: typically carrots and celery, sliced thin.
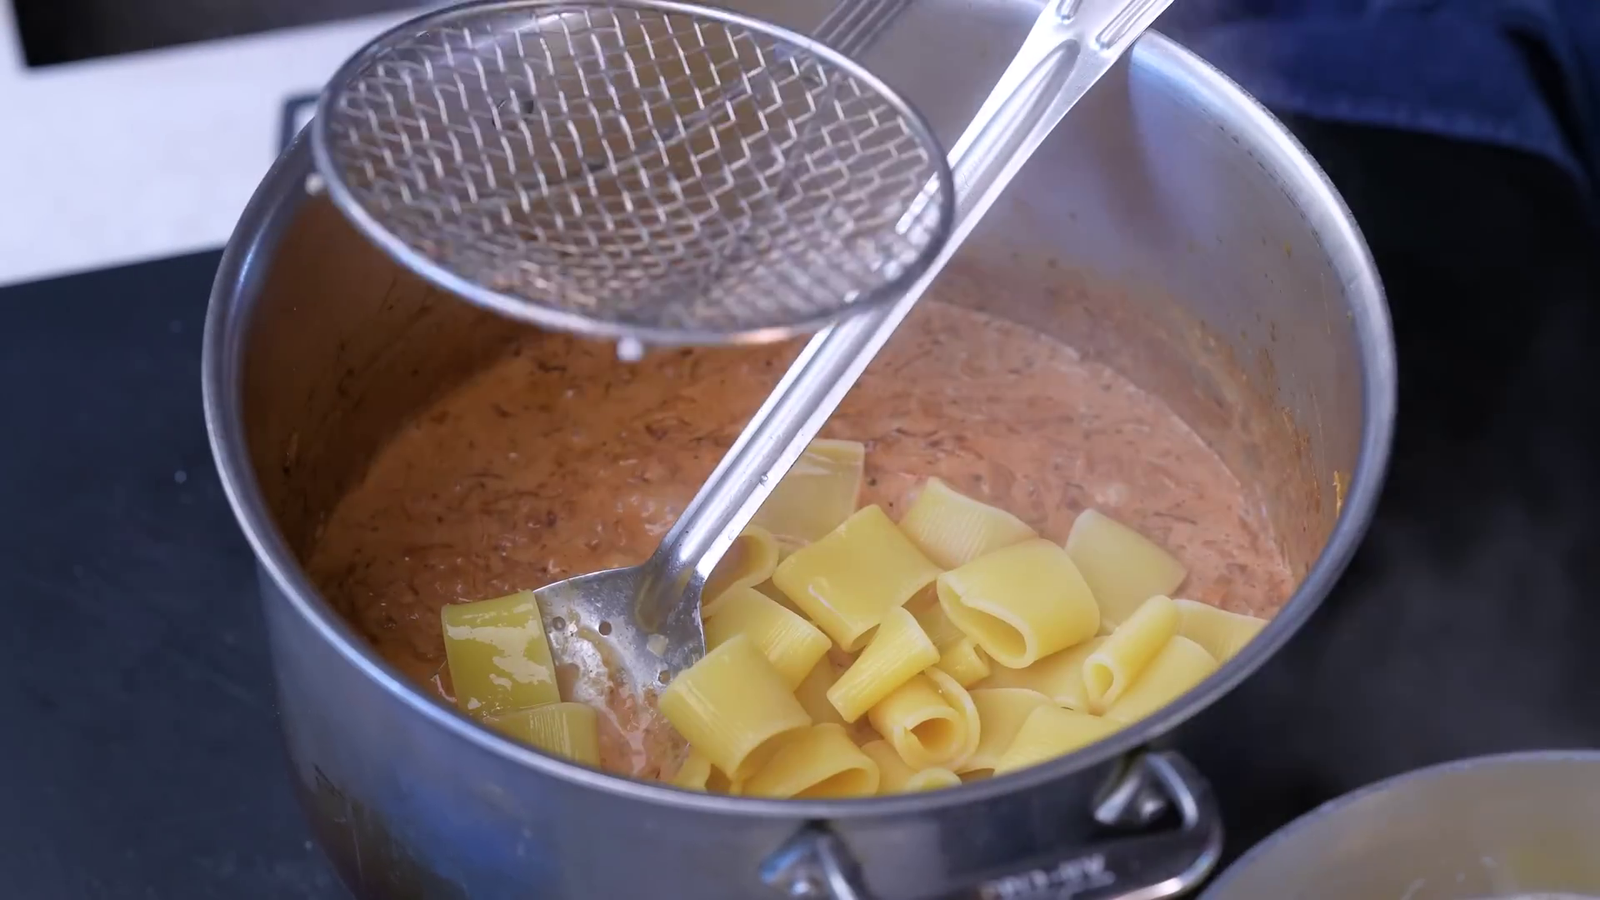
- Egg noodles cook quickly in the broth, absorbing all the delicious flavors.
Enhance your chicken dishes using the best spices from our Best Seasoning for Chicken Breast guide.
Chef’s Tips for Perfect Crack Chicken Noodle Soup
Improve your chicken cooking technique.
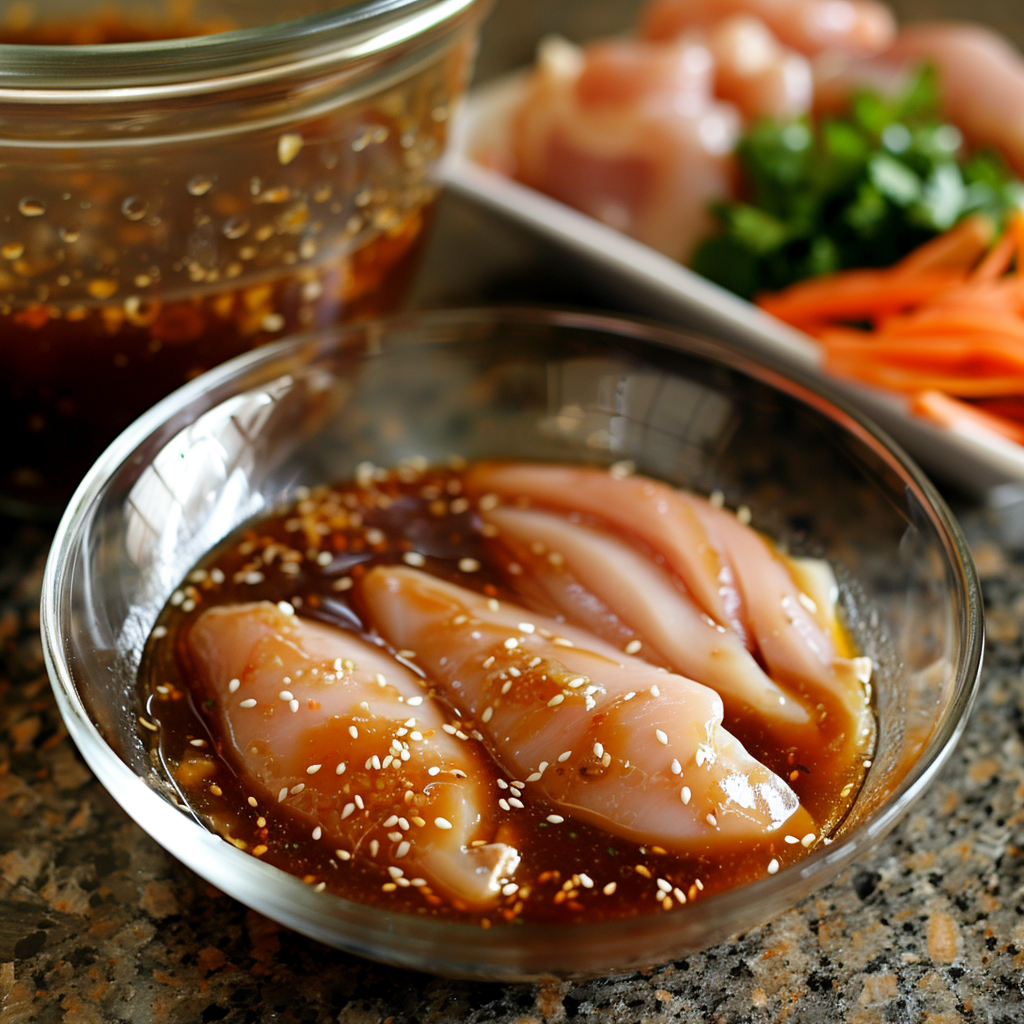
- Poaching the Chicken: Consider poaching your breasts or thighs directly in the broth for tender, juicy chicken. This method infuses the chicken with flavor and keeps it moist.
- Shredded vs. Diced: While shredded chicken is traditional, you can also dice it into bite-sized pieces for a different texture and a more even distribution of chicken in every spoonful.
Enhance Flavor with Base Ingredients
- Saute Aromatics: Before adding your liquids, sauté onions, garlic, and celery to deepen the flavors. Simply boiling these ingredients doesn’t achieve the richness that this caramelization adds.
- Broth Quality: Use high-quality or homemade chicken broth as the base for your soup. The better your broth, the more flavorful your soup will be. If you’re using store-bought, opt for a low-sodium version to control the salt level better.
Use authentic ranch flavors.
- Make Your Ranch Mix: Mix dried herbs and spices instead of store-bought ranch seasoning packets. Allows you to adjust the flavors to your liking and reduce unnecessary preservatives and additives.
- Fresh vs. Dry Herbs: Incorporate fresh herbs like dill, parsley, or chives towards the end of cooking for a fresh flavor that complements the creamy soup base.
Cooking noodles to perfection
- Cook Noodles Separately: To avoid soggy noodles, especially if you anticipate leftovers, cook your noodles separately and add them to each bowl when serving. Keeps them firm and prevents them from absorbing too much broth.
- Choosing the Right Noodles: Opt for thicker noodles, like egg noodles, or even pasta, like farfalle or fusilli, which hold up better in a hearty, rich broth.
Balancing the creaminess
- Adjusting Creaminess: If the soup is too thick, thin it with additional broth. To achieve the desired consistency, add a mixture of cornstarch and water if the soup is too thin.
- Dairy Substitutions: For a lighter version, substitute full-fat dairy products with low-fat or non-dairy alternatives like almond, soy, or oat milk. Keep in mind that non-dairy options might alter the flavor slightly.

Finishing Touches
- Taste and season: Always taste your soup before serving, and adjust the seasoning with salt and pepper as needed. Sometimes, a pinch of sugar can balance the flavors perfectly.
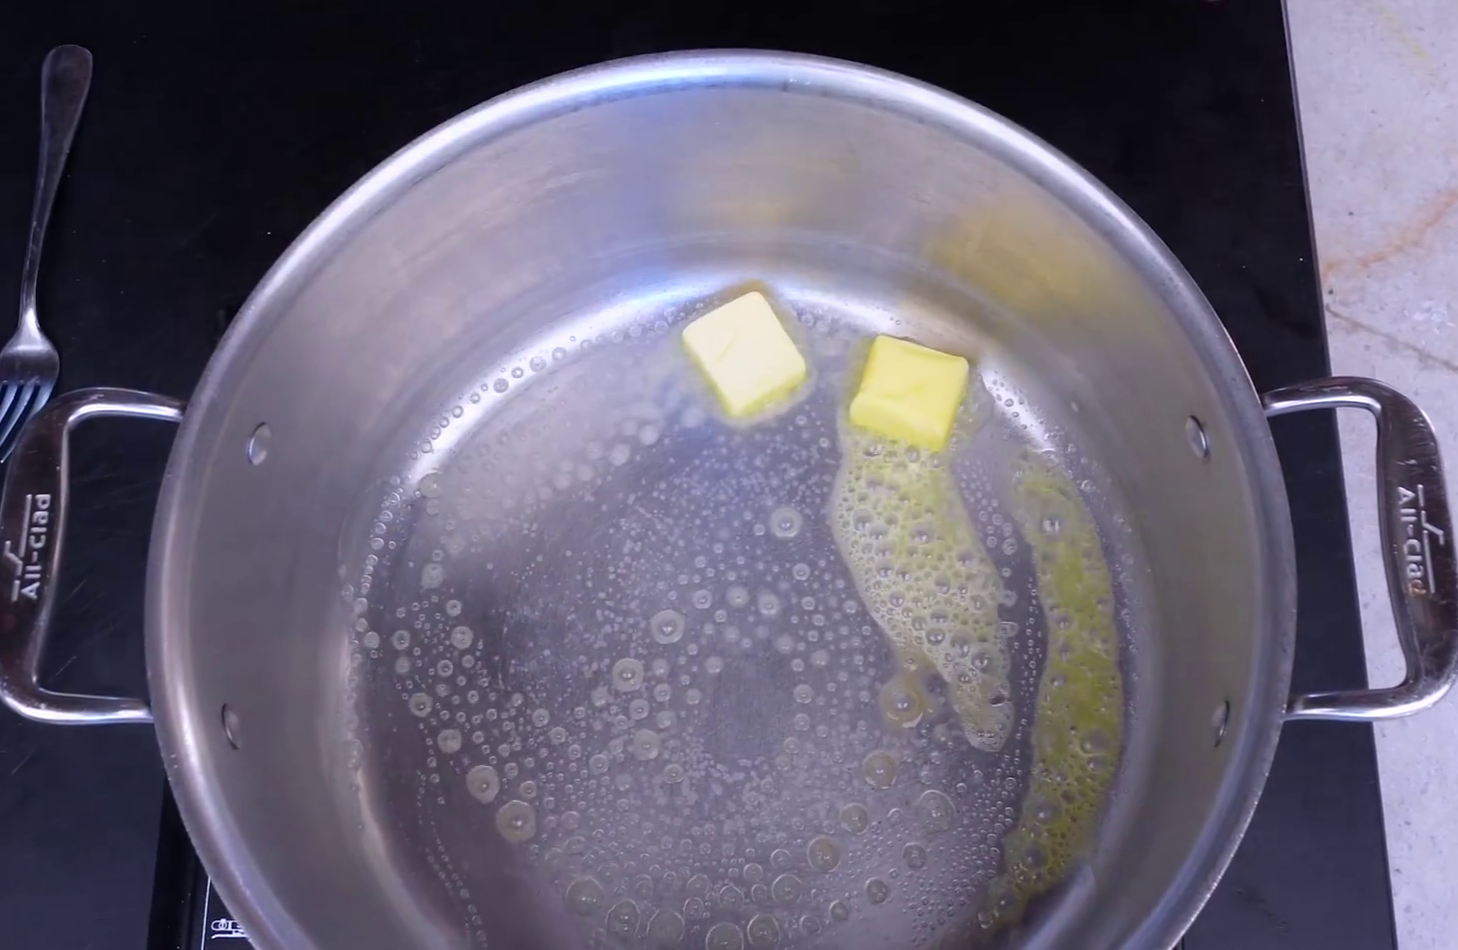
- Garnishing: Garnish with crispy bacon, extra shredded cheese, or a drizzle of melted butter for a restaurant-quality finish.
Adding more vegetables to Crack Chicken Noodle Soup
Enhancing the nutritional value and flavor profile of your Crack Chicken Noodle Soup.
- Spinach or Kale: During the last few minutes of cooking, add fresh spinach or kale to ensure they wilt but retain their vibrant color and nutrients.
- Mushrooms: Add an earthy flavor and add sliced mushrooms with the base vegetables, like celery and carrots.
- Peas and Corn: Mix frozen peas and corn with the noodles during the final minutes of cooking to add a sweet pop of flavor.
These additions help transform the soup into a more balanced meal, appealing to those seeking healthier options.
Making Crack Chicken Noodle Soup Creamier
If you prefer a creamier texture, consider these adjustments to the standard recipe:
- Cream Cheese: Mix in a block of cream cheese with the cheddar for an extra creamy and tangy flavor.
- Heavy Cream: Replace milk with a splash of heavy cream or half-and-half to achieve a richer, more luxurious texture.
- Pureed Vegetables: Blend some of the cooked vegetables with broth and reintroduce it to the soup to thicken it naturally.
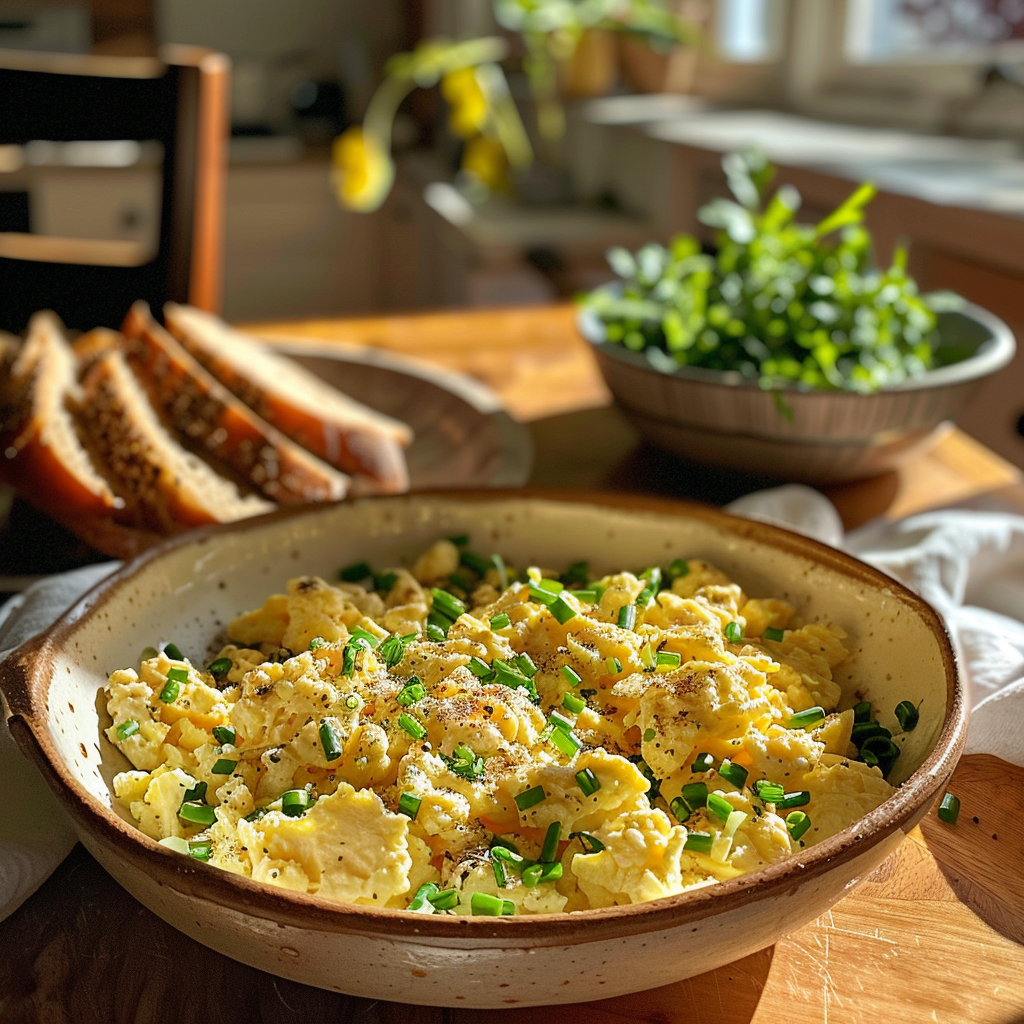
Ideal Toppings for Crack Chicken Noodle Soup
To enhance both texture and flavor, customize your Crack Chicken Noodle Soup with these delightful toppings:
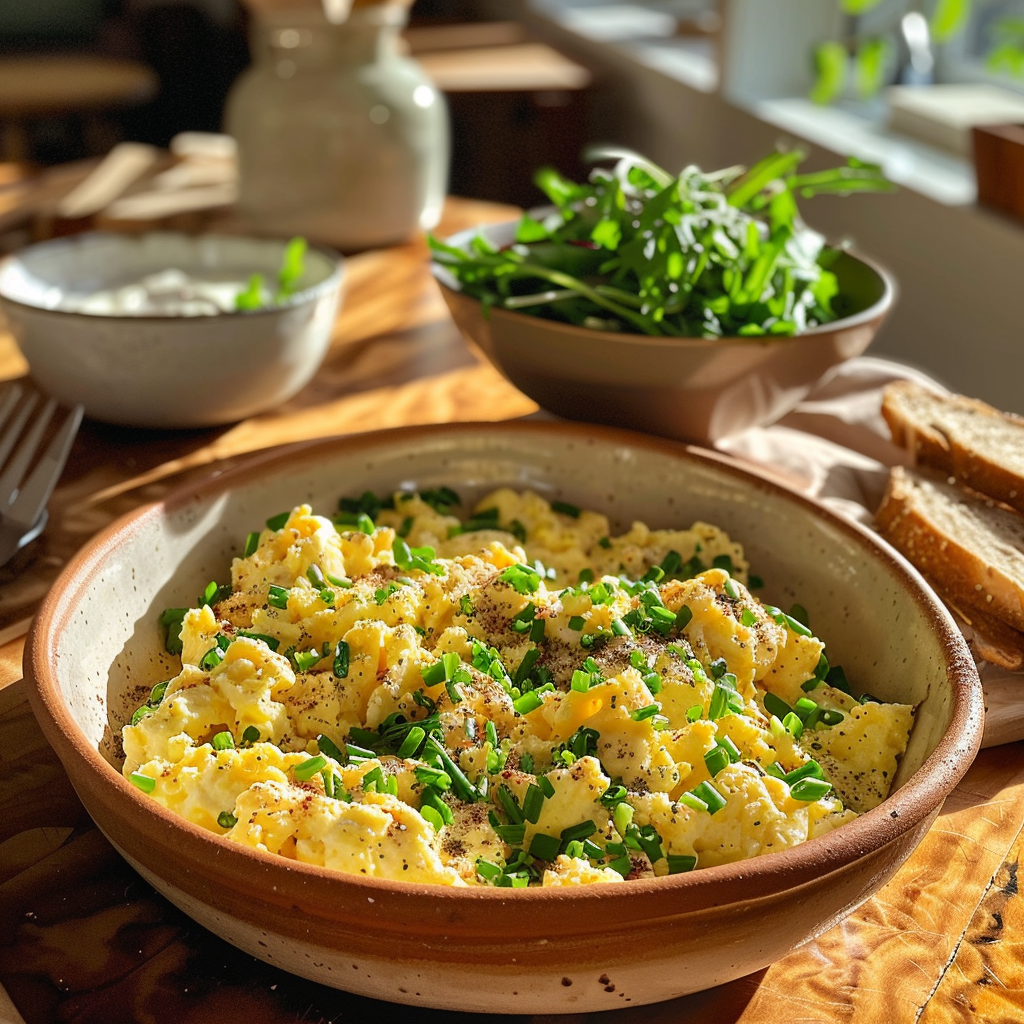
- Green Onions or Chives: Add a sprinkle of chopped green onions or chives on top for a sharp, oniony bite.
- Croutons: For a satisfying crunch, try homemade or store-bought croutons.
- Extra Cheese: Offer more shredded cheddar or a sprinkle of Parmesan just before serving to delight cheese enthusiasts.
- Sour Cream: Place a dollop of sour cream on each serving for a creamy tang that complements the rich flavors of the soup.
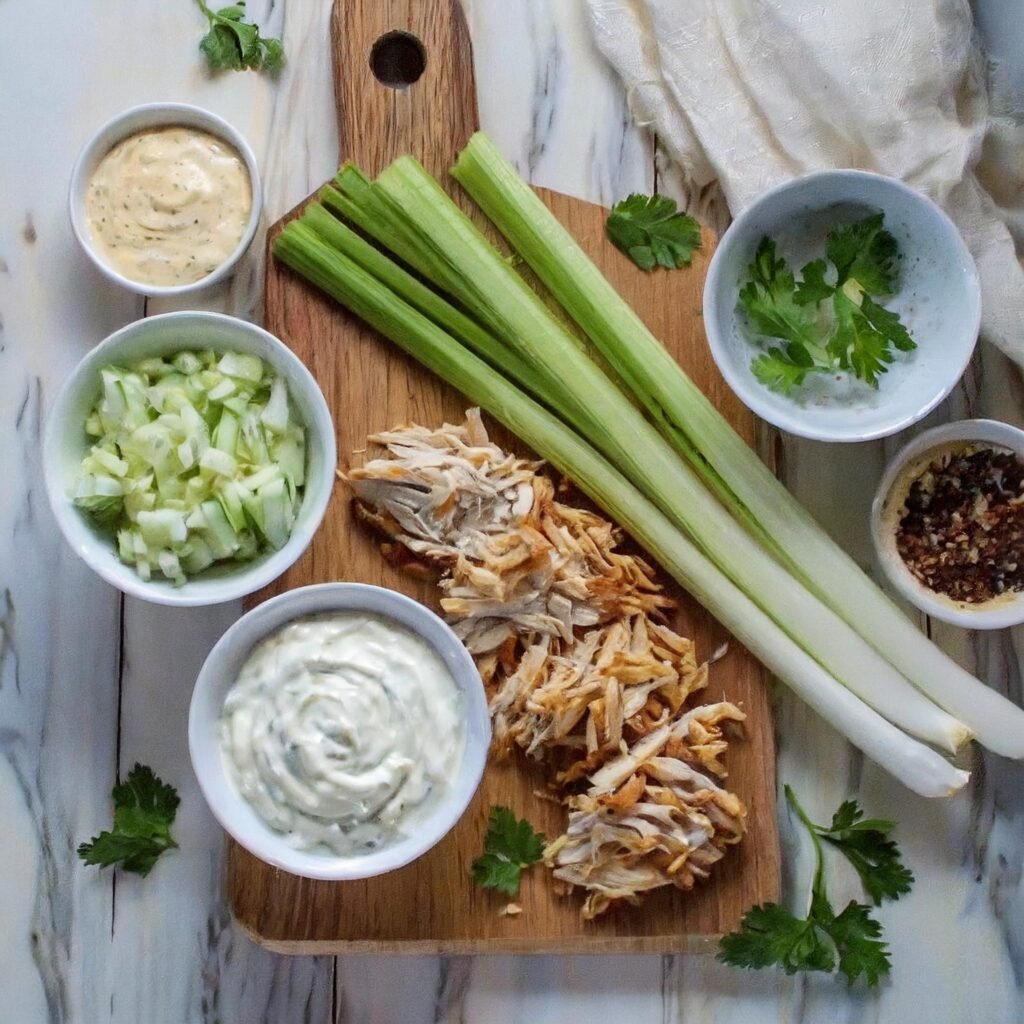
What goes best with Crack Chicken Noodle Soup?
This hearty soup pairs well with various sides. Consider these:
- A crisp green salad with a light vinaigrette.
- Garlic bread or a crusty baguette for dipping.
- A side of steamed vegetables for a healthier touch.
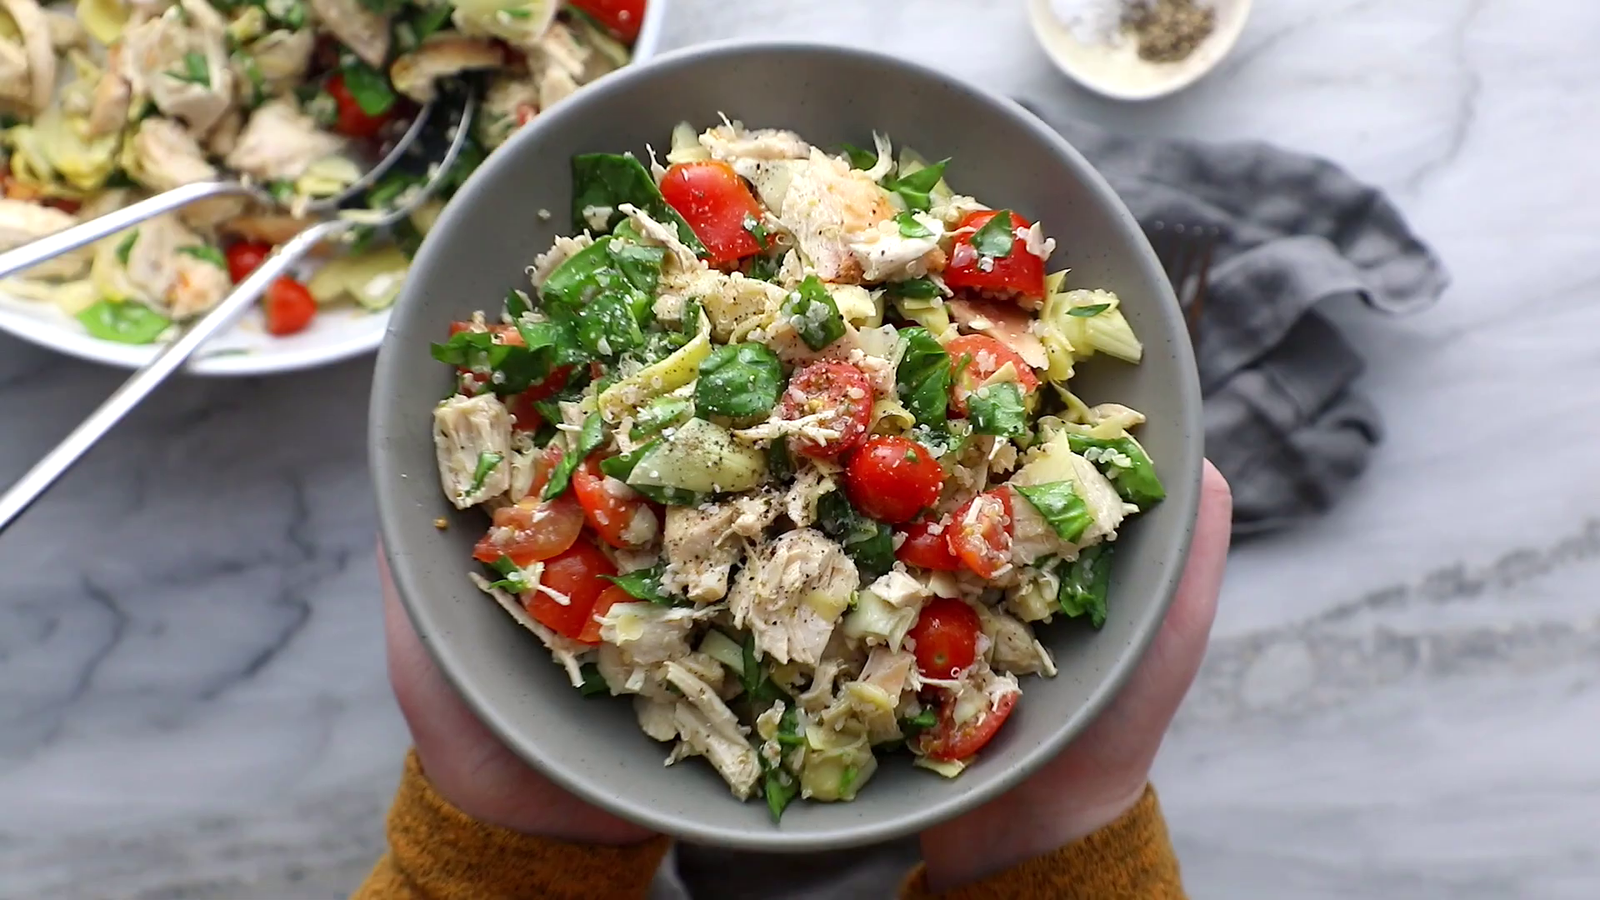
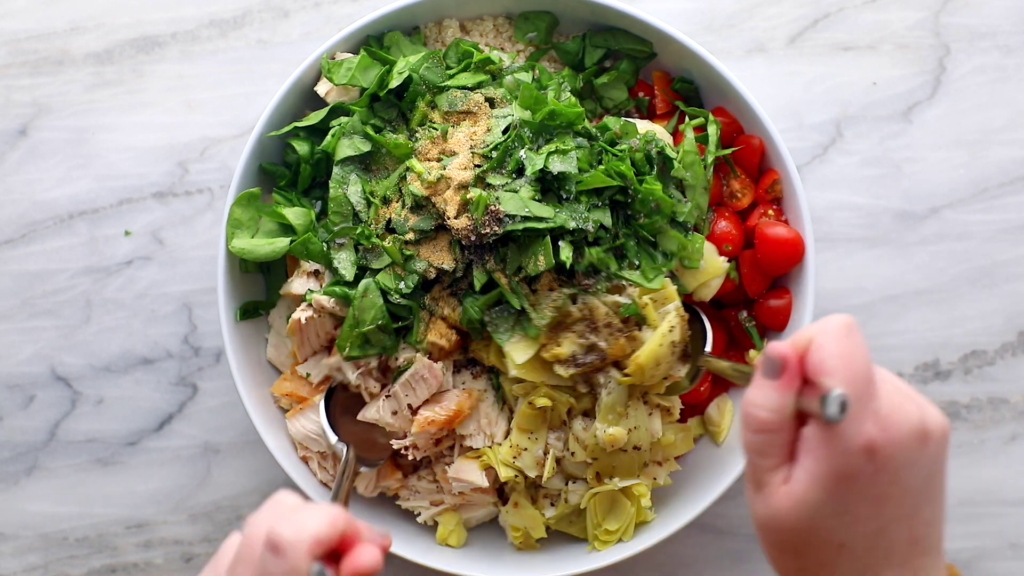
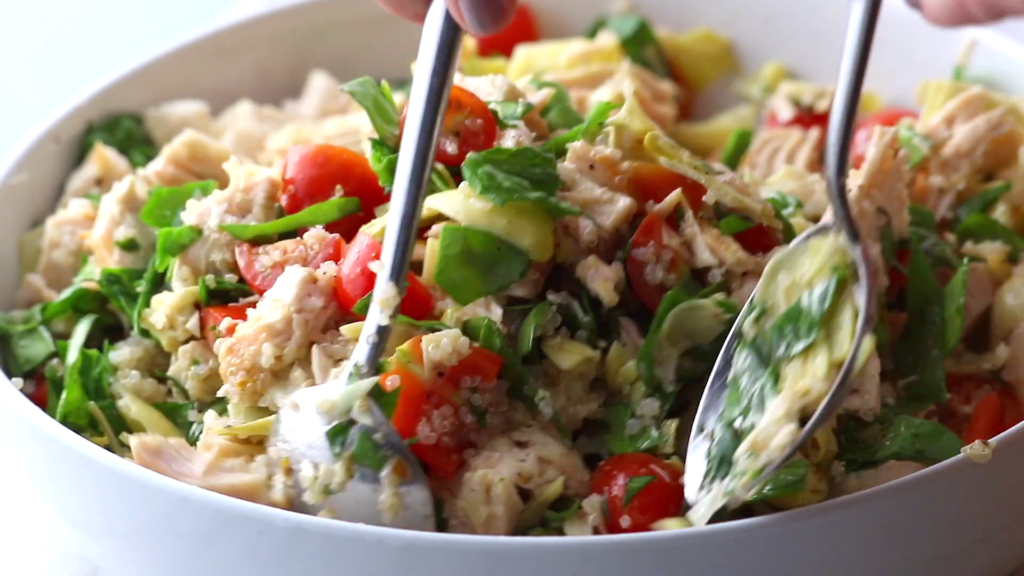
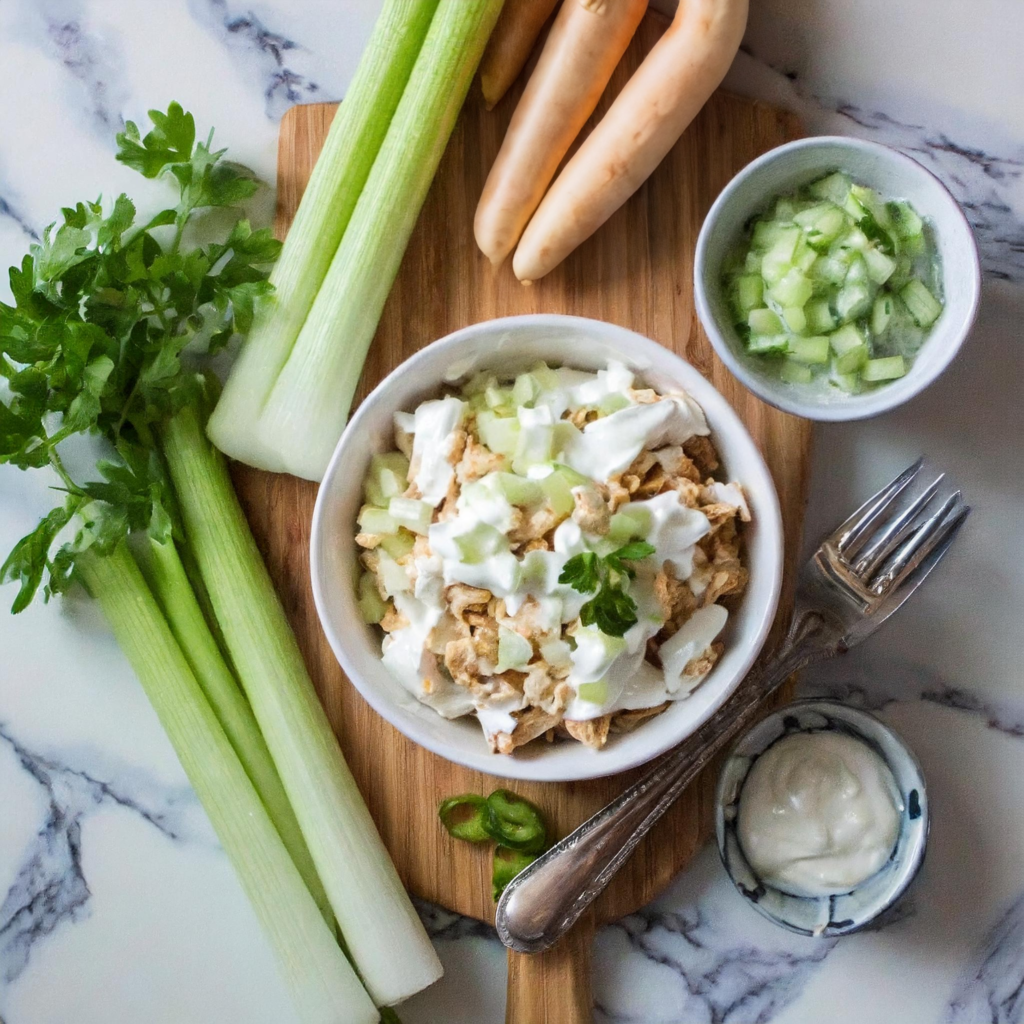
A colorful 4-ingredient Chicken Salad is a healthy alternative to the soup’s heartiness.
Health Benefits
While Crack Chicken Noodle Soup is a comfort dish, it also offers several benefits:
- Protein-rich: Chicken and cheese make it a good protein source, essential for muscle repair and growth.
- Carrots and celery: Add vitamins and fiber, which are great for digestion and health.
For more detailed information on the nutritional content of your ingredients, visit the Nutritional Information Guide.
Why It’s a Must-Try
Why You Should Try It Crack Chicken Noodle Soup offers comfort in a bowl, elevating moods and satisfying tummies. Whether you’re a beginner or an expert, this soup will wow.
PrintCrack Chicken Noodle Soup

Indulge in the savory goodness of Crack Chicken Noodle Soup, a rich blend of chicken, bacon, cheese, and ranch for ultimate comfort.
- Prep Time: 15 minutes
- Cook Time: 30 minutes
- Total Time: 45 minutes
- Yield: 4
- Category: Soup
- Method: Mixing
- Cuisine: American
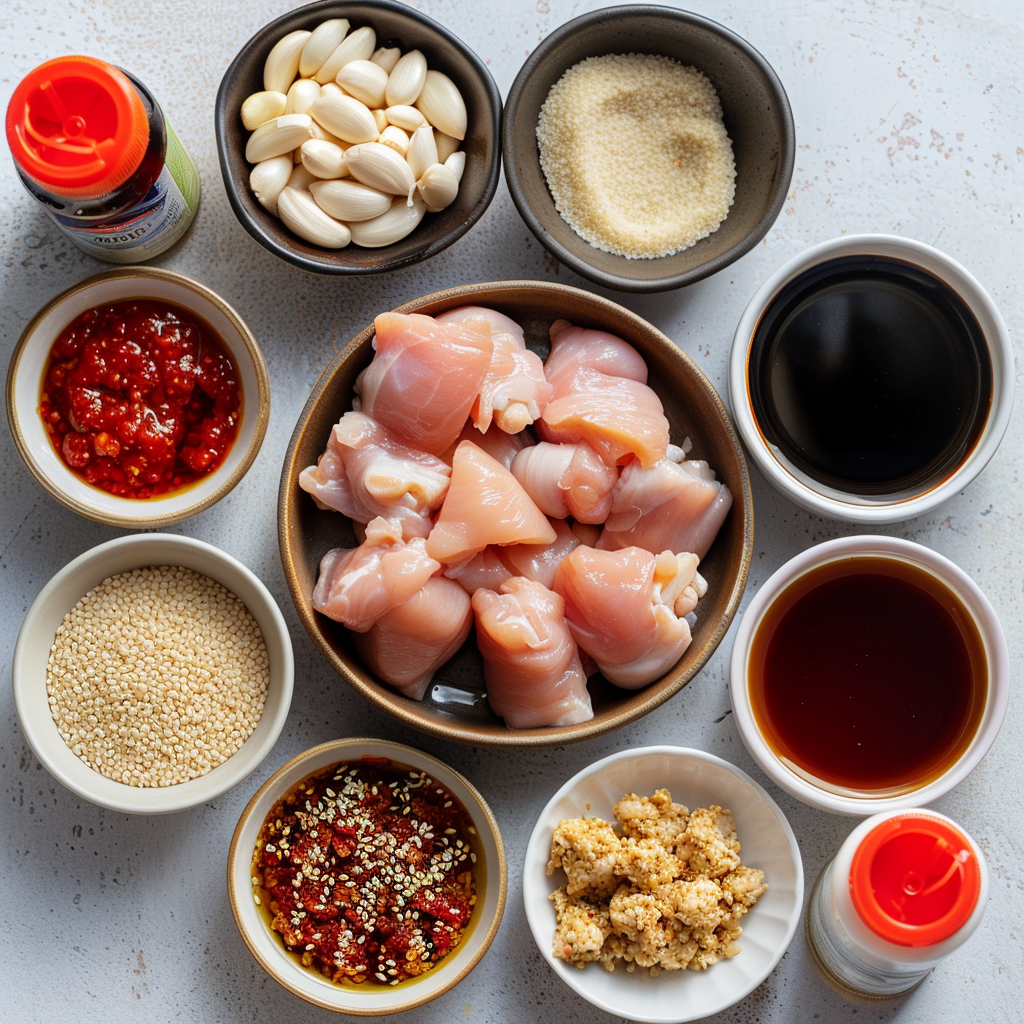
Ingredients
- 2 cups cooked and shredded chicken (rotisserie chicken recommended)
- 1 cup shredded cheddar cheese
- 1 cup cheese soup
- 6 slices bacon, cooked and chopped
- 1 packet ranch dressing mix
- 2 carrots, thinly sliced
- 2 celery stalks, thinly sliced
- 1 onion, diced
- 2 cloves garlic, minced
- 6 cups chicken broth (low-sodium preferred)
- 2 cups egg noodles
- Optional fresh herbs (dill, parsley, chives) for garnish
Instructions
Ingredients Preparation
- Prepare Chicken: If you haven’t already, cook and shred 2 cups of chicken. Rotisserie chicken is recommended for its flavor and convenience.
- Prepare Bacon: Cook 6 slices of bacon until crispy, then chop into small pieces.
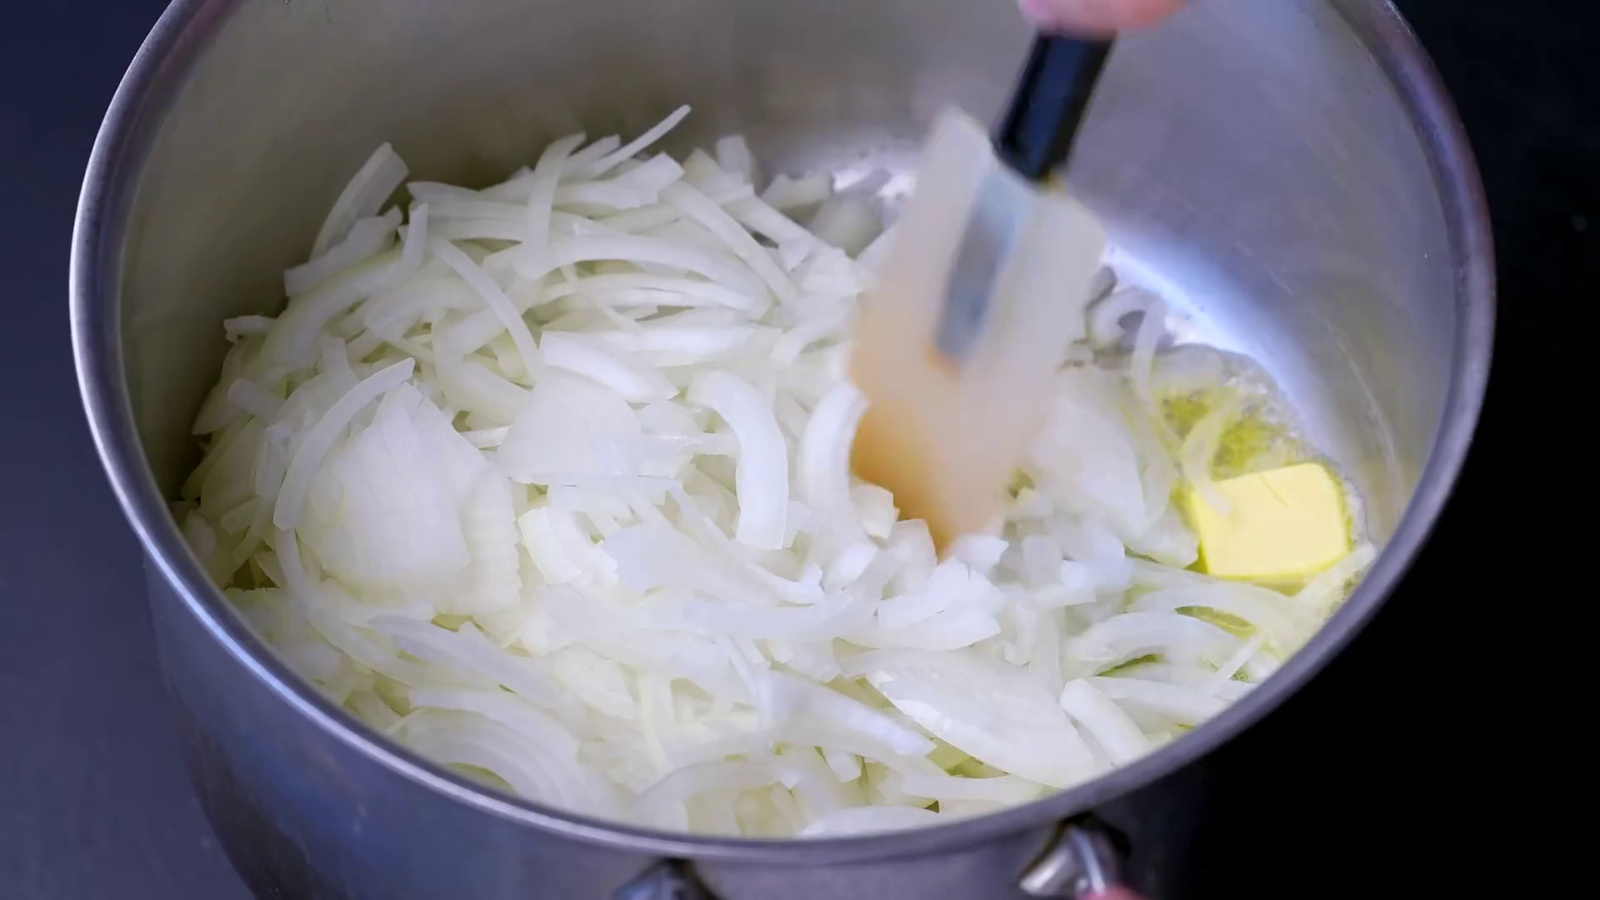
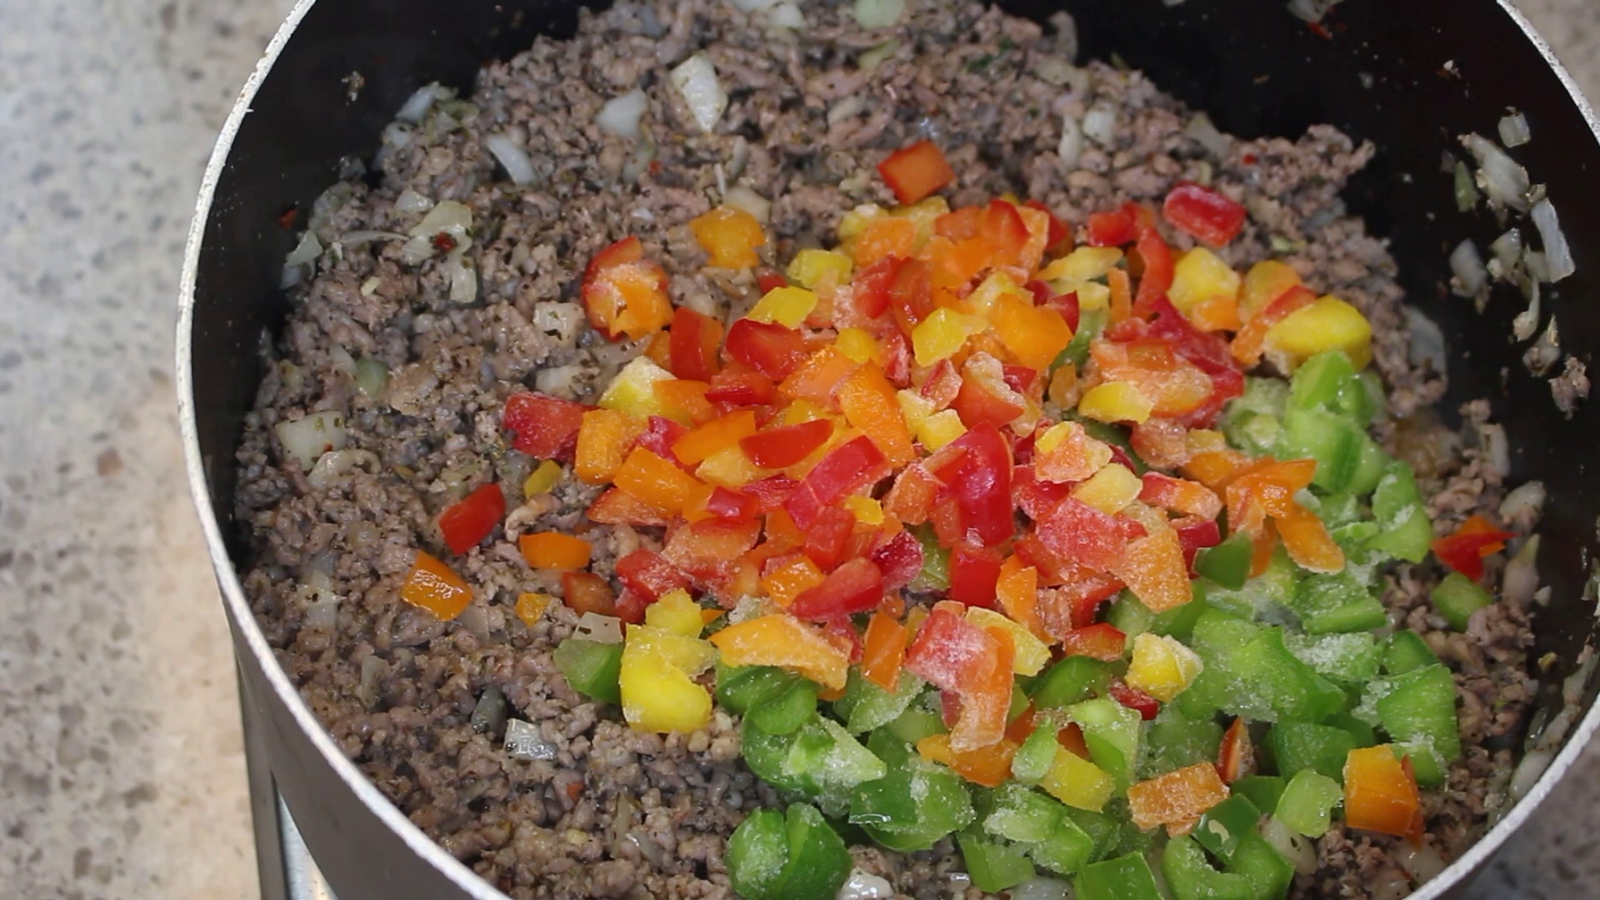
- Chop Vegetables: Thinly slice 2 carrots and 2 celery stalks. Dice 1 onion and mince 2 cloves of garlic.
Cooking Process
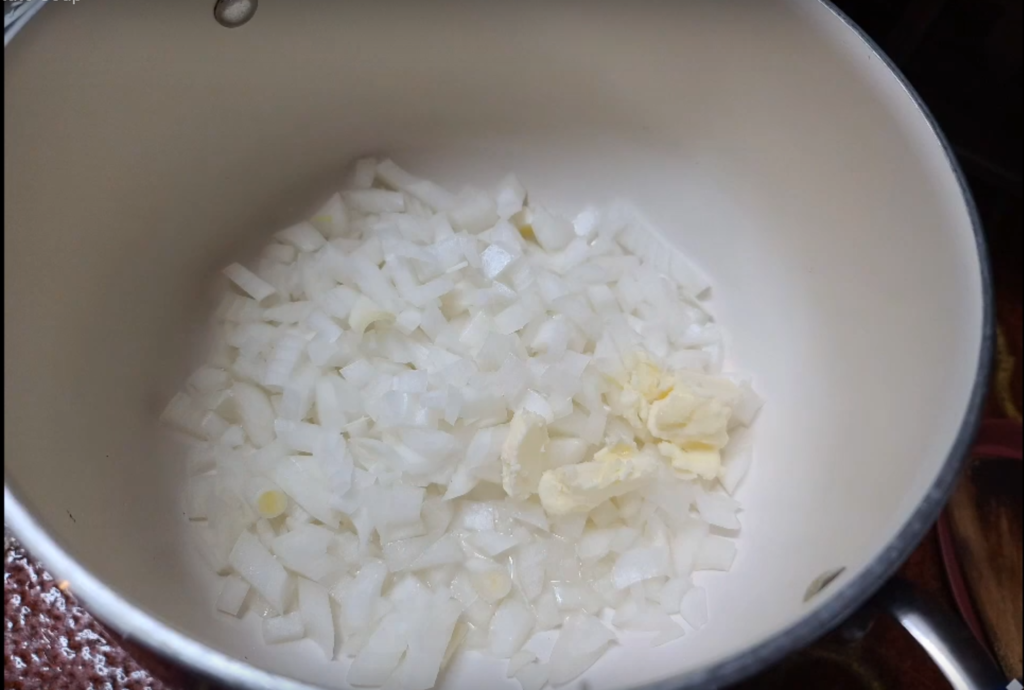
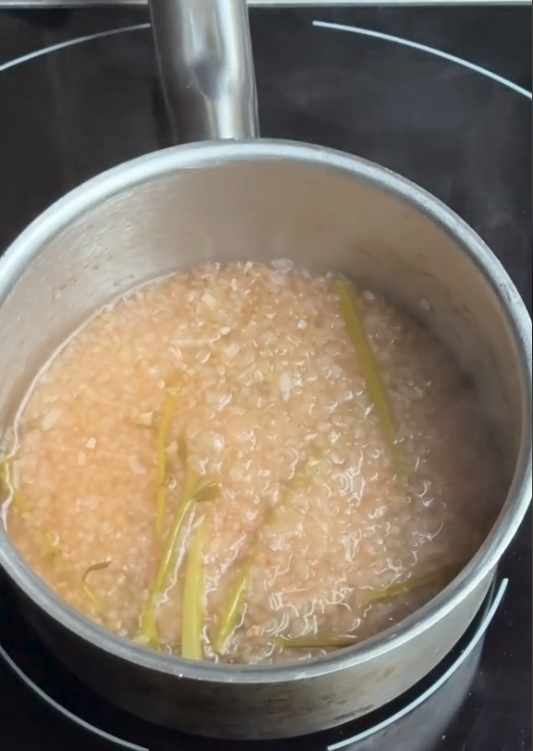
- Sauté Vegetables: In a large pot, heat a bit of oil over medium heat. Add the diced onions, minced garlic, sliced carrots, and celery. Sauté until the onions are translucent and the vegetables are beginning to soften, about 5-7 minutes.
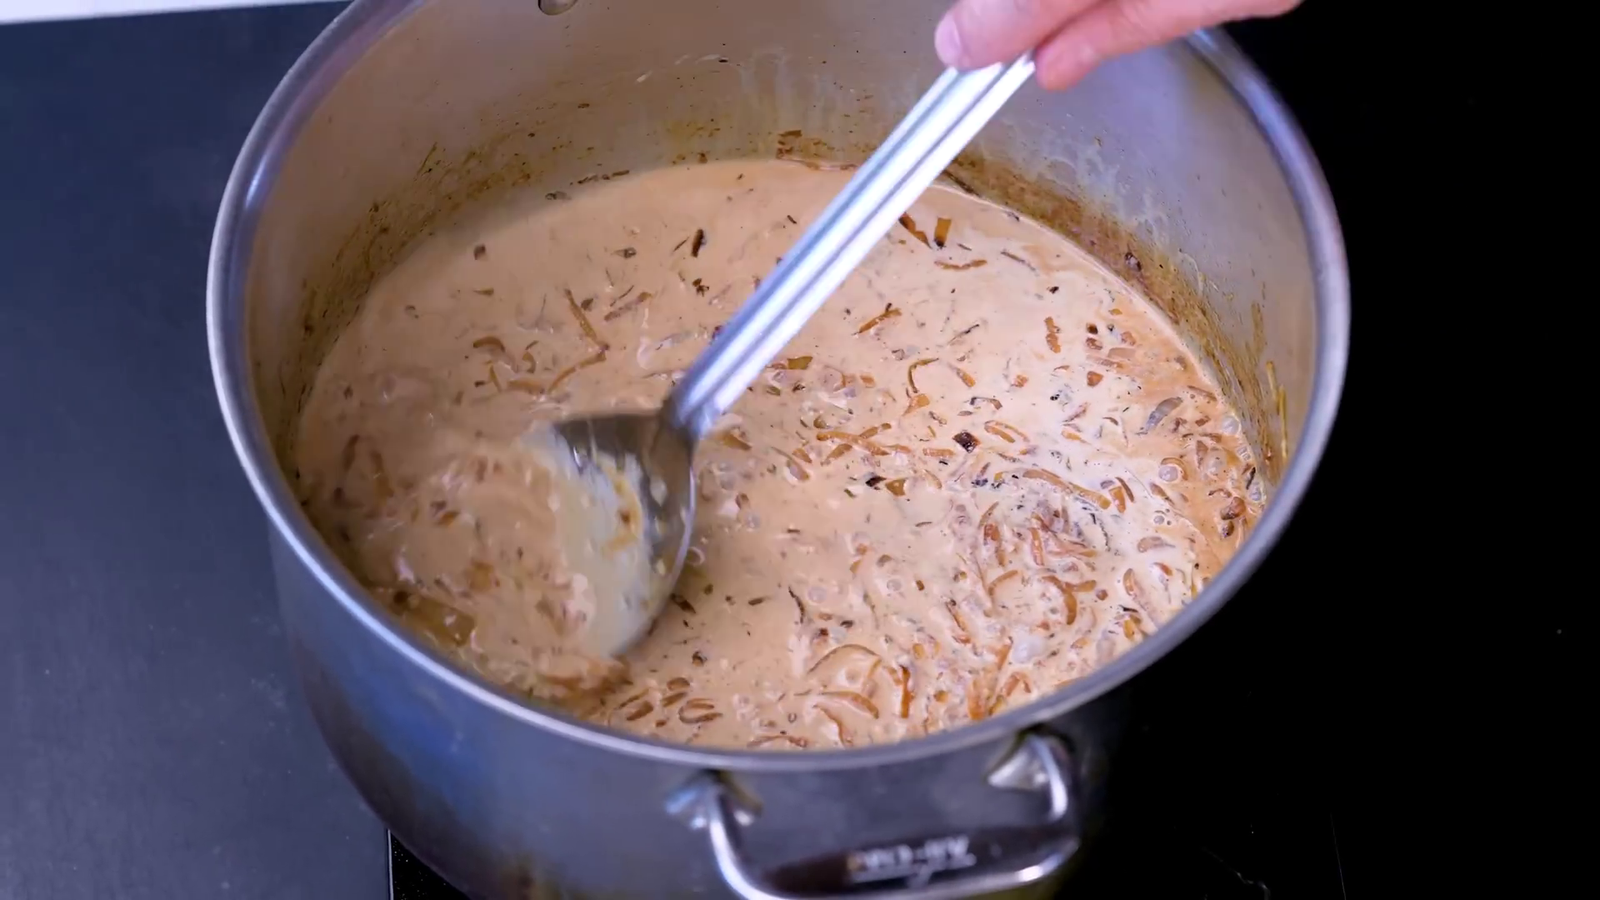
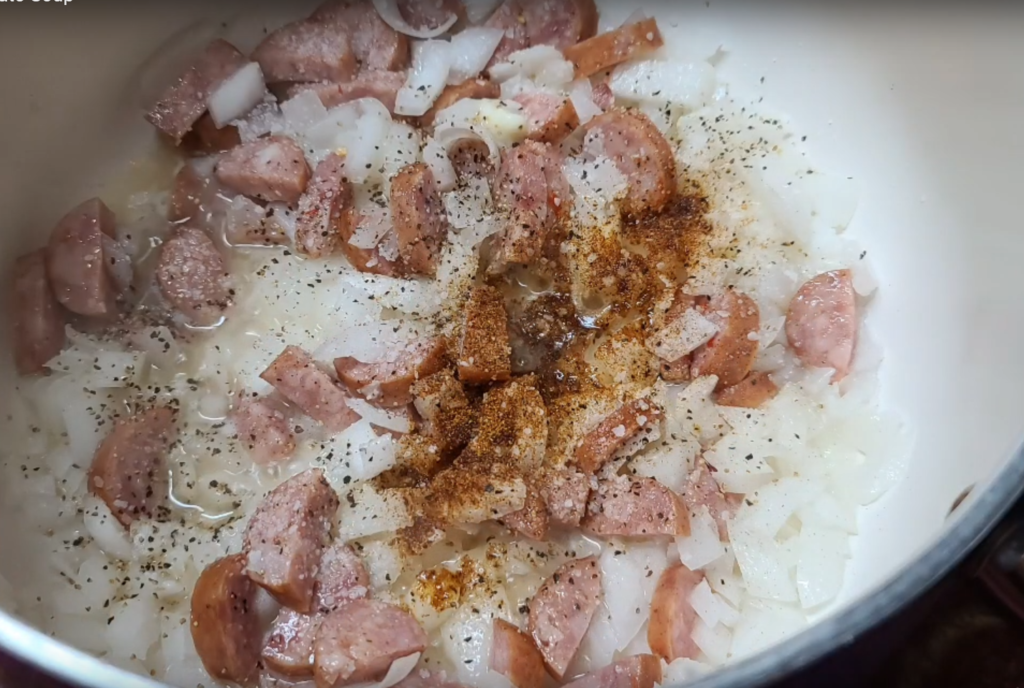
- Add Broth and Seasonings: Pour 6 cups of low-sodium chicken broth into the pot. Stir in the ranch dressing mix and bring the mixture to a boil.
- Simmer Soup: Once boiling, reduce the heat and let the soup simmer for about 10-15 minutes to allow the flavors to meld.
- Add Chicken and Bacon: Add the cooked, shredded chicken and chopped bacon to the pot. Stir well to combine.
Final Touches
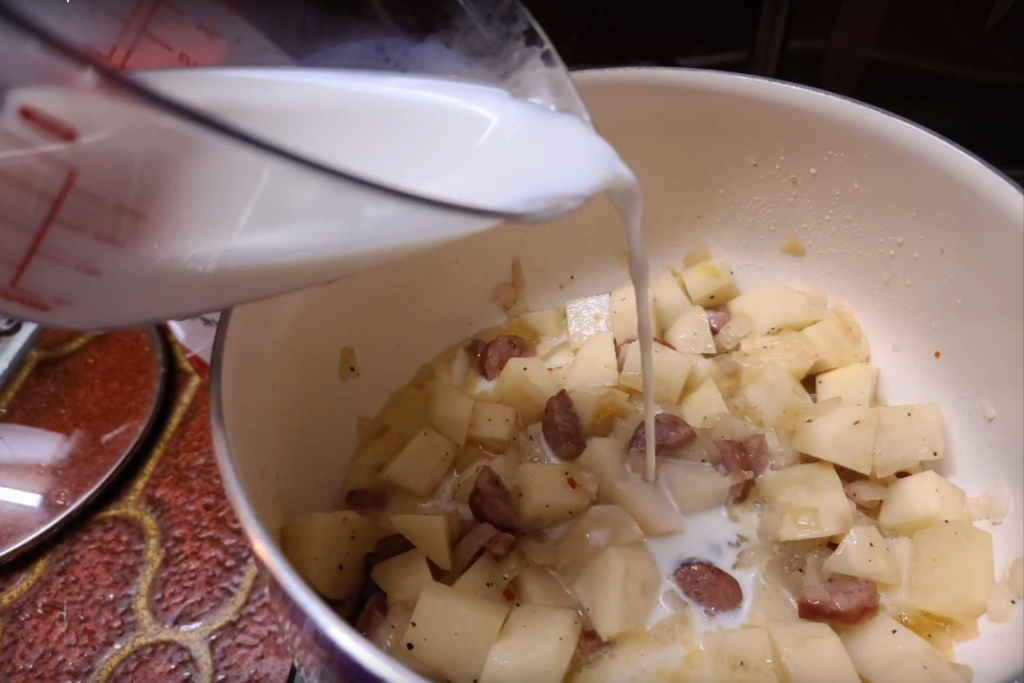
- Incorporate Cheese and Noodles: Add 1 cup of cheese soup and 1 cup of shredded cheddar cheese to the soup, stirring until the cheese is completely melted and incorporated. Add 2 cups of egg noodles and continue to simmer until the noodles are tender, about 10 minutes.
- Adjust Seasonings: Taste the soup and adjust the seasoning with salt and pepper if needed. If the soup is too thick, add more broth to achieve your desired consistency.
Garnish and Serve
- Garnish and Serve: Ladle the soup into bowls. Garnish with fresh herbs such as dill, parsley, or chives for added flavor and a pop of color. Serve hot with crusty bread or a side salad.
Notes
- Poaching the Chicken: For extra flavor and tenderness, consider poaching the chicken breasts or thighs in the broth before shredding.
- Noodles: Cook the noodles separately and add to the soup just before serving to avoid them becoming soggy.
- Creaminess Adjustment: If the soup is too thick, thin it with additional broth. If too thin, thicken with a cornstarch-water mixture.
- Dairy Alternatives: Use low-fat or non-dairy milk products to reduce calories without compromising creaminess.
Keywords: Cheesy Chicken Noodle Soup, Creamy Chicken Soup with Baco