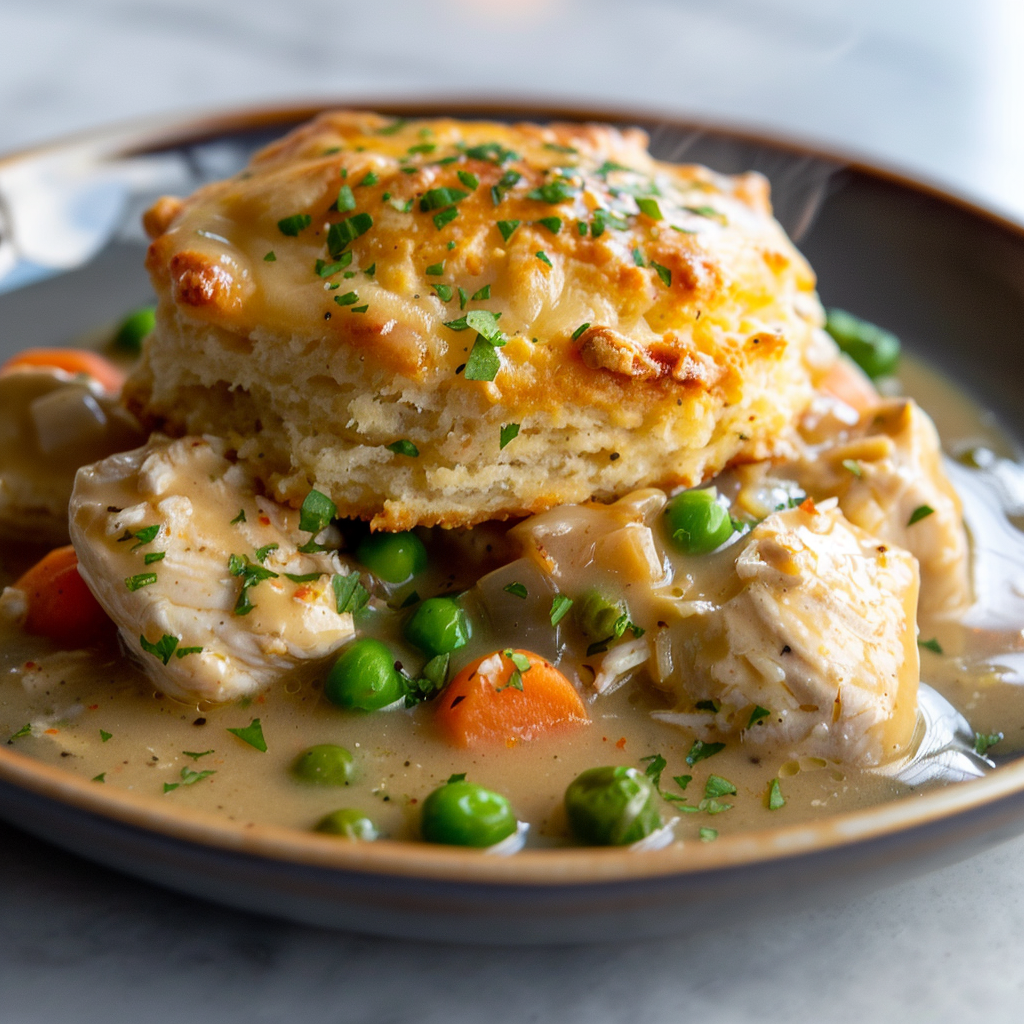
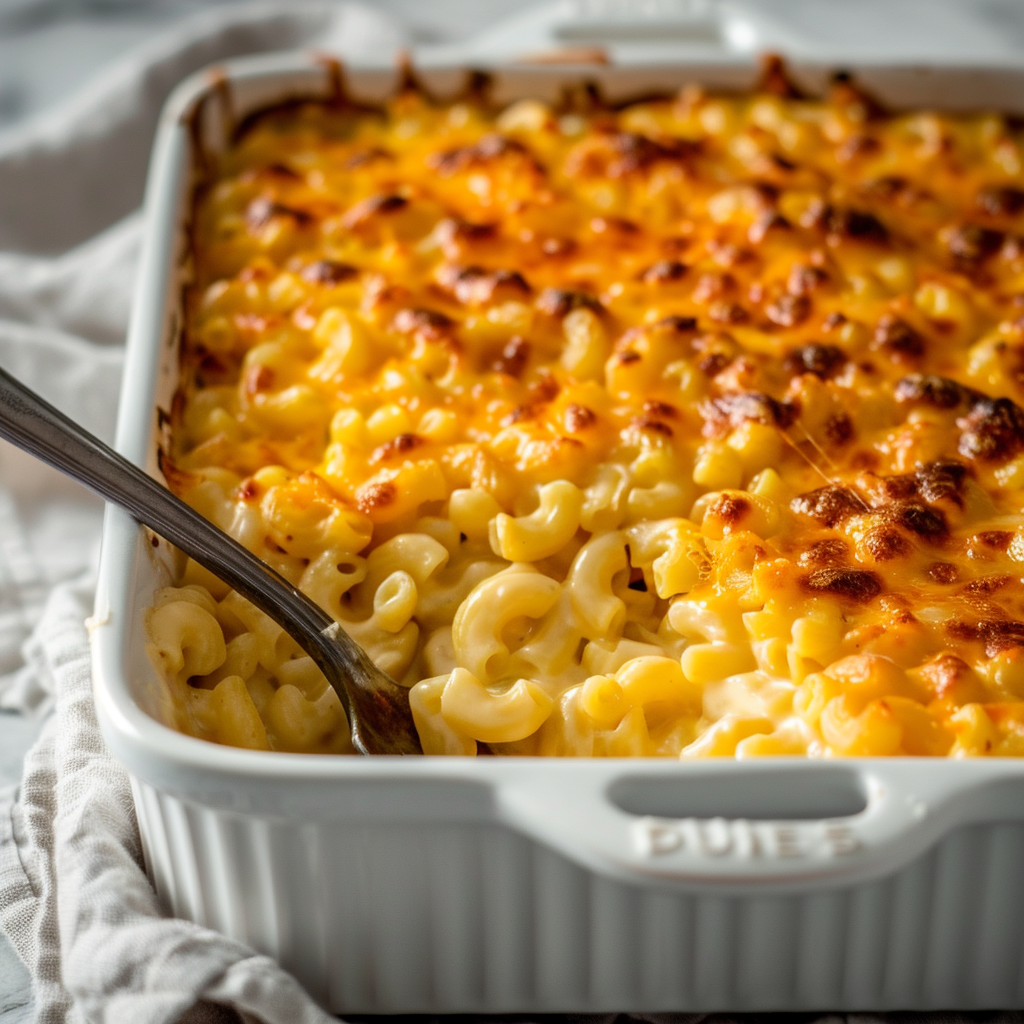
The chicken cobbler has quickly become a popular comfort dish with its savory chicken and vegetable fillings and light biscuit topping. This recipe is perfect for any time of year since it provides a satisfying, substantial supper.
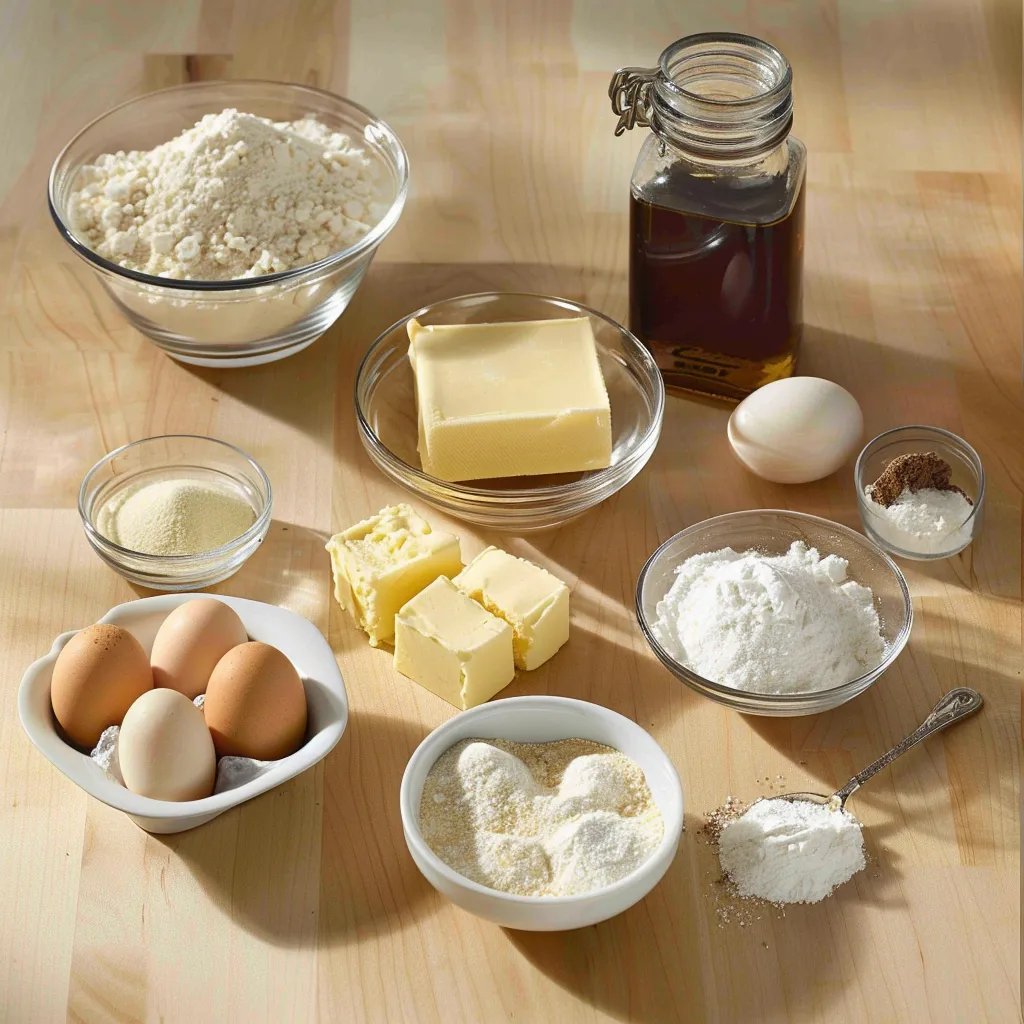
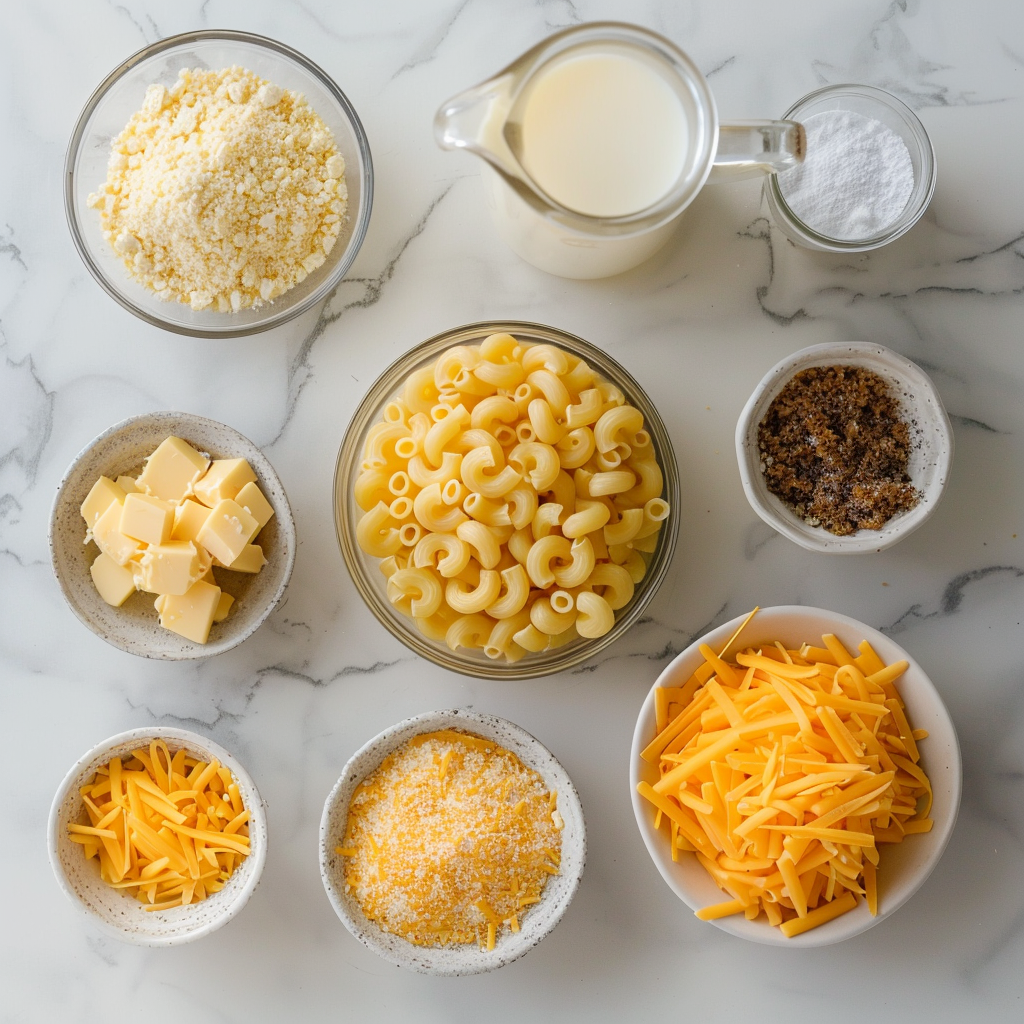
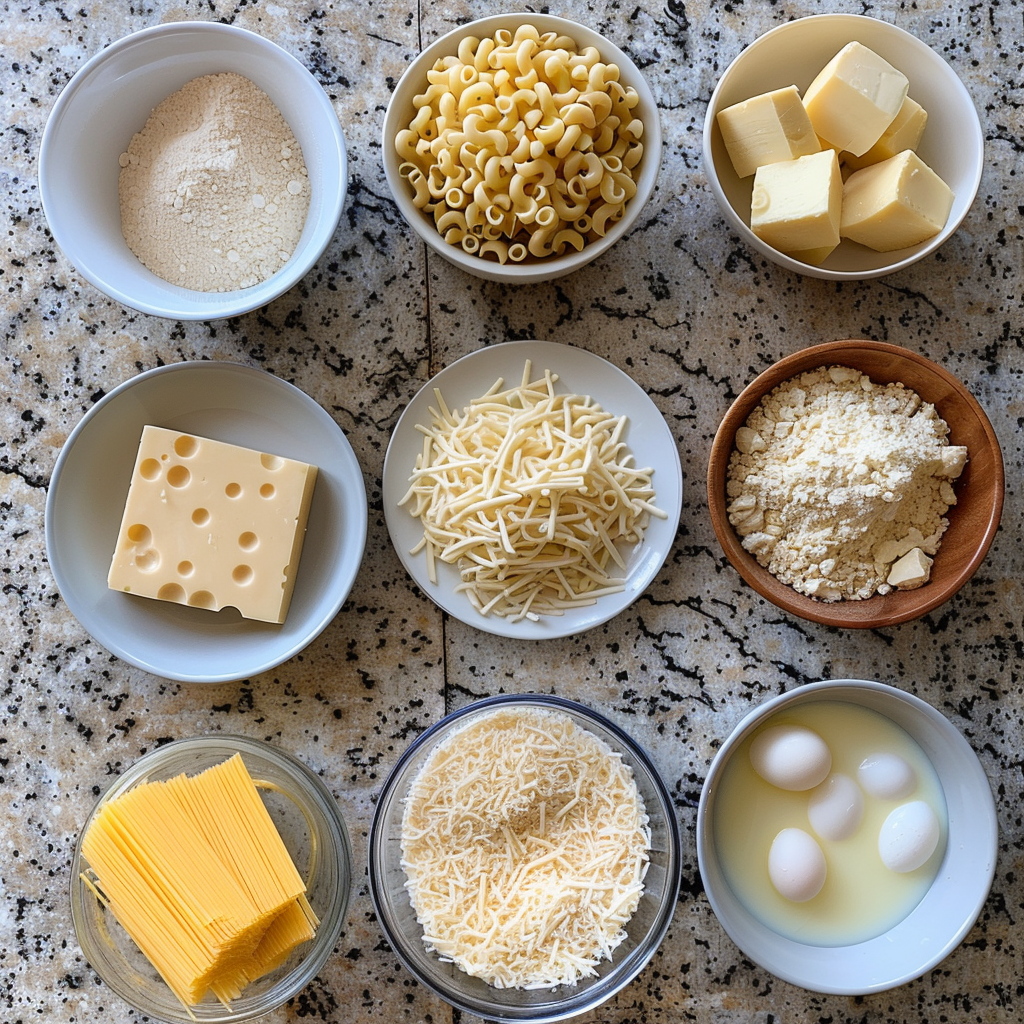
overview of ingredients
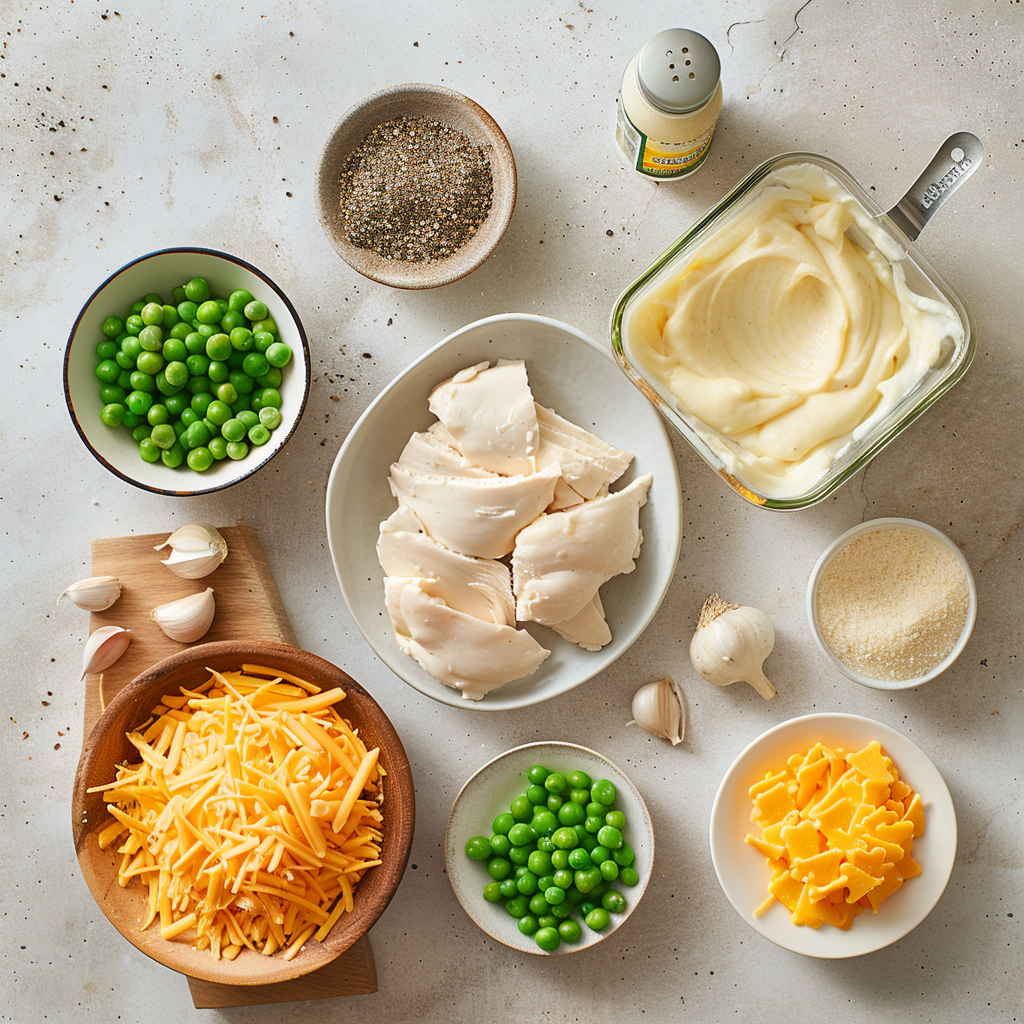
Rotisserie Chicken: Utilizing a store-bought rotisserie chicken saves time and ensures your cobbler is packed with tender, flavorful meat. You’ll want to remove the meat and chop it into bite-sized pieces. For those looking for more meat in their dish, opting for a ‘family size’ chicken from places like Sam’s Club or Costco can provide that extra bulk.
Frozen Peas and Carrots: This classic vegetable combination adds color, texture, and nutrients to the dish. They’re convenient and easy to use, requiring no prep work. Feel free to substitute or add other vegetables according to your preference.
Cream of Chicken Soup with Herbs: This ingredient thickens the cobbler’s filling, adding depth with its herb-infused flavor. If you can’t find the herb version, regular cream of chicken soup works just as well. For a homemade touch, consider making your cream of chicken soup.
Chicken Broth thins out the cream of chicken soup to the perfect consistency and adds another layer of chicken flavor. If you’re watching your salt intake, opt for low—or no-sodium options.
Garlic Powder, Onion Powder, and Pepper: These seasonings are essential for adding depth and enhancing the overall flavor of the cobbler. Feel free to adjust the quantities to suit your taste or add other spices you enjoy.
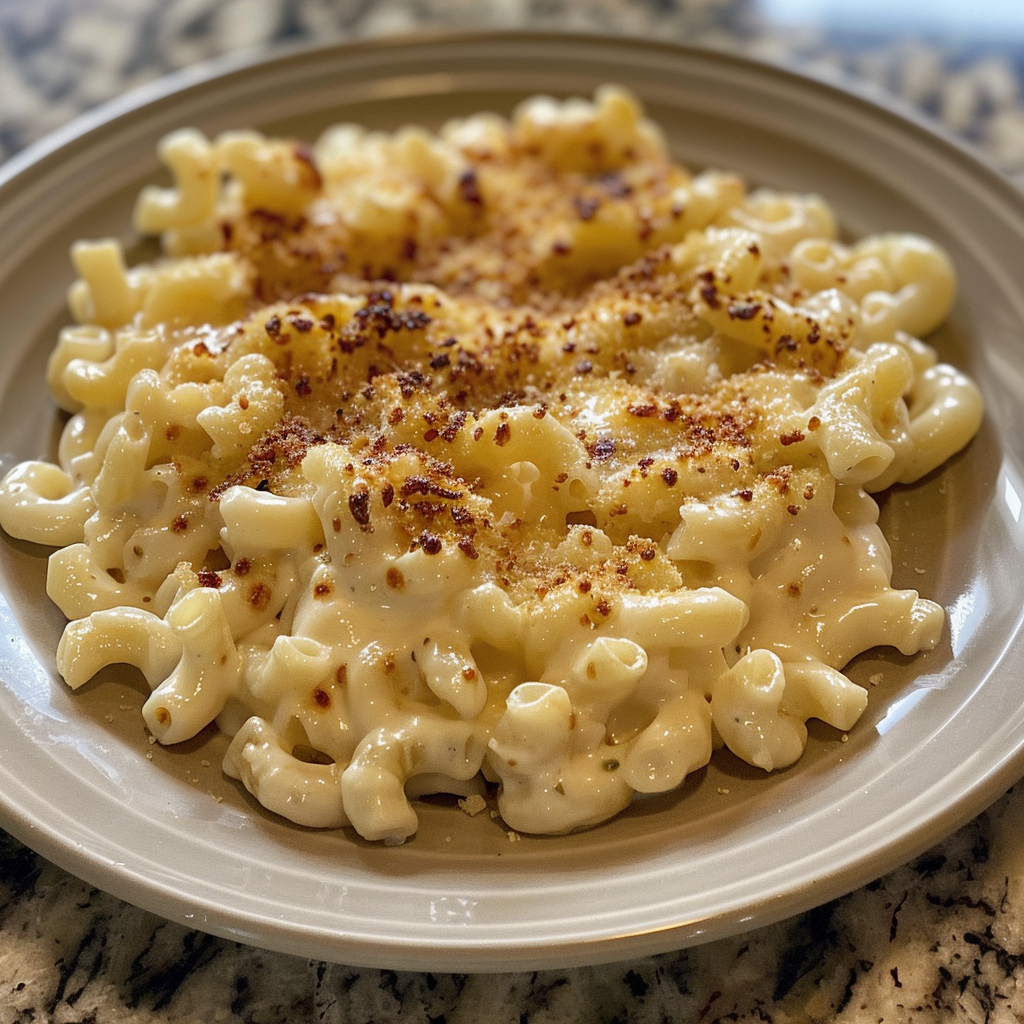
Cheddar Bay Biscuit Mix: The biscuit topping sets this cobbler apart, creating an irresistible, cheesy, buttery crust. While this recipe mentions Cheddar Bay Biscuit Mix, you can experiment with other biscuit mixes. Just remember to adjust for flavor differences.
Shredded Cheddar Cheese: Mixed into the biscuit dough, it adds a wonderful cheesy flavor that complements the chicken and vegetables beautifully. Freshly shredded cheese is recommended for the best melt and flavor.
What Makes a Good Chicken Cobbler Recipe
A great chicken cobbler recipe is all about balance and flavor. Here are the key components:
Seasoning: The right blend of spices can elevate your cobbler from good to unforgettable. Consider exploring the Best Seasoning for Chicken for tips on how to season your chicken perfectly.
Chicken: Using rotisserie chicken saves time and adds depth to the dish’s flavor.
Biscuit Topping: A golden, buttery biscuit topping is crucial. For a twist, check out the Cheddar Bay Biscuit Chicken Pot Pie for inspiration on incorporating cheese into your biscuit dough.
Chef’s Tips for the Perfect Chicken Cobbler
Prep Your Ingredients
Before you start, make sure all your ingredients are prepared and measured, including chopping the chicken, measuring the frozen peas and carrots, and pre-mixing dry ingredients. Having everything ready will make the process smoother and ensure you get all the don’t steps.
Layer Carefully
When assembling your Chicken Cobbler, consider the layers. Each layer serves a purpose, from the melted butter at the bottom to the chicken and vegetables, the creamy mixture, and the biscuit mix on top. Resist the urge to stir these layers together. The stratification is key to achieving every bite’s perfect texture and flavor profile.
Check for Doneness
Oven temperatures can vary, so it’s important to check your cobbler towards the end of the baking time. The top should be golden brown, and the filling should be bubbly around the edges. If the top is browning too quickly but the filling isn’t quite done, you can loosely cover the dish with aluminum foil to prevent over-browning.
Rest Before Serving
Allow your Chicken Cobbler to rest for at least 10 minutes after removing it from the oven. This resting period lets the filling thicken up, making it easier to serve and ensuring that each serving holds together nicely on the plate.
What to Serve with Chicken Cobbler
This dish is a meal in itself, but you can complement it with:
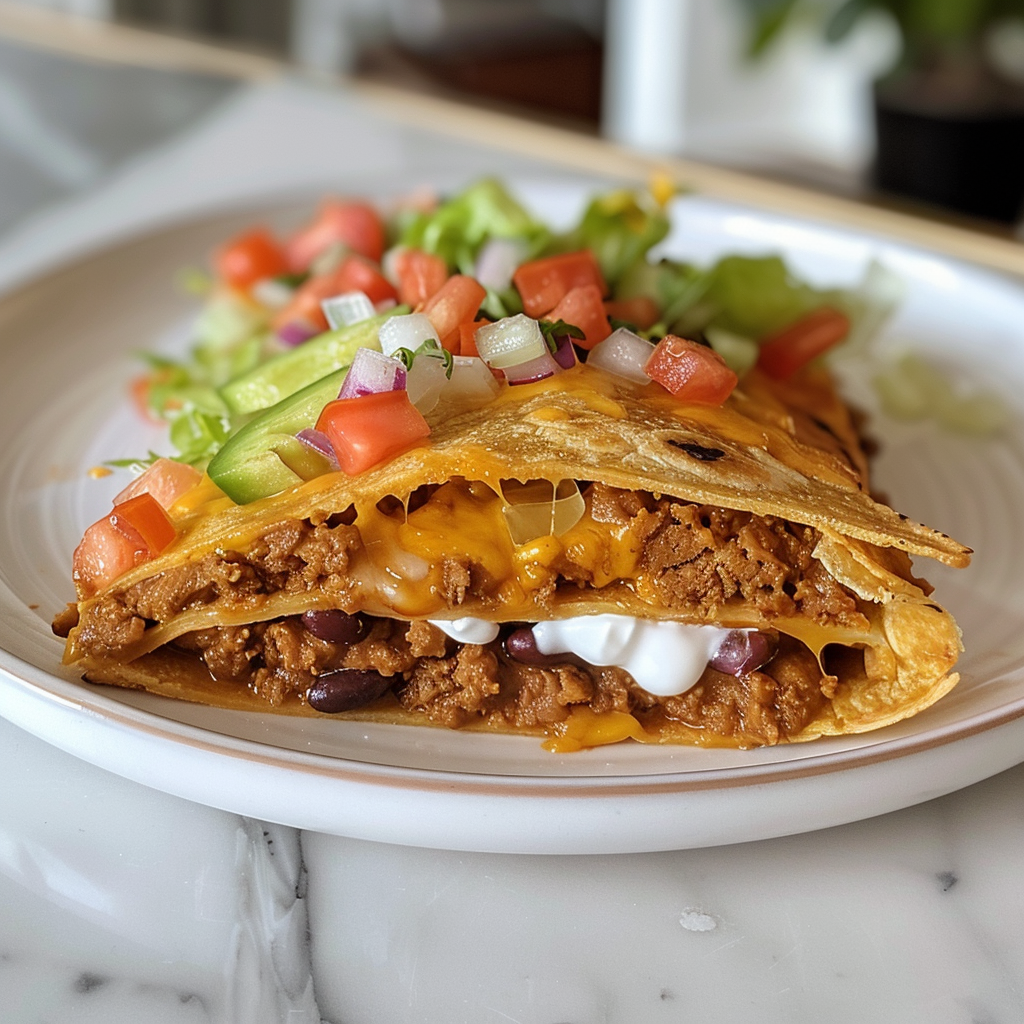
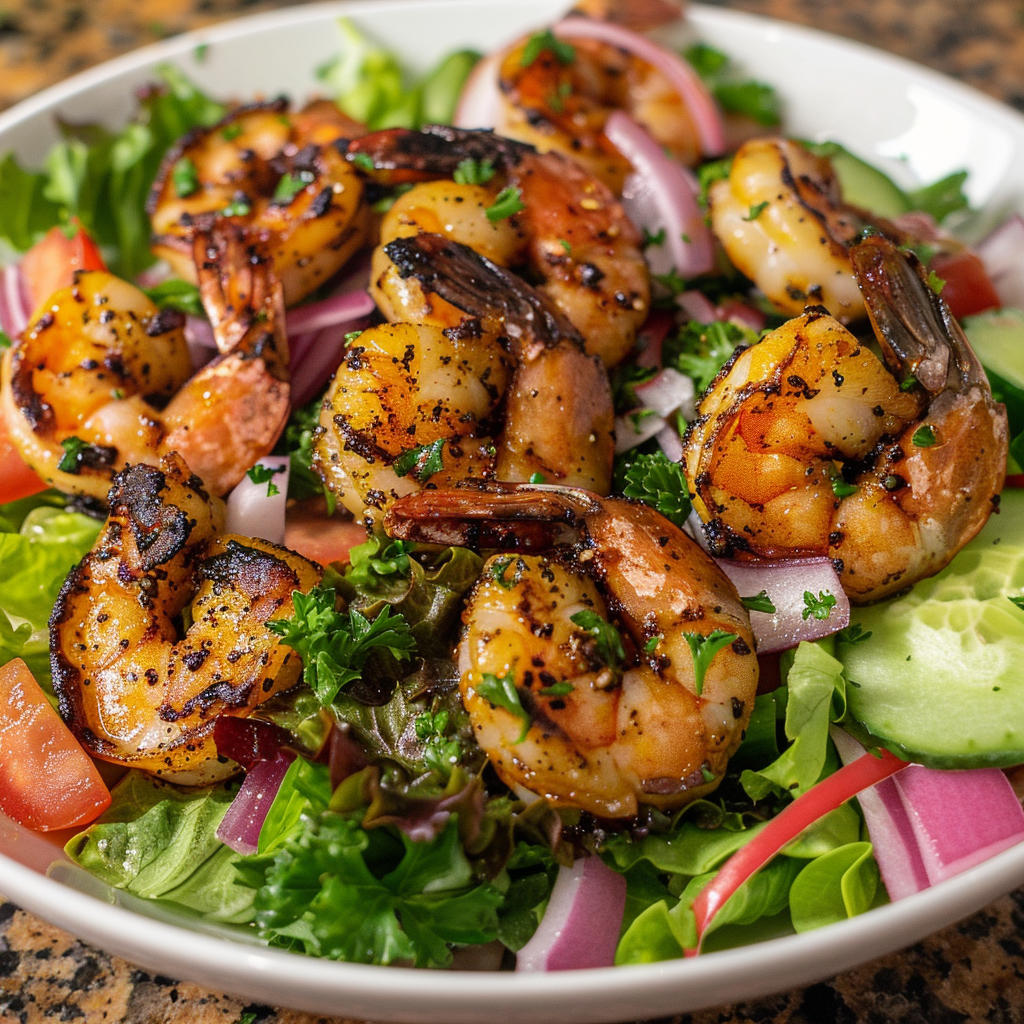
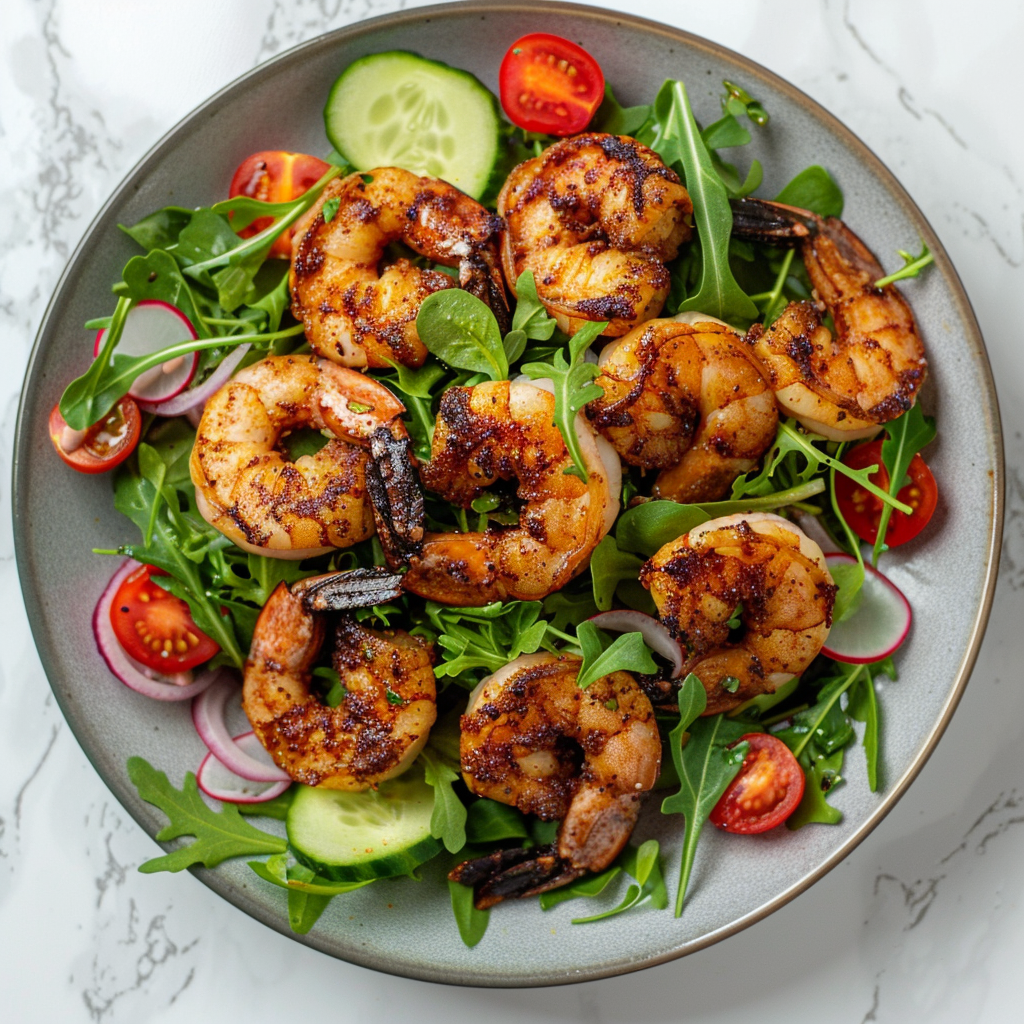
A crisp green salad
Steamed green beans or broccoli
A light dessert, like fruit compote
Health Benefits
While chicken cobbler is a comfort dish, it can also be nutritious, offering:
Protein from the chicken
A variety of vitamins and minerals from added vegetables
The option to use whole wheat flour for the biscuit topping for added fiber
The Chicken Quinoa Soup offers a nutritious and comforting option for lighter or alternative chicken recipes.
Happy Cooking
PrintChicken Cobbler

Tender chicken, a cheesy biscuit topping, and a simple Cobbler recipe—that’s all you need for a night of pure comfort. Great for any kind of family meal!
- Prep Time: 15 minutes
- Cook Time: 30 minutes
- Total Time: 45 minutes
- Yield: 4-6
- Category: Main Course
- Method: Baking
- Cuisine: American
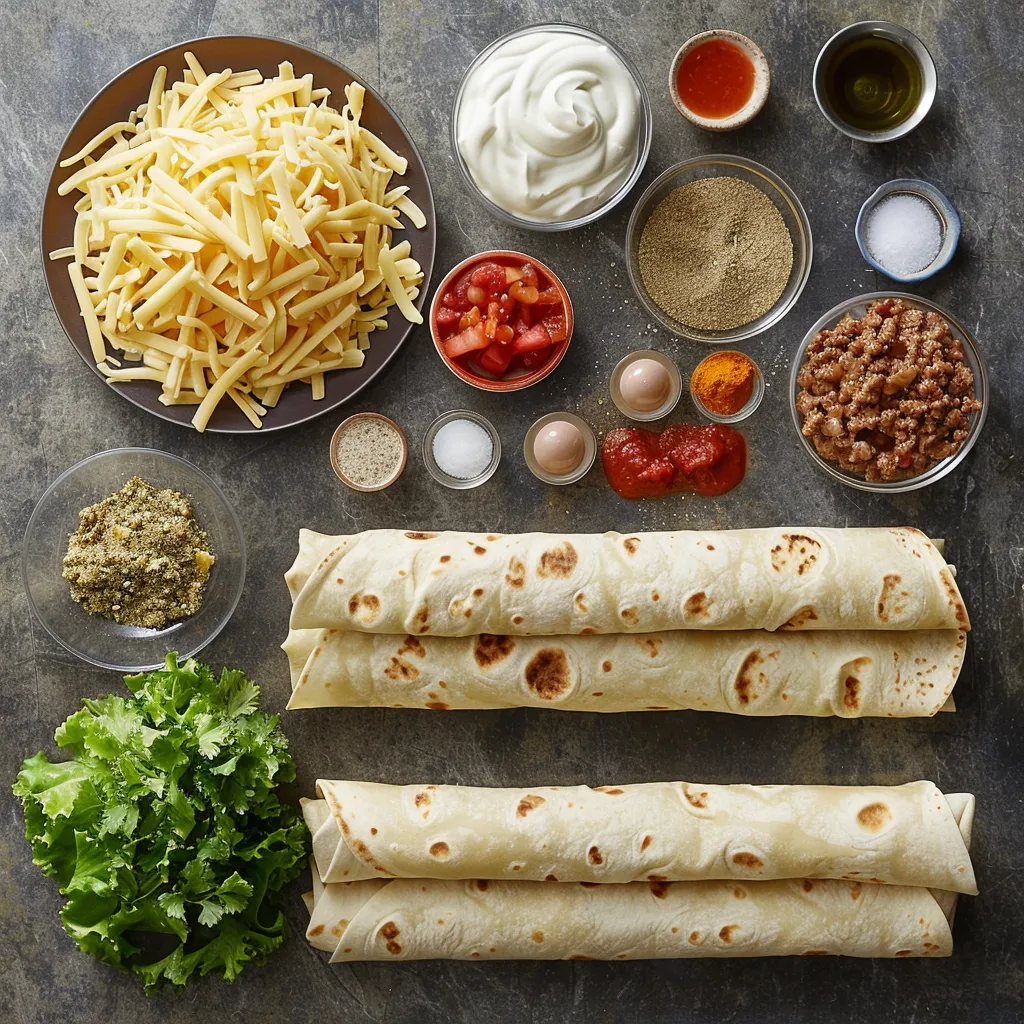
Ingredients
- 1 rotisserie chicken, meat removed and chopped
- 1 cup frozen peas and carrots
- 1 can (10.5 oz) cream of chicken soup with herbs
- 1/2 cup chicken broth
- 1/2 teaspoon garlic powder
- 1/2 teaspoon onion powder
- 1/4 teaspoon pepper
- 2 cups Cheddar Bay biscuit mix
- 1 cup shredded cheddar cheese
Instructions
- Preheat the Oven: Set to 375°F (190°C).
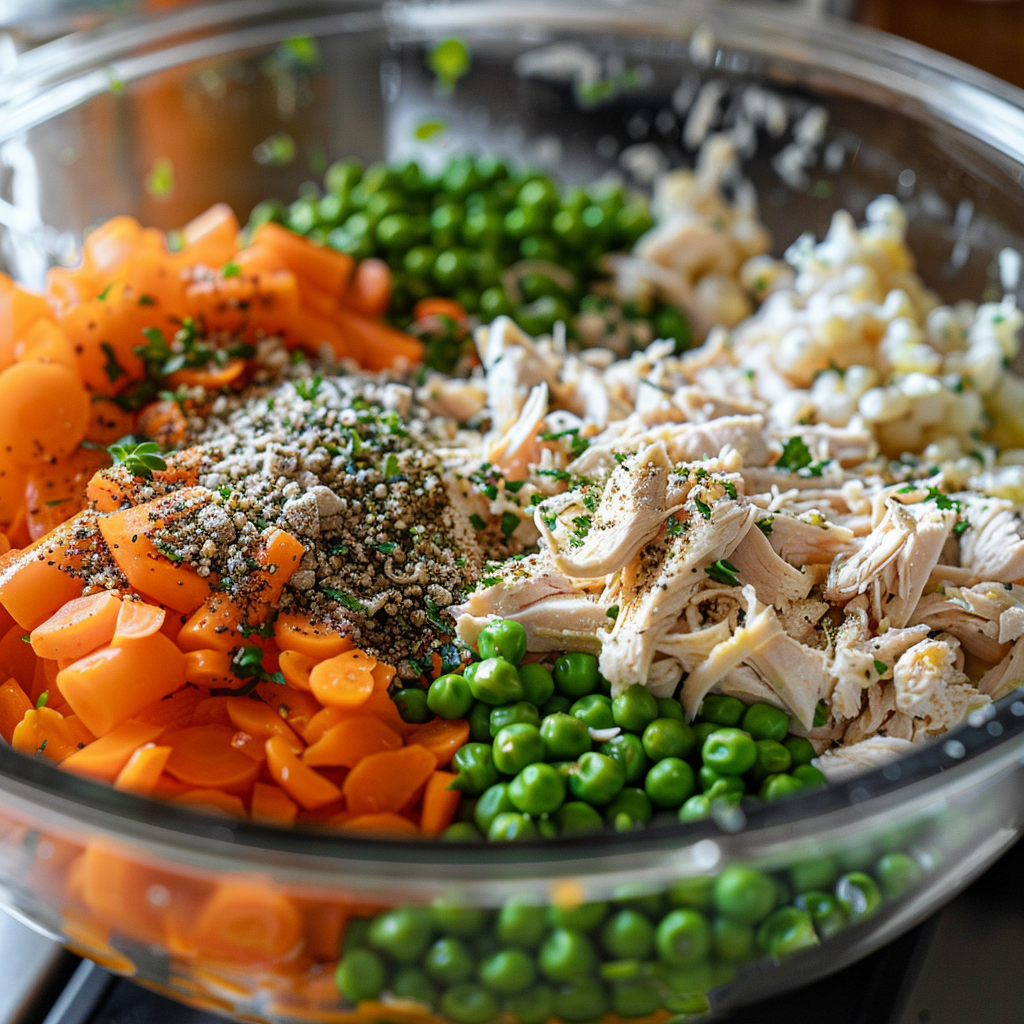
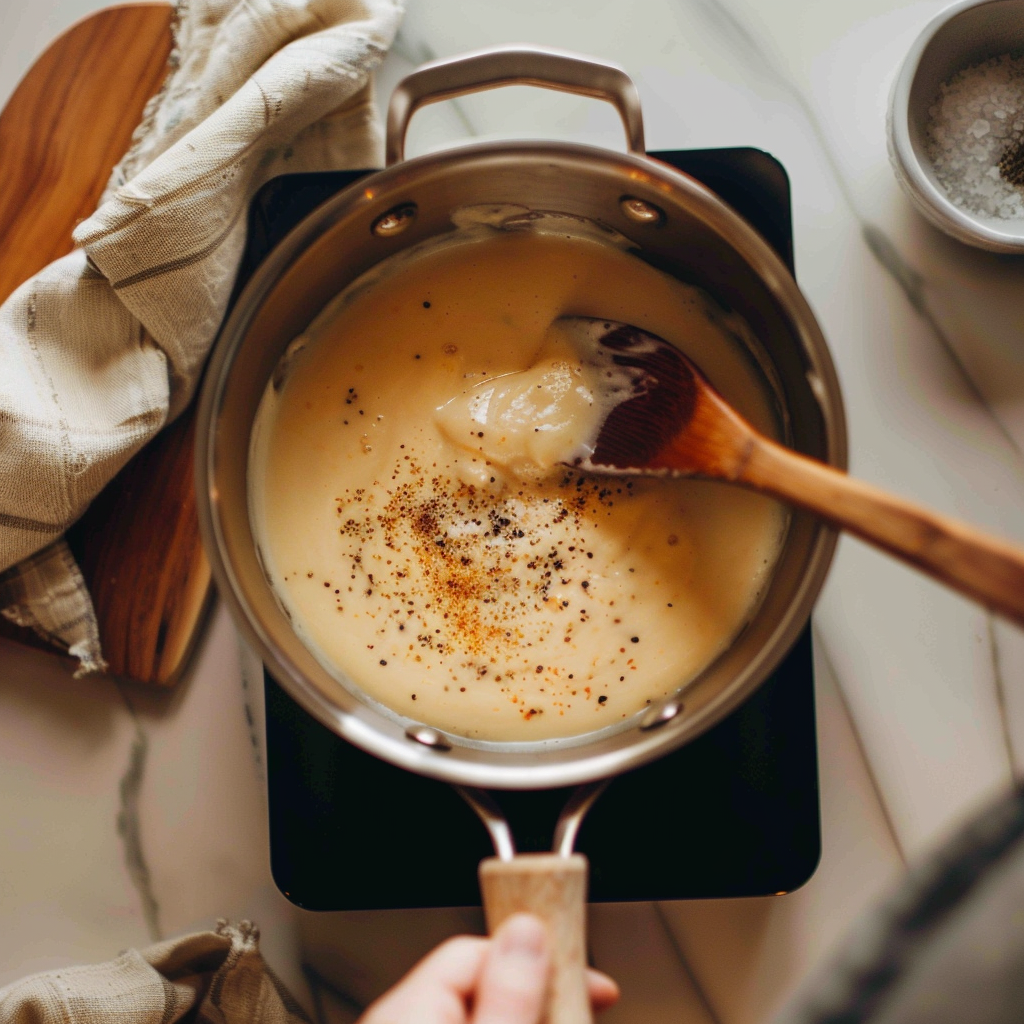
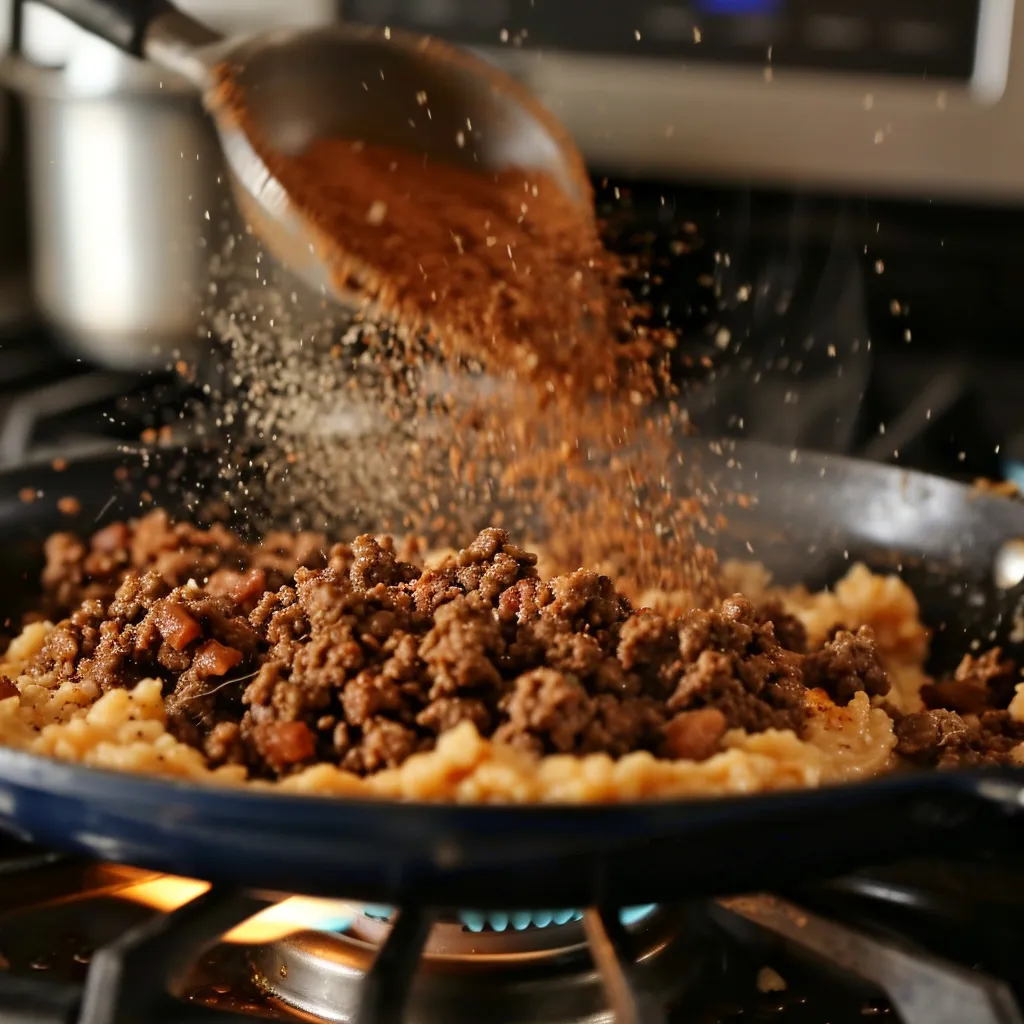
- Prepare the Filling: In a large bowl, mix chopped chicken, frozen peas and carrots, cream of chicken soup, and chicken broth. Season with garlic powder, onion powder, and pepper.
- Assemble: Transfer the filling to a greased baking dish.
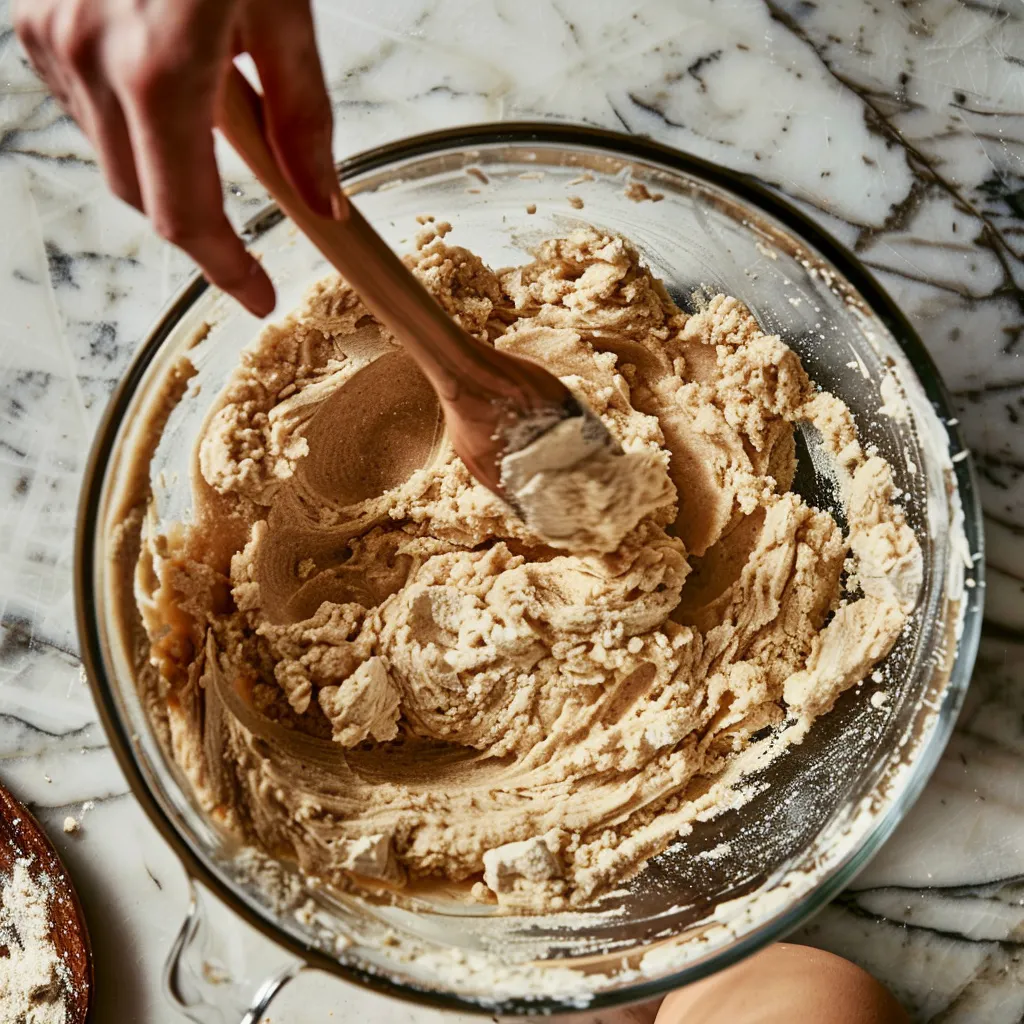
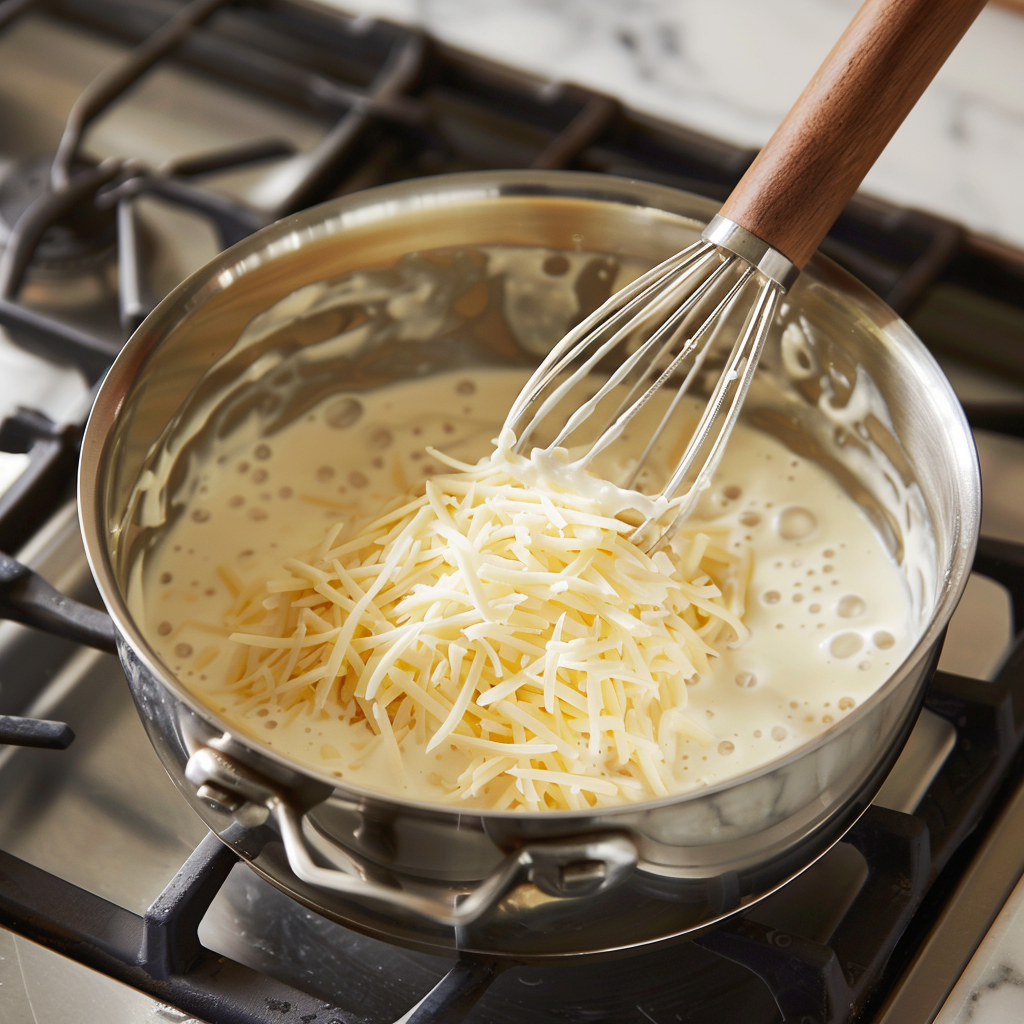
- Make Biscuit Topping: In another bowl, prepare the biscuit mix according to the package instructions, then stir in the shredded cheddar cheese.
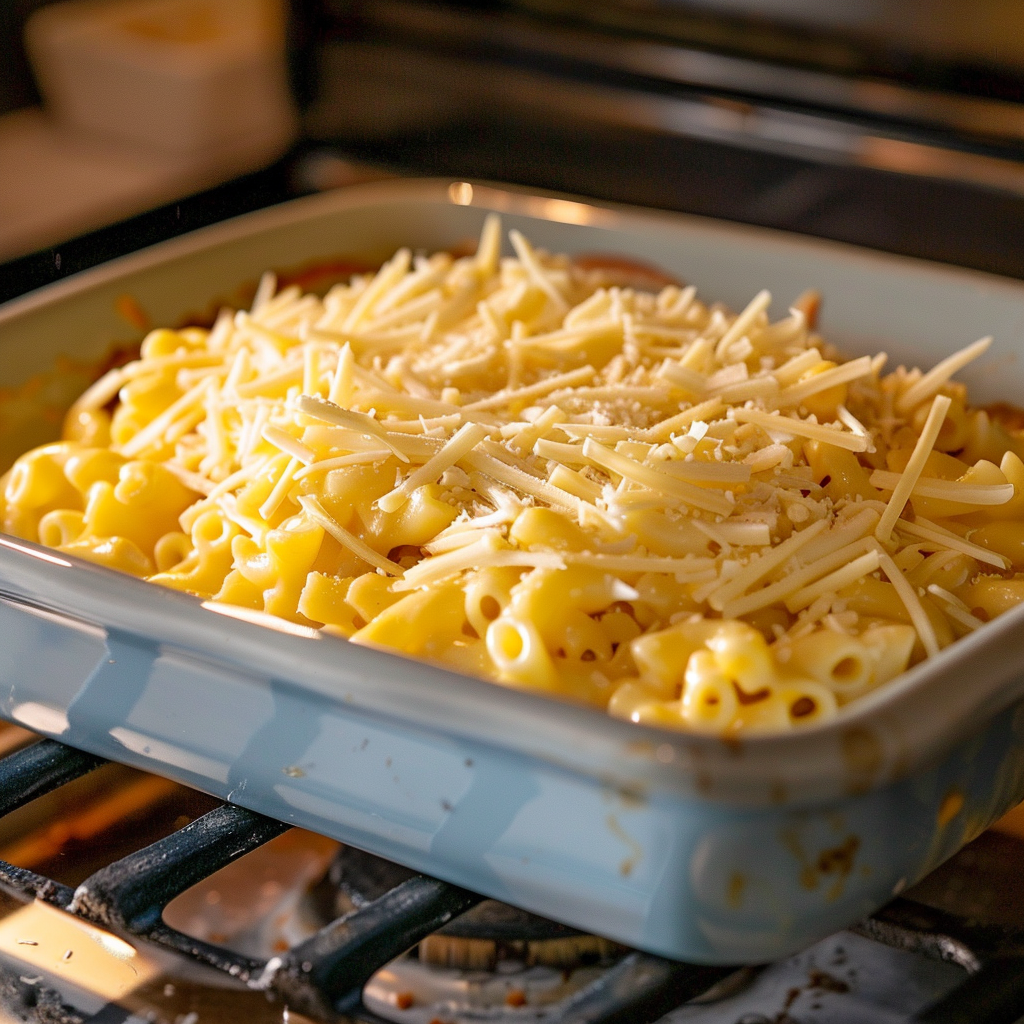
- Add Topping: Spoon the biscuit mixture over the filling evenly.
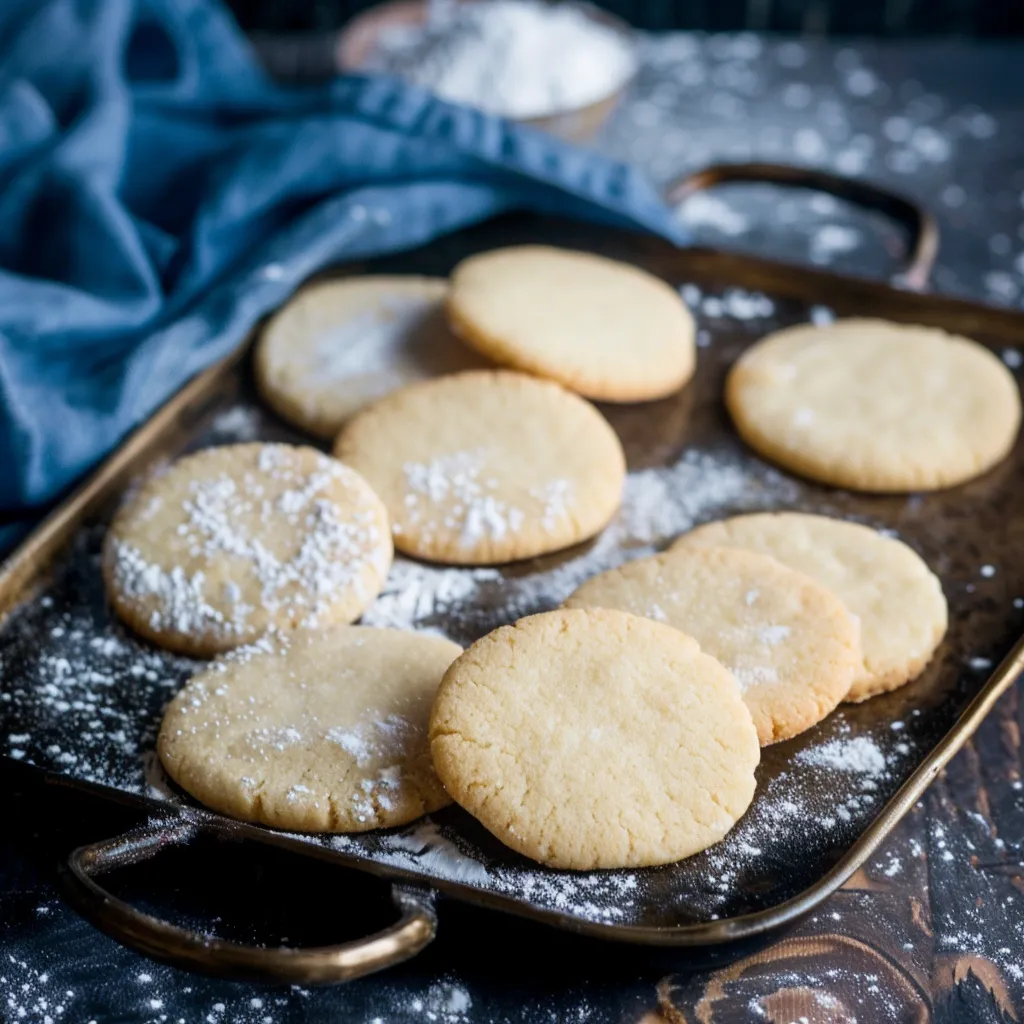
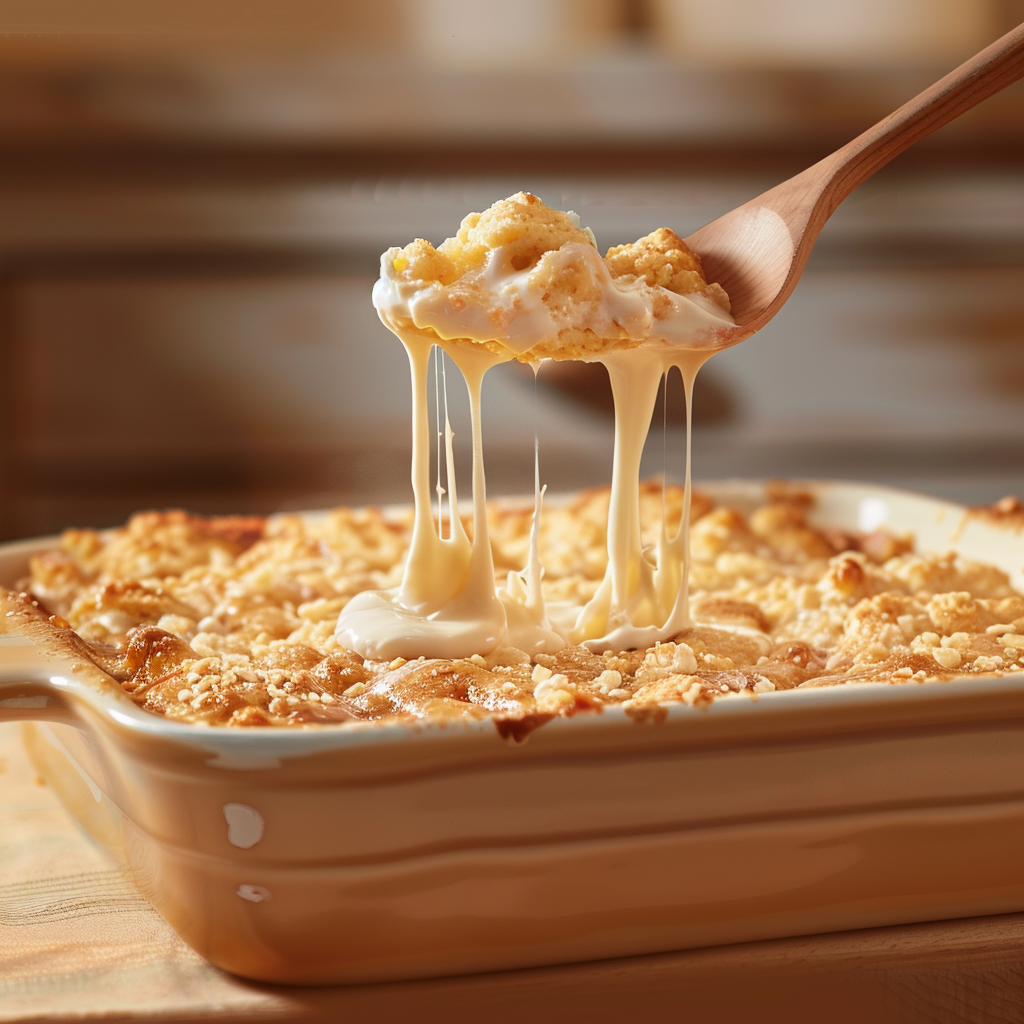
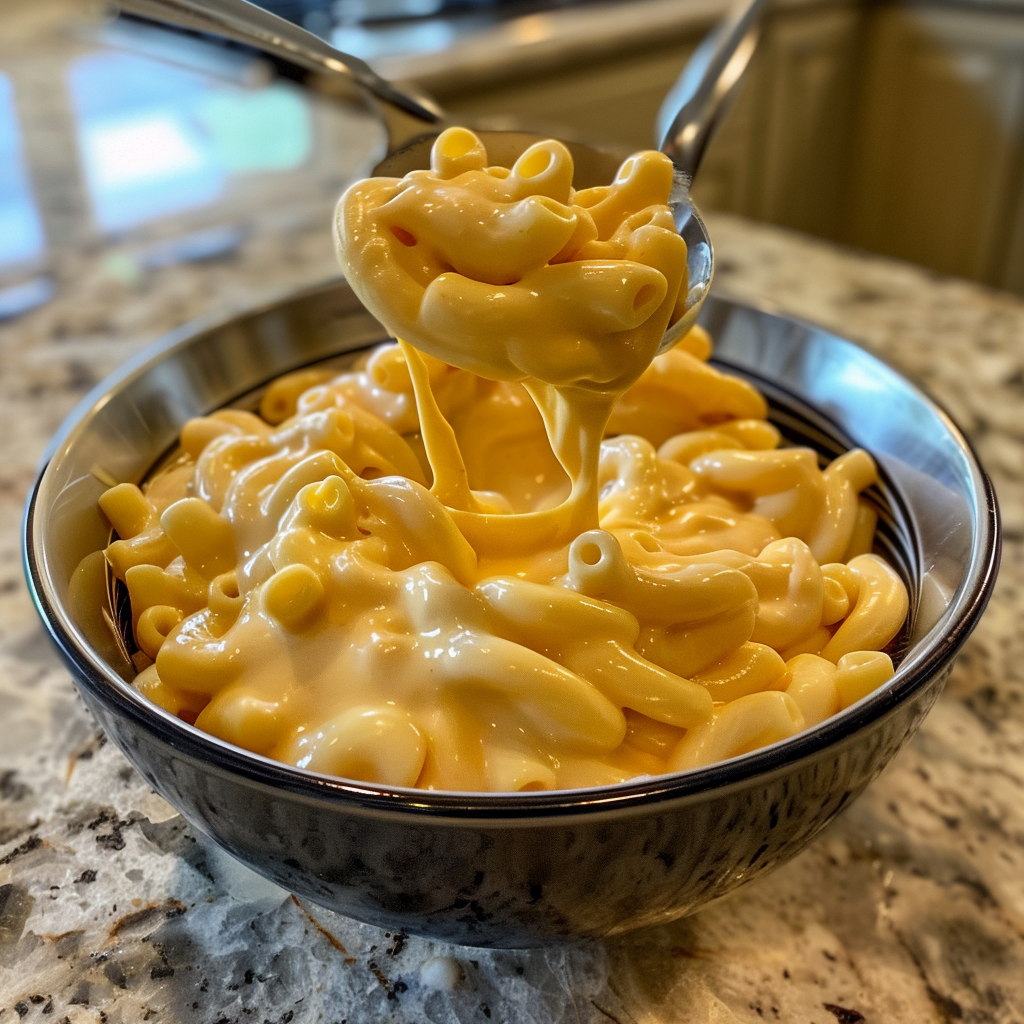
- Bake: Place in the oven and bake for 25-30 minutes until the topping is golden and the filling is bubbly.
- Rest: Allow to cool for 10 minutes before serving.
Notes
- For a crisper biscuit topping, brush the biscuits with melted butter before baking.
- If the biscuits are browning too quickly, cover the dish with aluminum foil halfway through baking to avoid over-browning.
- Customize by adding other vegetables like corn or diced bell peppers to the filling for extra flavor and nutrition.
Explanation: Nutritional Content (Per Serving)
- Calories: The majority comes from the chicken, biscuit mix, and cheese.
- Sugar: Minimal sugar, mainly from the vegetables.
- Sodium: Primarily from the canned soup, broth, and biscuit mix. Opting for low-sodium alternatives can reduce this amount.
- Fat: Includes both saturated and unsaturated fats from the chicken, cheese, and biscuits. Unsaturated fats are healthier and come mainly from the chicken.
- Trans Fat: Very low, typically from processed ingredients like the biscuit mix.
- Carbohydrates: Primarily from the biscuit mix and vegetables.
- Fiber: Provided by the vegetables; increasing the variety of vegetables can enhance fiber content.
- Protein: Mainly from the chicken, providing a good source of lean protein.
- Cholesterol: From chicken and cheese, significant for those monitoring their cholesterol intake.
Tips for a Healthier Version:
- Reduce Sodium: Use homemade low-sodium cream of chicken soup and opt for low-sodium chicken broth.
- Lower Fat: Choose low-fat cheese and consider a reduced-fat biscuit mix.
- Increase Fiber: Add more vegetables like broccoli, beans, or use whole wheat in the biscuit mix.
Nutrition
- Serving Size: 6
- Calories: 490 kcal
- Sugar: 5 g
- Sodium: 950 mg
- Fat: 26 g
- Saturated Fat: 9 g
- Unsaturated Fat: 12 g
- Trans Fat: 0.3 g
- Carbohydrates: 39 g
- Fiber: 3 g
- Protein: 25 g
- Cholesterol: 85 mg
Keywords: Chicken Cobbler Recipe Chicken Biscuit Casserole, Chicken Cobbler Casserole


 h Benefits